RECENT POSTS

22.March.2026
Kinesiology Tape for Knee Pain: Complete Relief Guide for Athletes and Active Individual
0 Comments
21.March.2026
Kinesiology Tape for Knee Pain: Complete Relief Guide for Athletes and Active Individuals
0 Comments
21.March.2026
Kinesiology Tape Benefits: Complete Guide to Uses, Applications, and Therapeutic Effects
0 Comments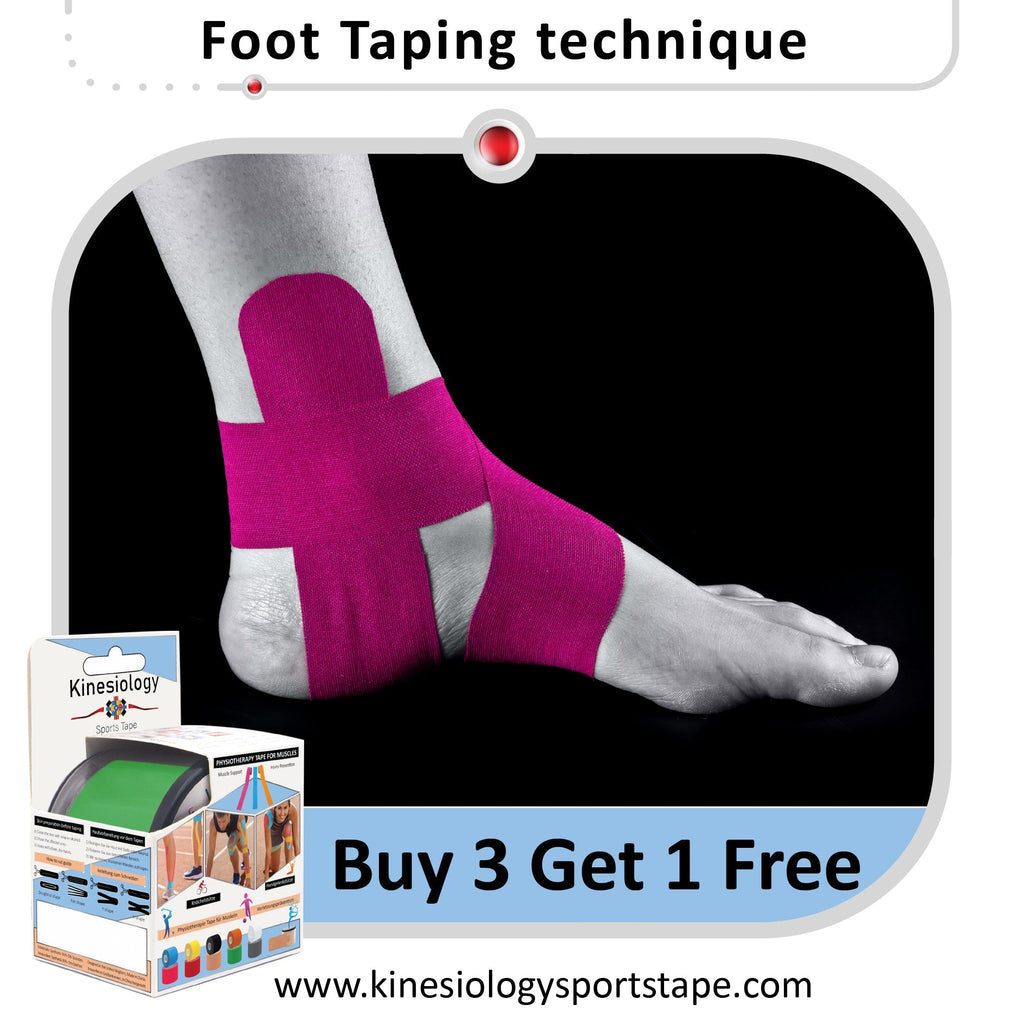
05.August.2025
Kinesiology Tape for Plantar Fasciitis: Complete Pain Relief and Recovery Guide
0 CommentsJoint Instability Kinesiology Tape Guide: Proprioceptive Support for Sport
60-Second Taping Guide
Joint Instability & Hypermobility
Pre-cut kinesiology tape to deliver proprioceptive feedback for unstable ankles, knees, shoulders and hypermobile joints.
What is joint instability?
A joint is considered unstable when it gives way, subluxes (partially dislocates) or feels like it might during normal movement. The most common is the chronically unstable ankle after recurrent sprains, typical of footballers, basketball players and hikers. Other patterns include patellar instability (kneecap dislocations), shoulder instability (often after a first dislocation), and generalised hypermobility (often genetic, sometimes part of Ehlers-Danlos syndrome). The shared problem is poor proprioception: the joint doesn’t get good feedback about where it is in space.

Common causes
- Previous sprain or dislocation that didn’t fully rehab
- Genetic hypermobility / Ehlers-Danlos syndrome
- Weak stabilising muscles around the joint
- Poor proprioception from disuse or injury
- Anatomical factors: shallow shoulder socket, knee Q-angle
How kinesiology tape helps unstable joints
Tape gives a joint that lacks proprioception extra sensory input: the brain registers the tape pulling on skin and uses that signal to fire stabilising muscles earlier. The mechanical support is modest compared to a brace, but the proprioceptive effect is the main benefit. Tape is widely used in return-to-sport rehab and during competition by athletes with chronic ankle instability: it noticeably reduces re-sprain rates when combined with balance and strength work.
How to apply: chronic ankle instability


01
Prep
Foot at 90°, slightly turned outward. Clean dry skin.
02
Strip 1
Anchor inner mid-foot. Cross under heel and up the outer ankle to mid-calf at 75% stretch.
03
Strip 2
Horizontal across the front of the ankle at 50% stretch, anchoring on both sides of the leg.
04
Activate
Rub firmly 30 seconds. Stand, balance on the leg.
The cure for instability is strength and balance training, not just tape. Tape supports the work during return-to-sport and competition.
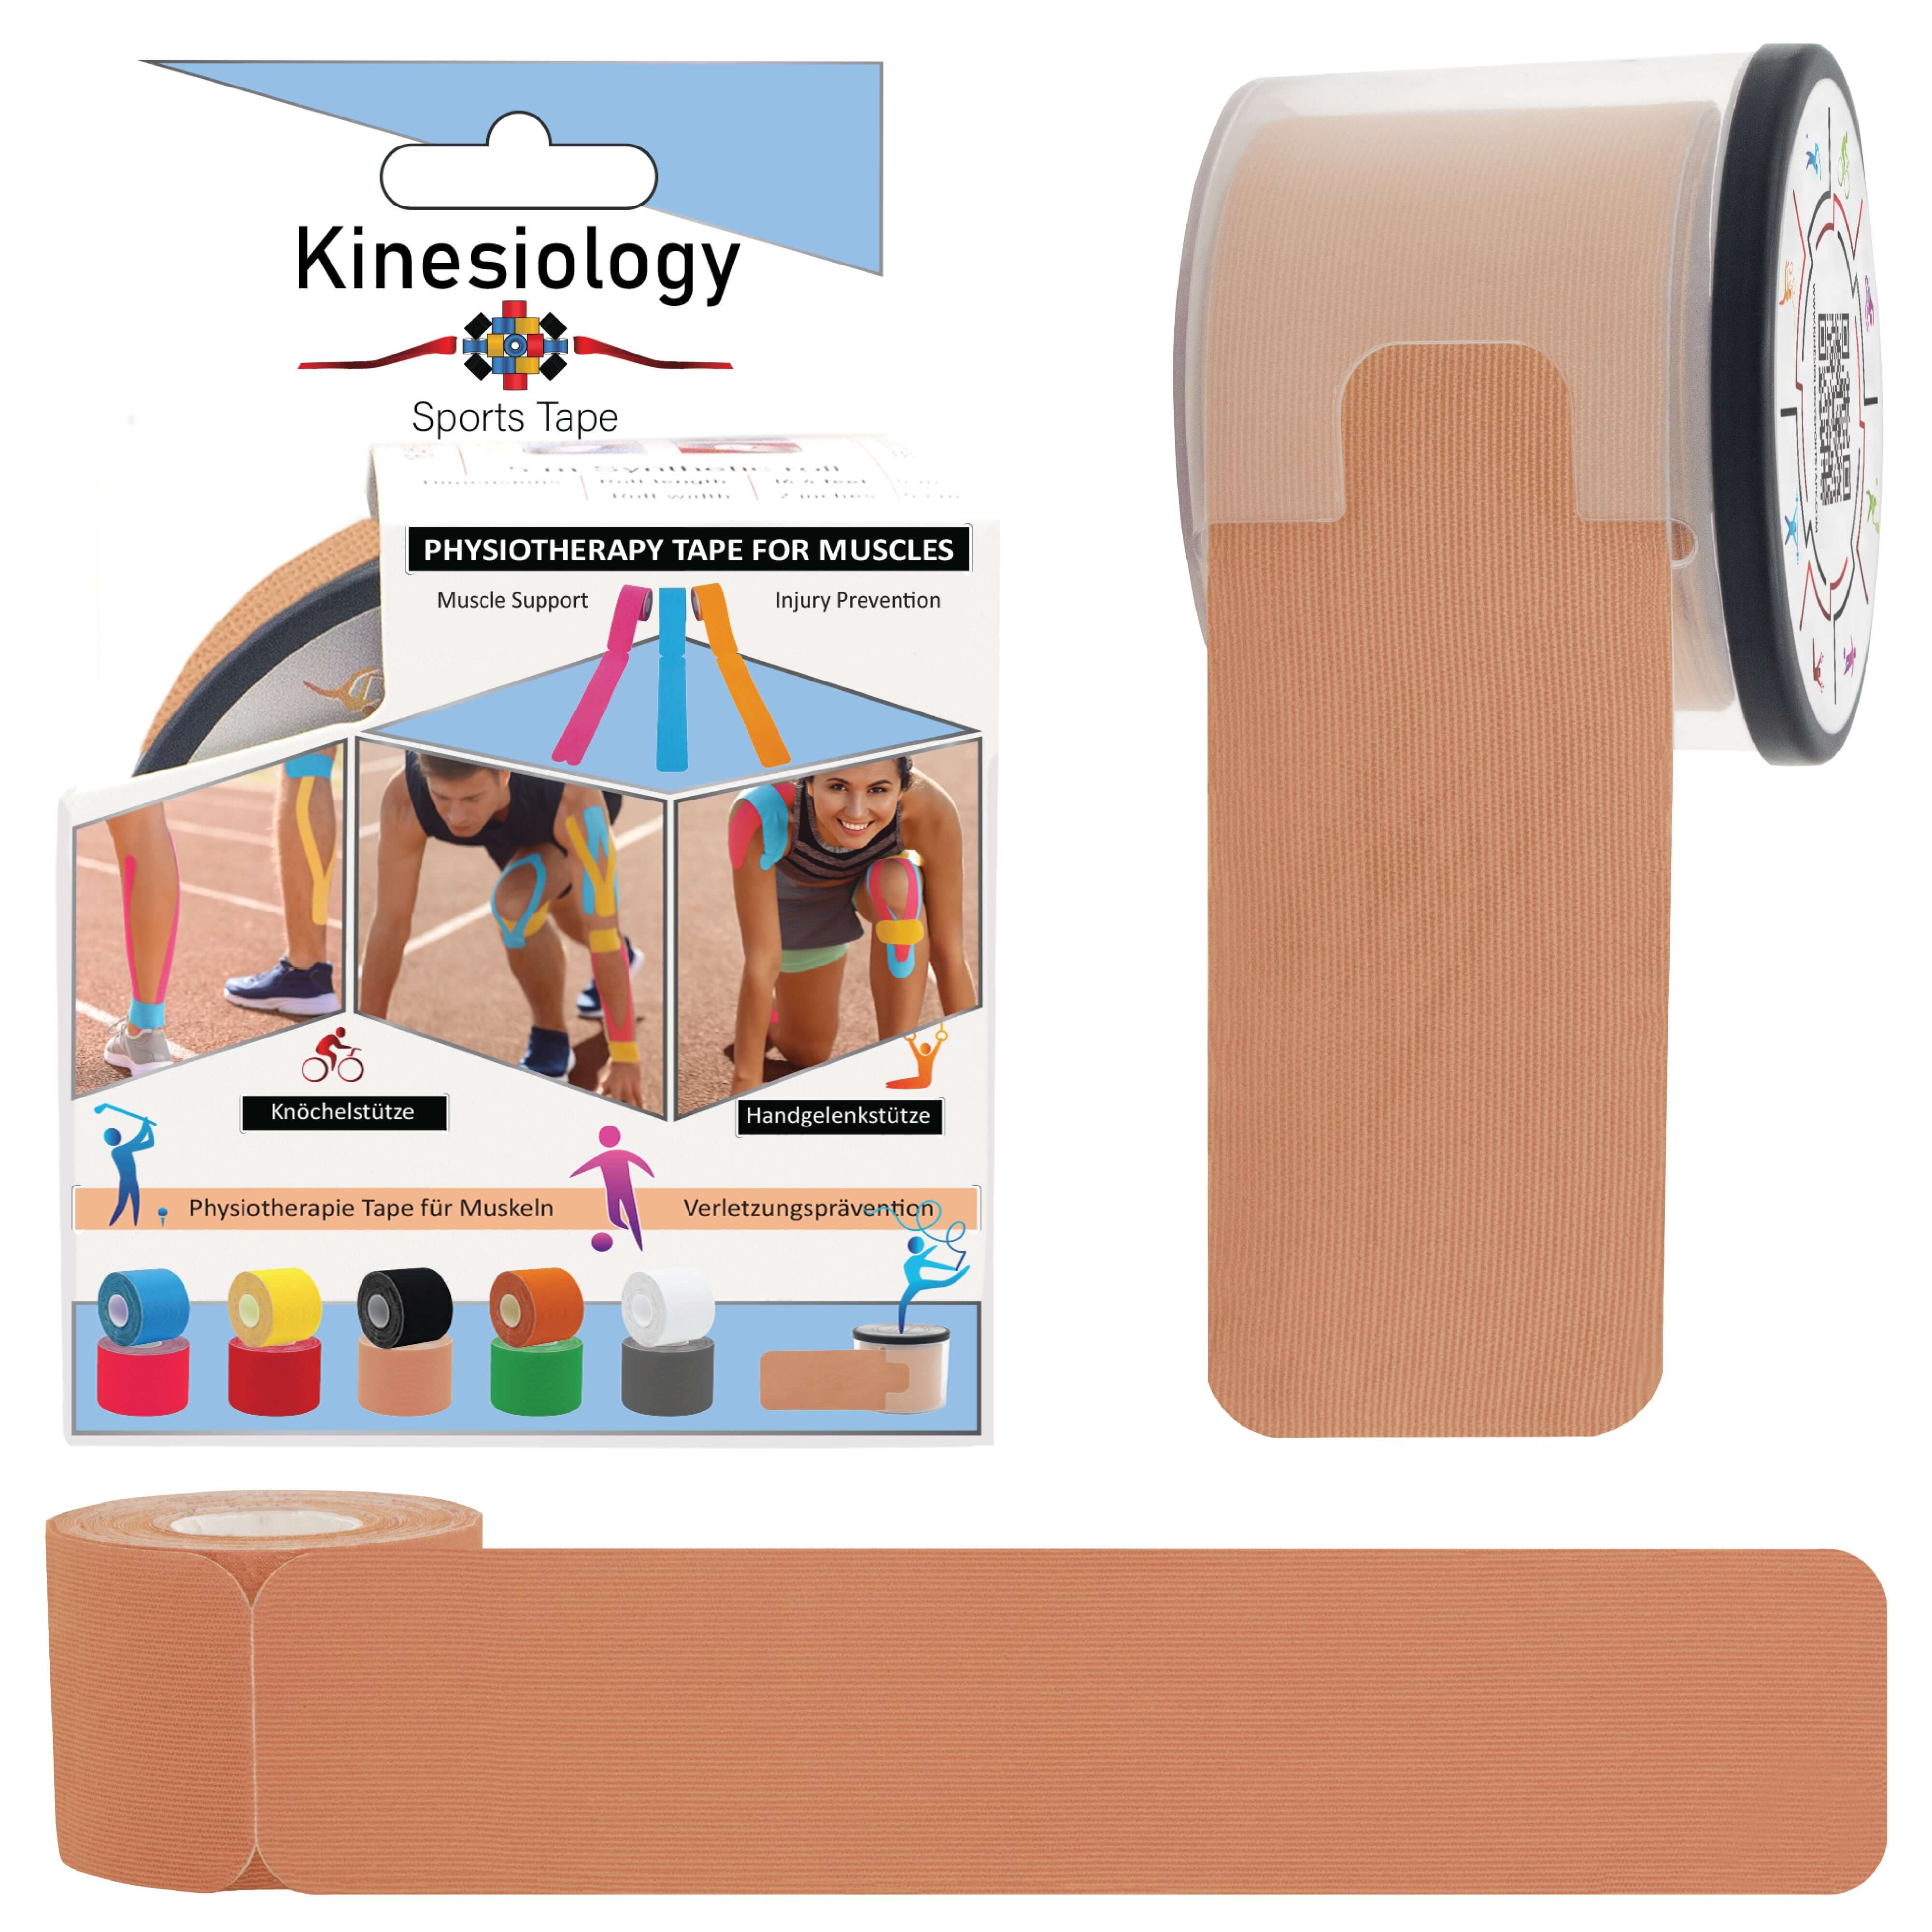
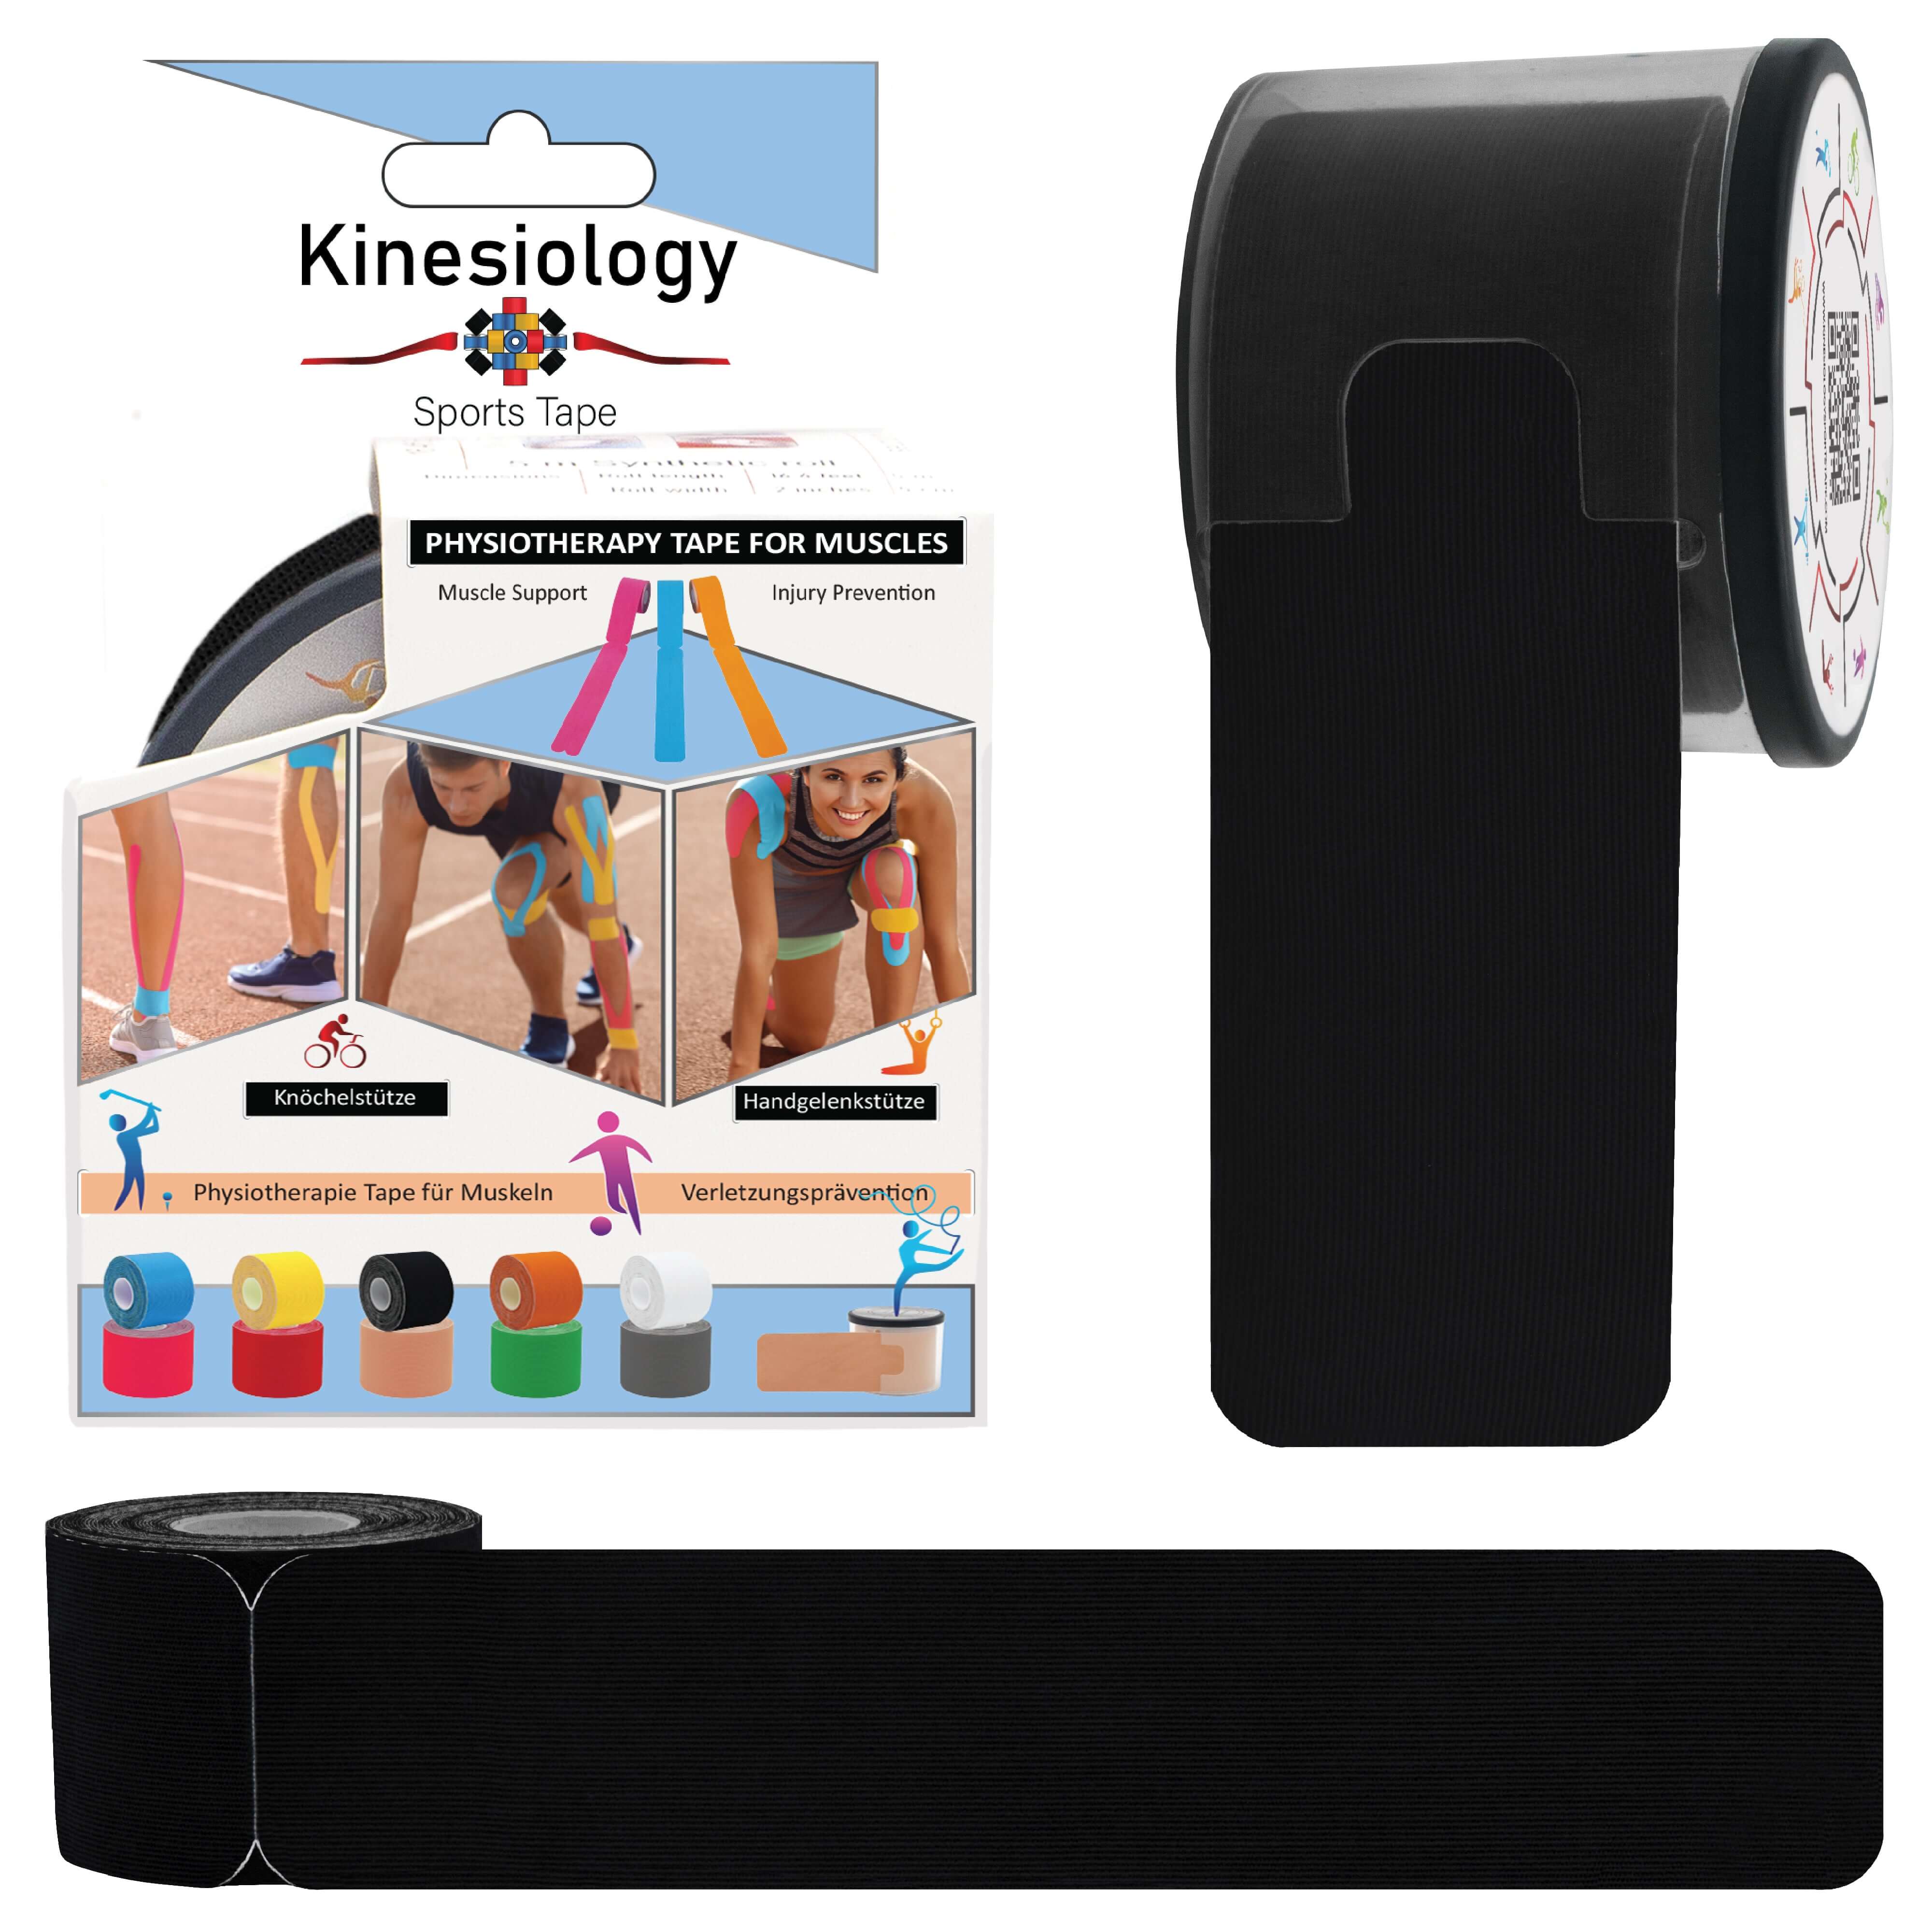
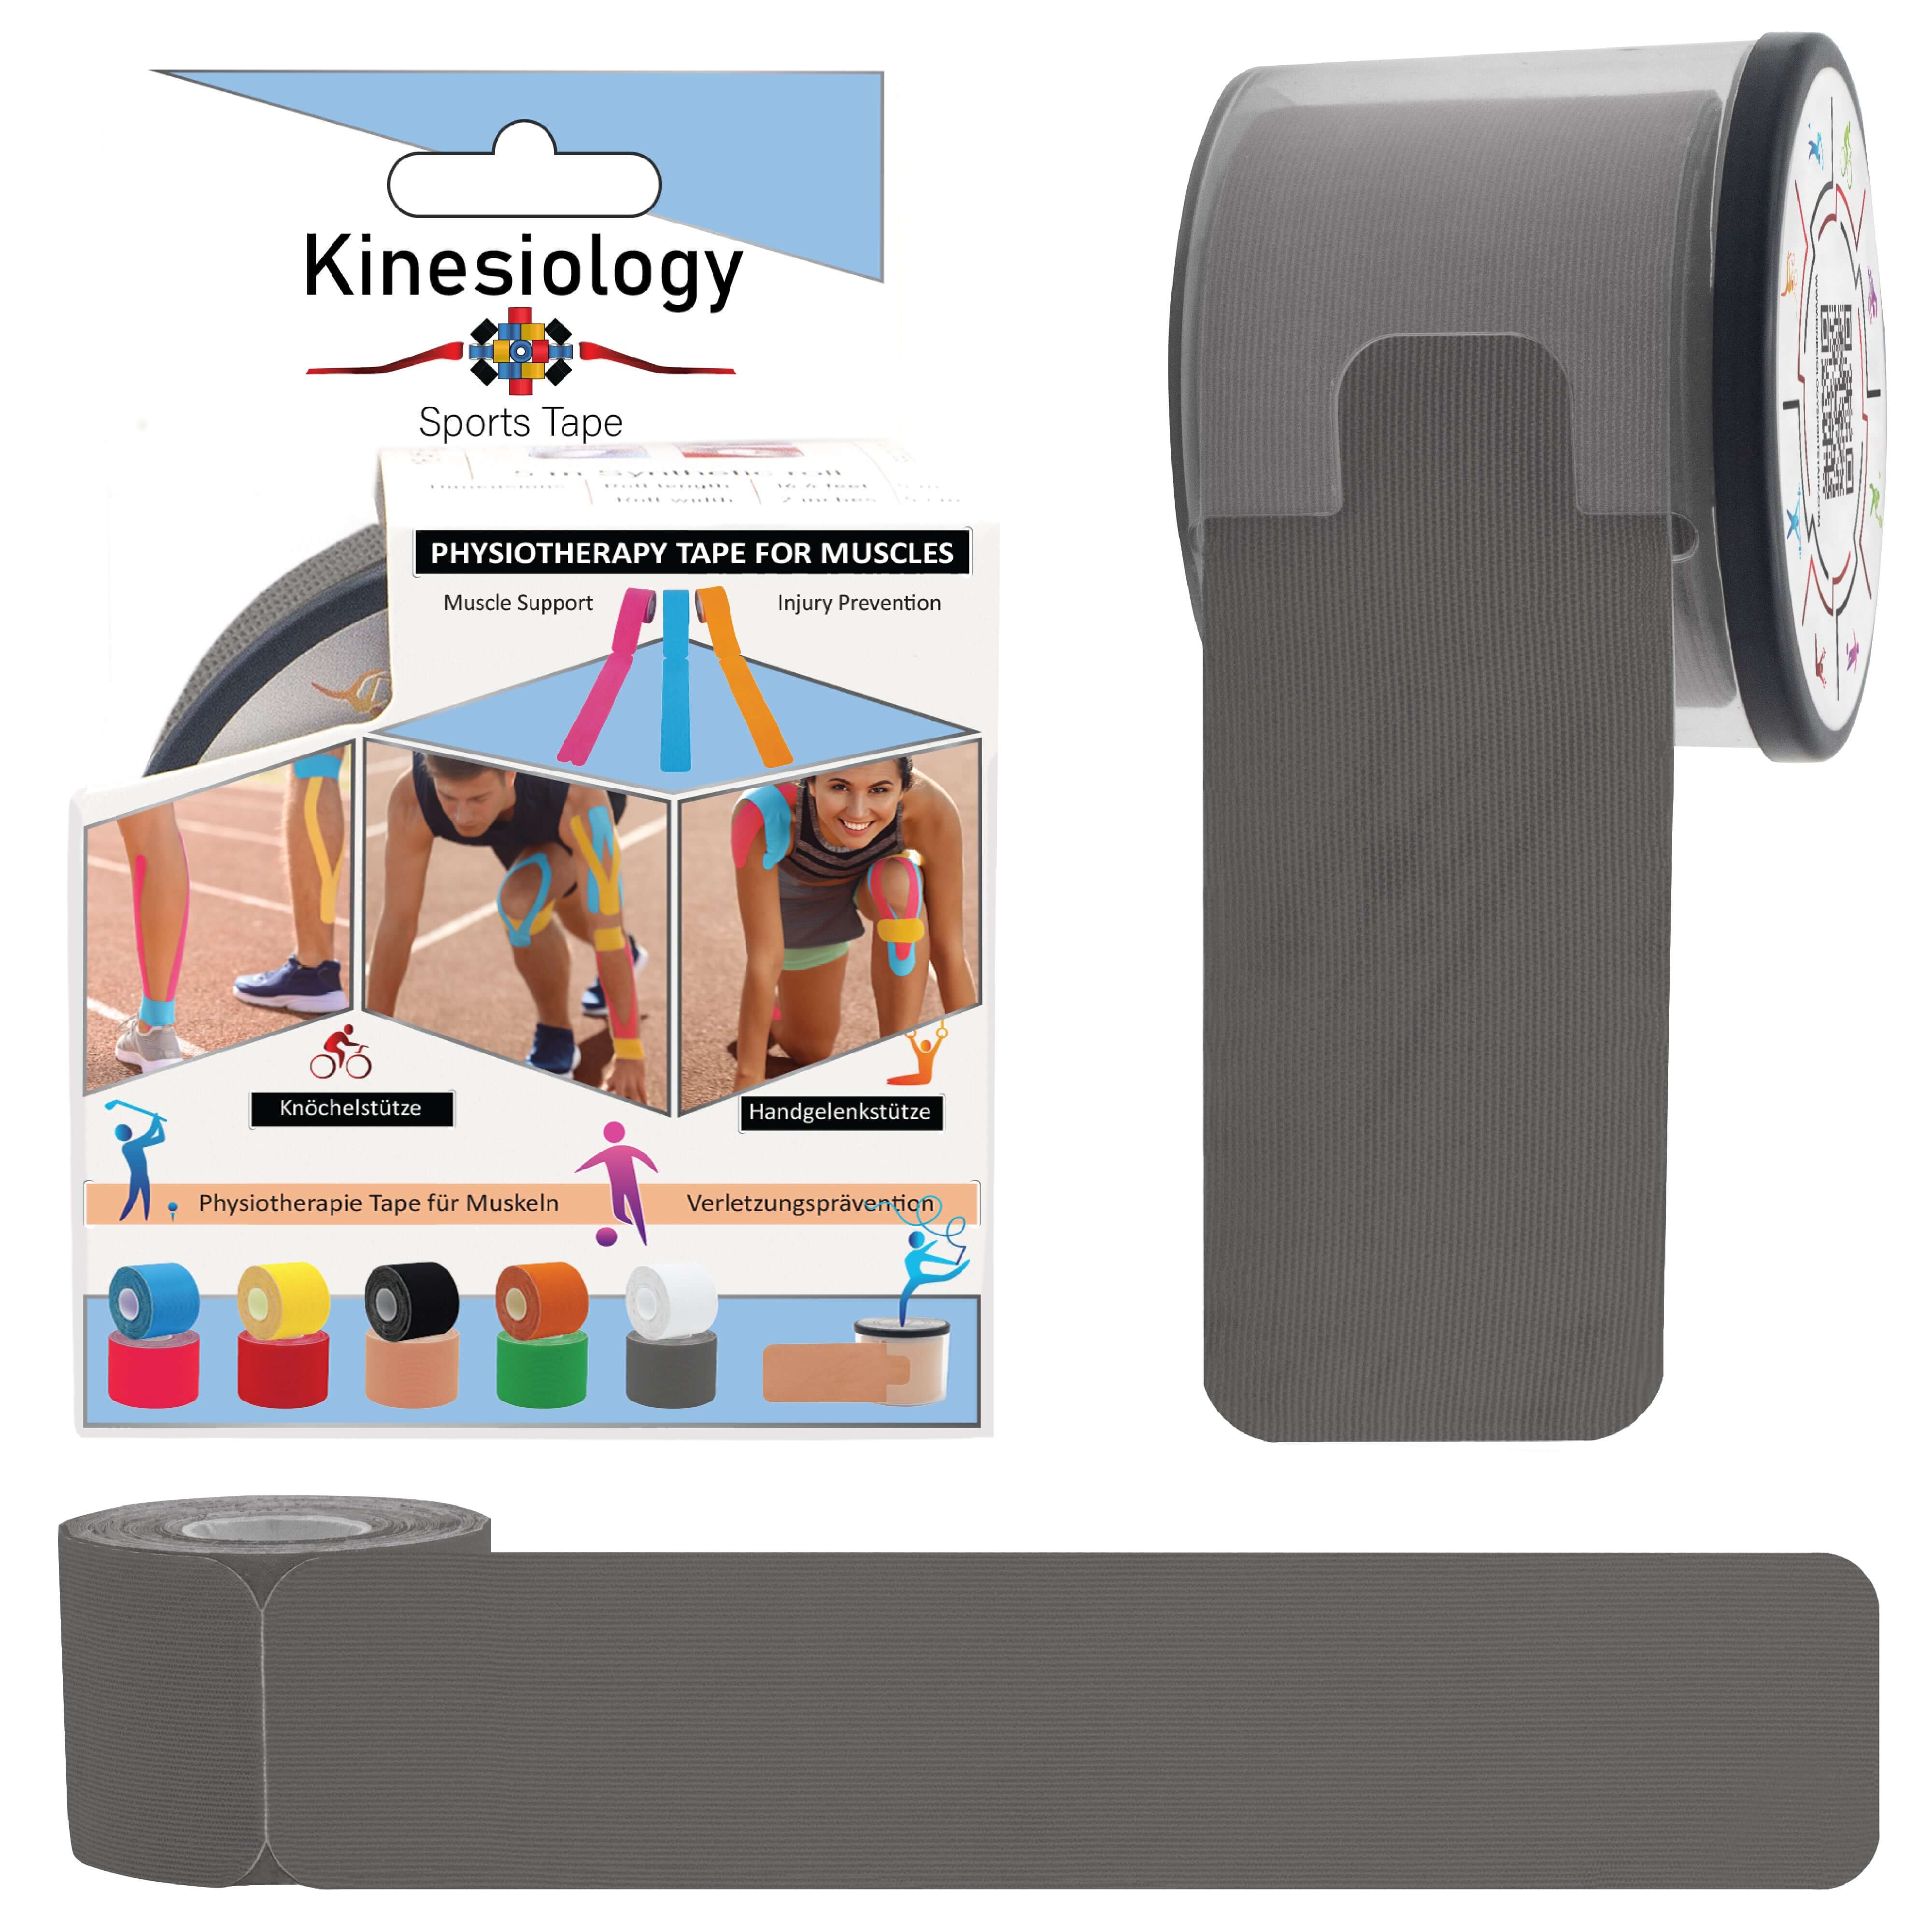
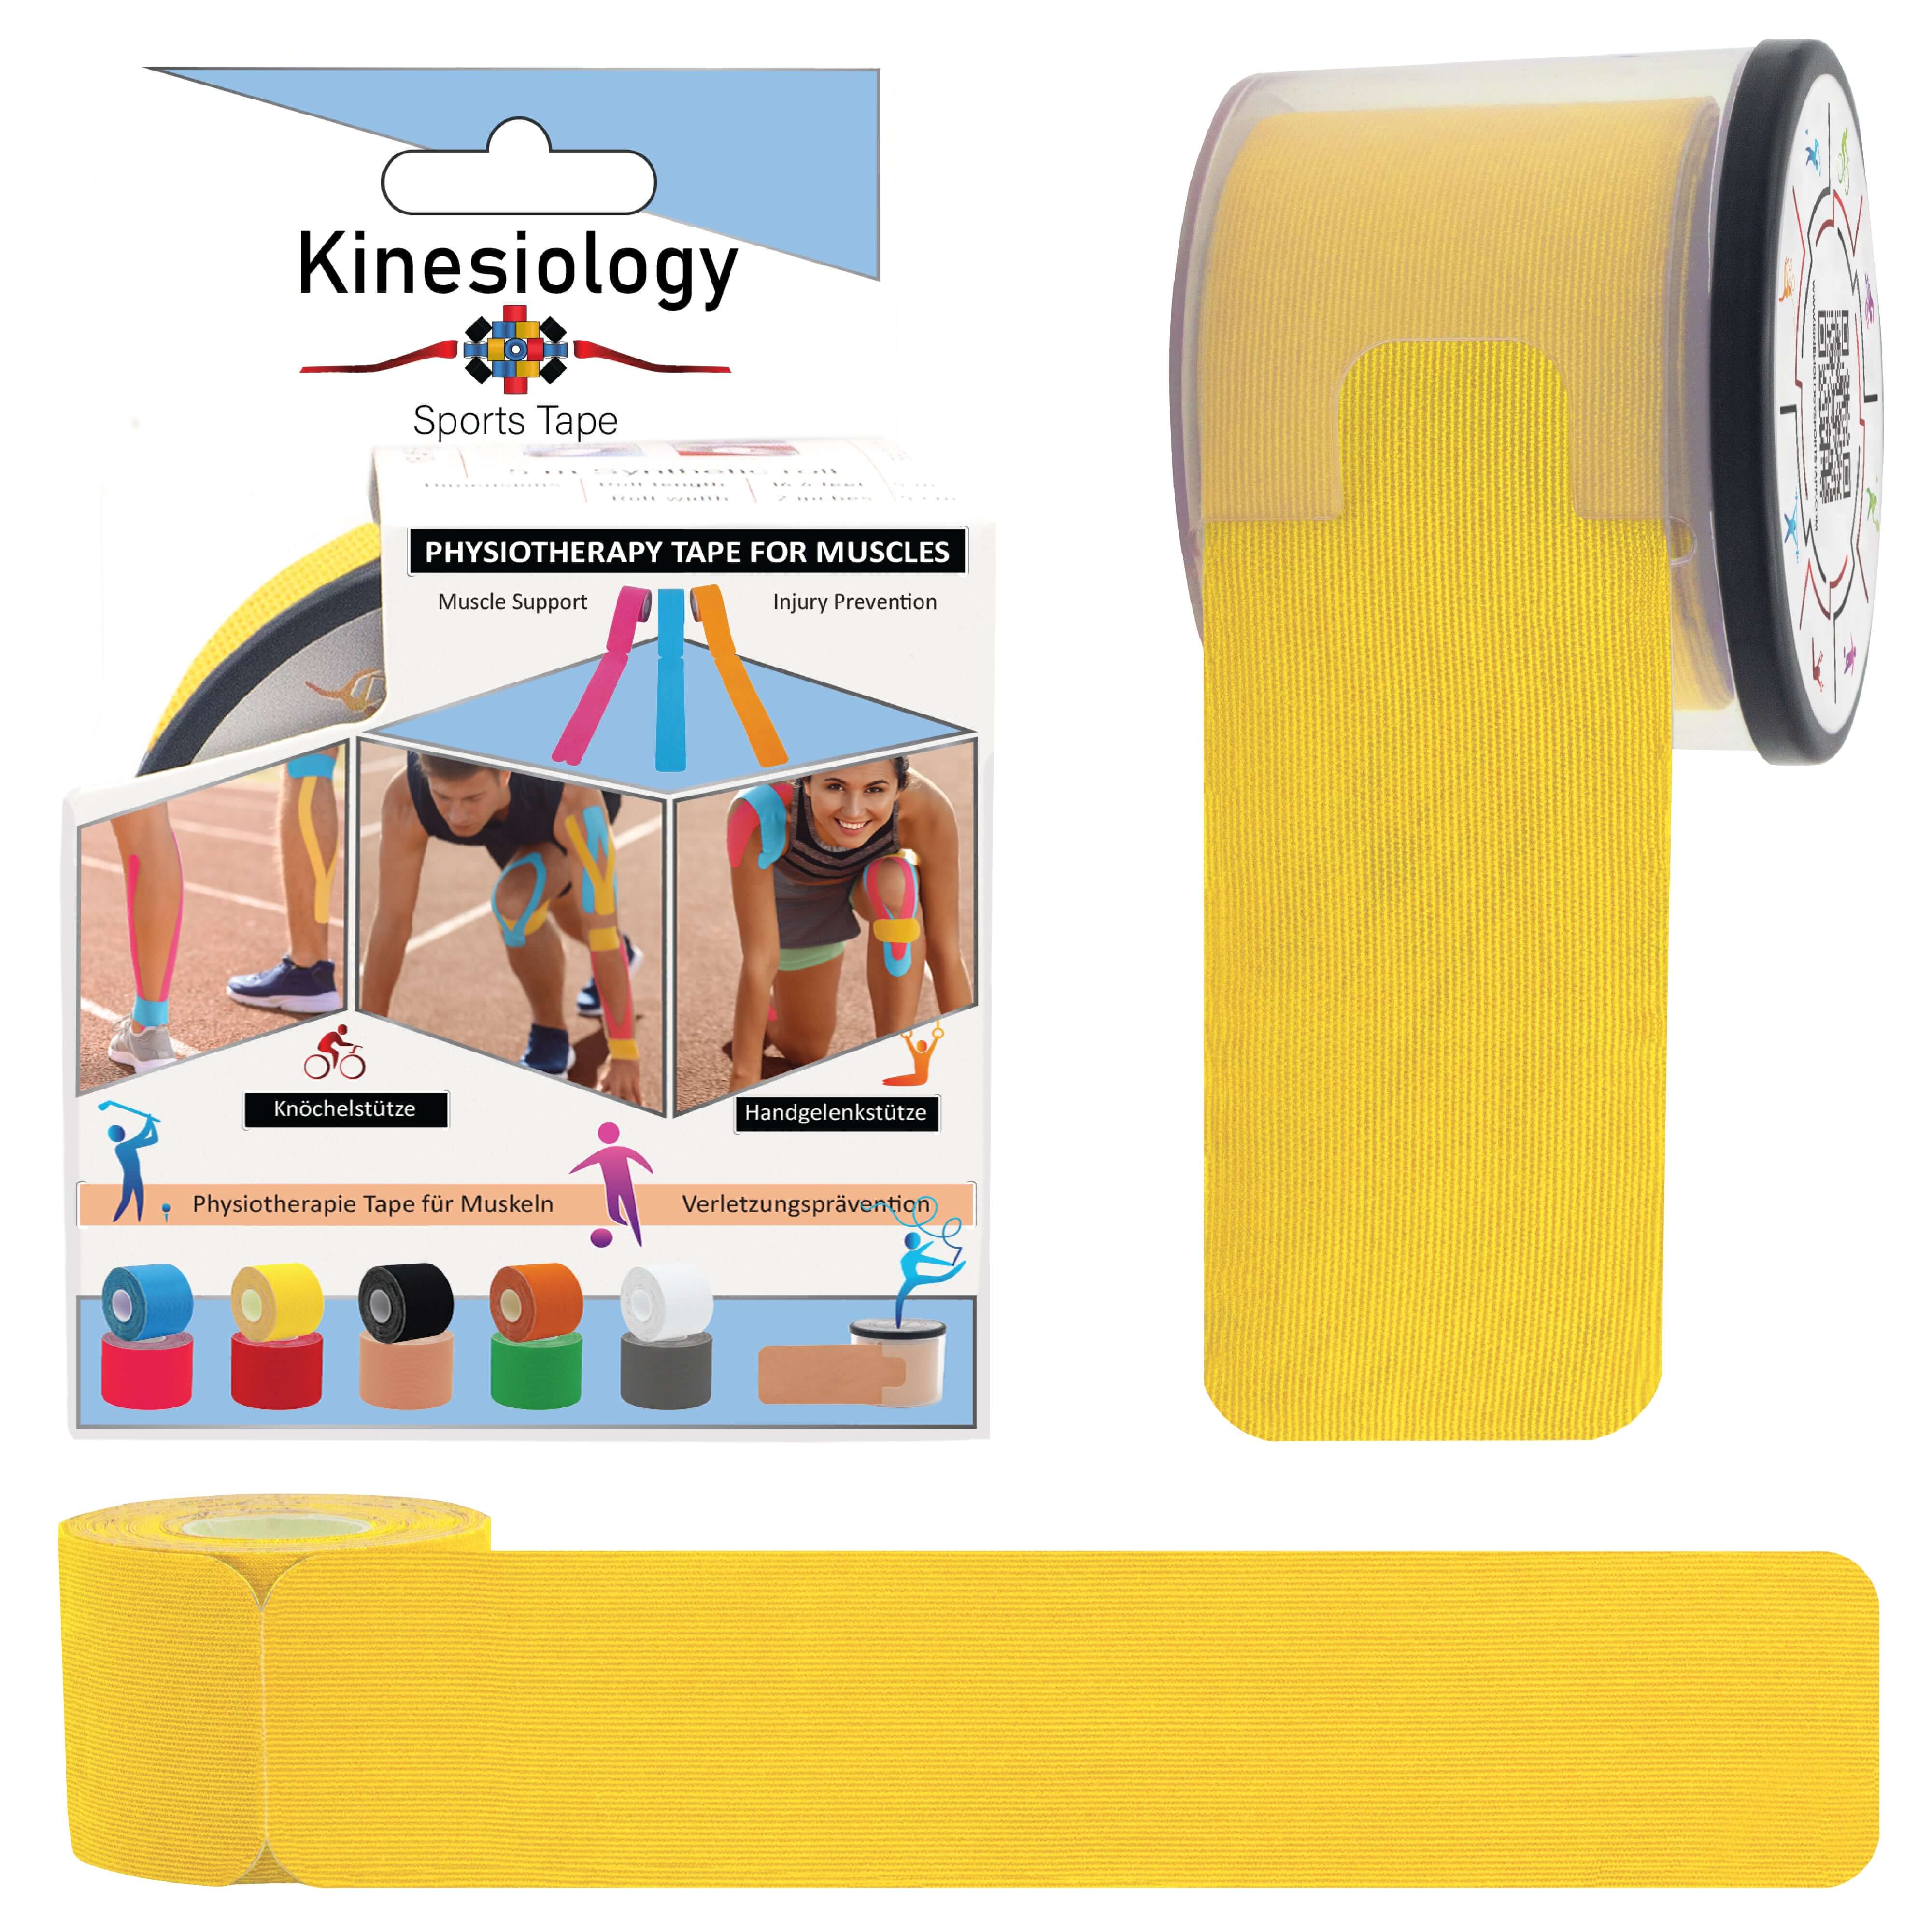
Best Tape For This
Beige to go inside socks and shoes; black for visible sport-day use.
BeigeShop the rangeRecovery tips beyond taping
- Single-leg balance: 30 seconds eyes open, 30 seconds eyes closed. The foundational drill. 3 sets daily.
- Wobble board or BOSU work: 5 to 10 minutes daily challenging joint position sense.
- Resistance band 4-way strengthening for the joint: 3 × 15 each direction.
- Plyometric progression: line hops, then box jumps, then sport-specific movements.
- Brace or tape during competition: belt-and-braces approach reduces re-injury rates.
- Hypermobility-specific: focus on slow controlled strength in mid-range, avoid end-range stretching that you already have.
When to see a physio or GP
See a physio for any joint that subluxes or dislocates more than once, for chronic ankle instability that’s stopped you running or playing sport, or if you have generalised hypermobility (Beighton score 5+/9). A targeted rehab programme massively reduces re-injury rates.
Frequently asked
Tape or brace for ankle instability?
Brace gives more mechanical restriction, best for the first weeks back to sport. Tape gives better proprioception with no restriction, best long term. Many athletes use both during the riskiest months.
Can I play sport with tape on?
Yes. It’s specifically designed for that. Many professional teams have athletes taped before every match.
I have hypermobility, is tape safe?
Yes, and especially useful, because hypermobile joints often have poor proprioception. Focus on strength work alongside.
How long until my joint feels stable?
Functional stability returns with 6 to 12 weeks of consistent proprioception and strength work. Tape supports throughout.
Related post
22
Mar
21
Mar
21
Mar
05
Aug
Pain & Recovery Guides
Kinesiology Tape for Plantar Fasciitis: Complete Pain Relief and Recovery Guide
Read more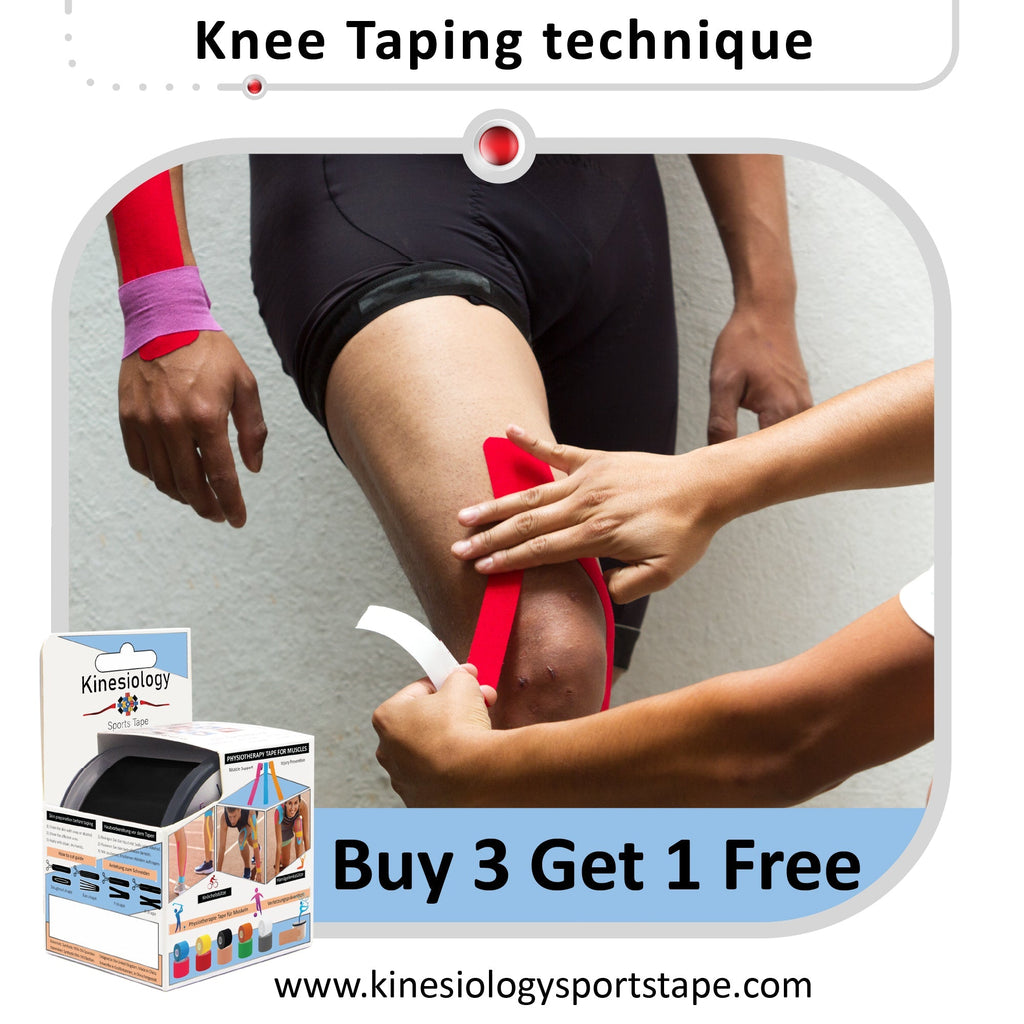
05
Aug