RECENT POSTS

22.March.2026
Kinesiology Tape for Knee Pain: Complete Relief Guide for Athletes and Active Individual
0 Comments
21.March.2026
Kinesiology Tape for Knee Pain: Complete Relief Guide for Athletes and Active Individuals
0 Comments
21.March.2026
Kinesiology Tape Benefits: Complete Guide to Uses, Applications, and Therapeutic Effects
0 Comments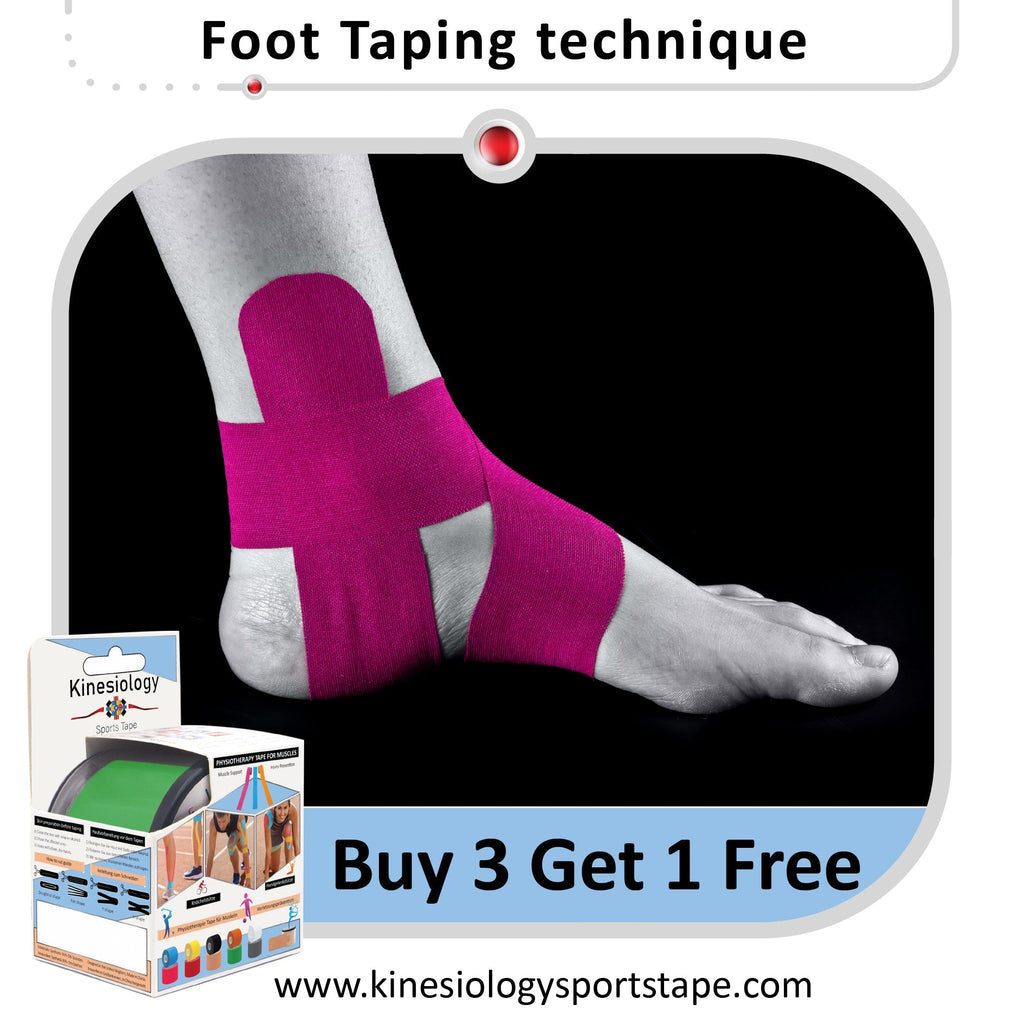
05.August.2025
Kinesiology Tape for Plantar Fasciitis: Complete Pain Relief and Recovery Guide
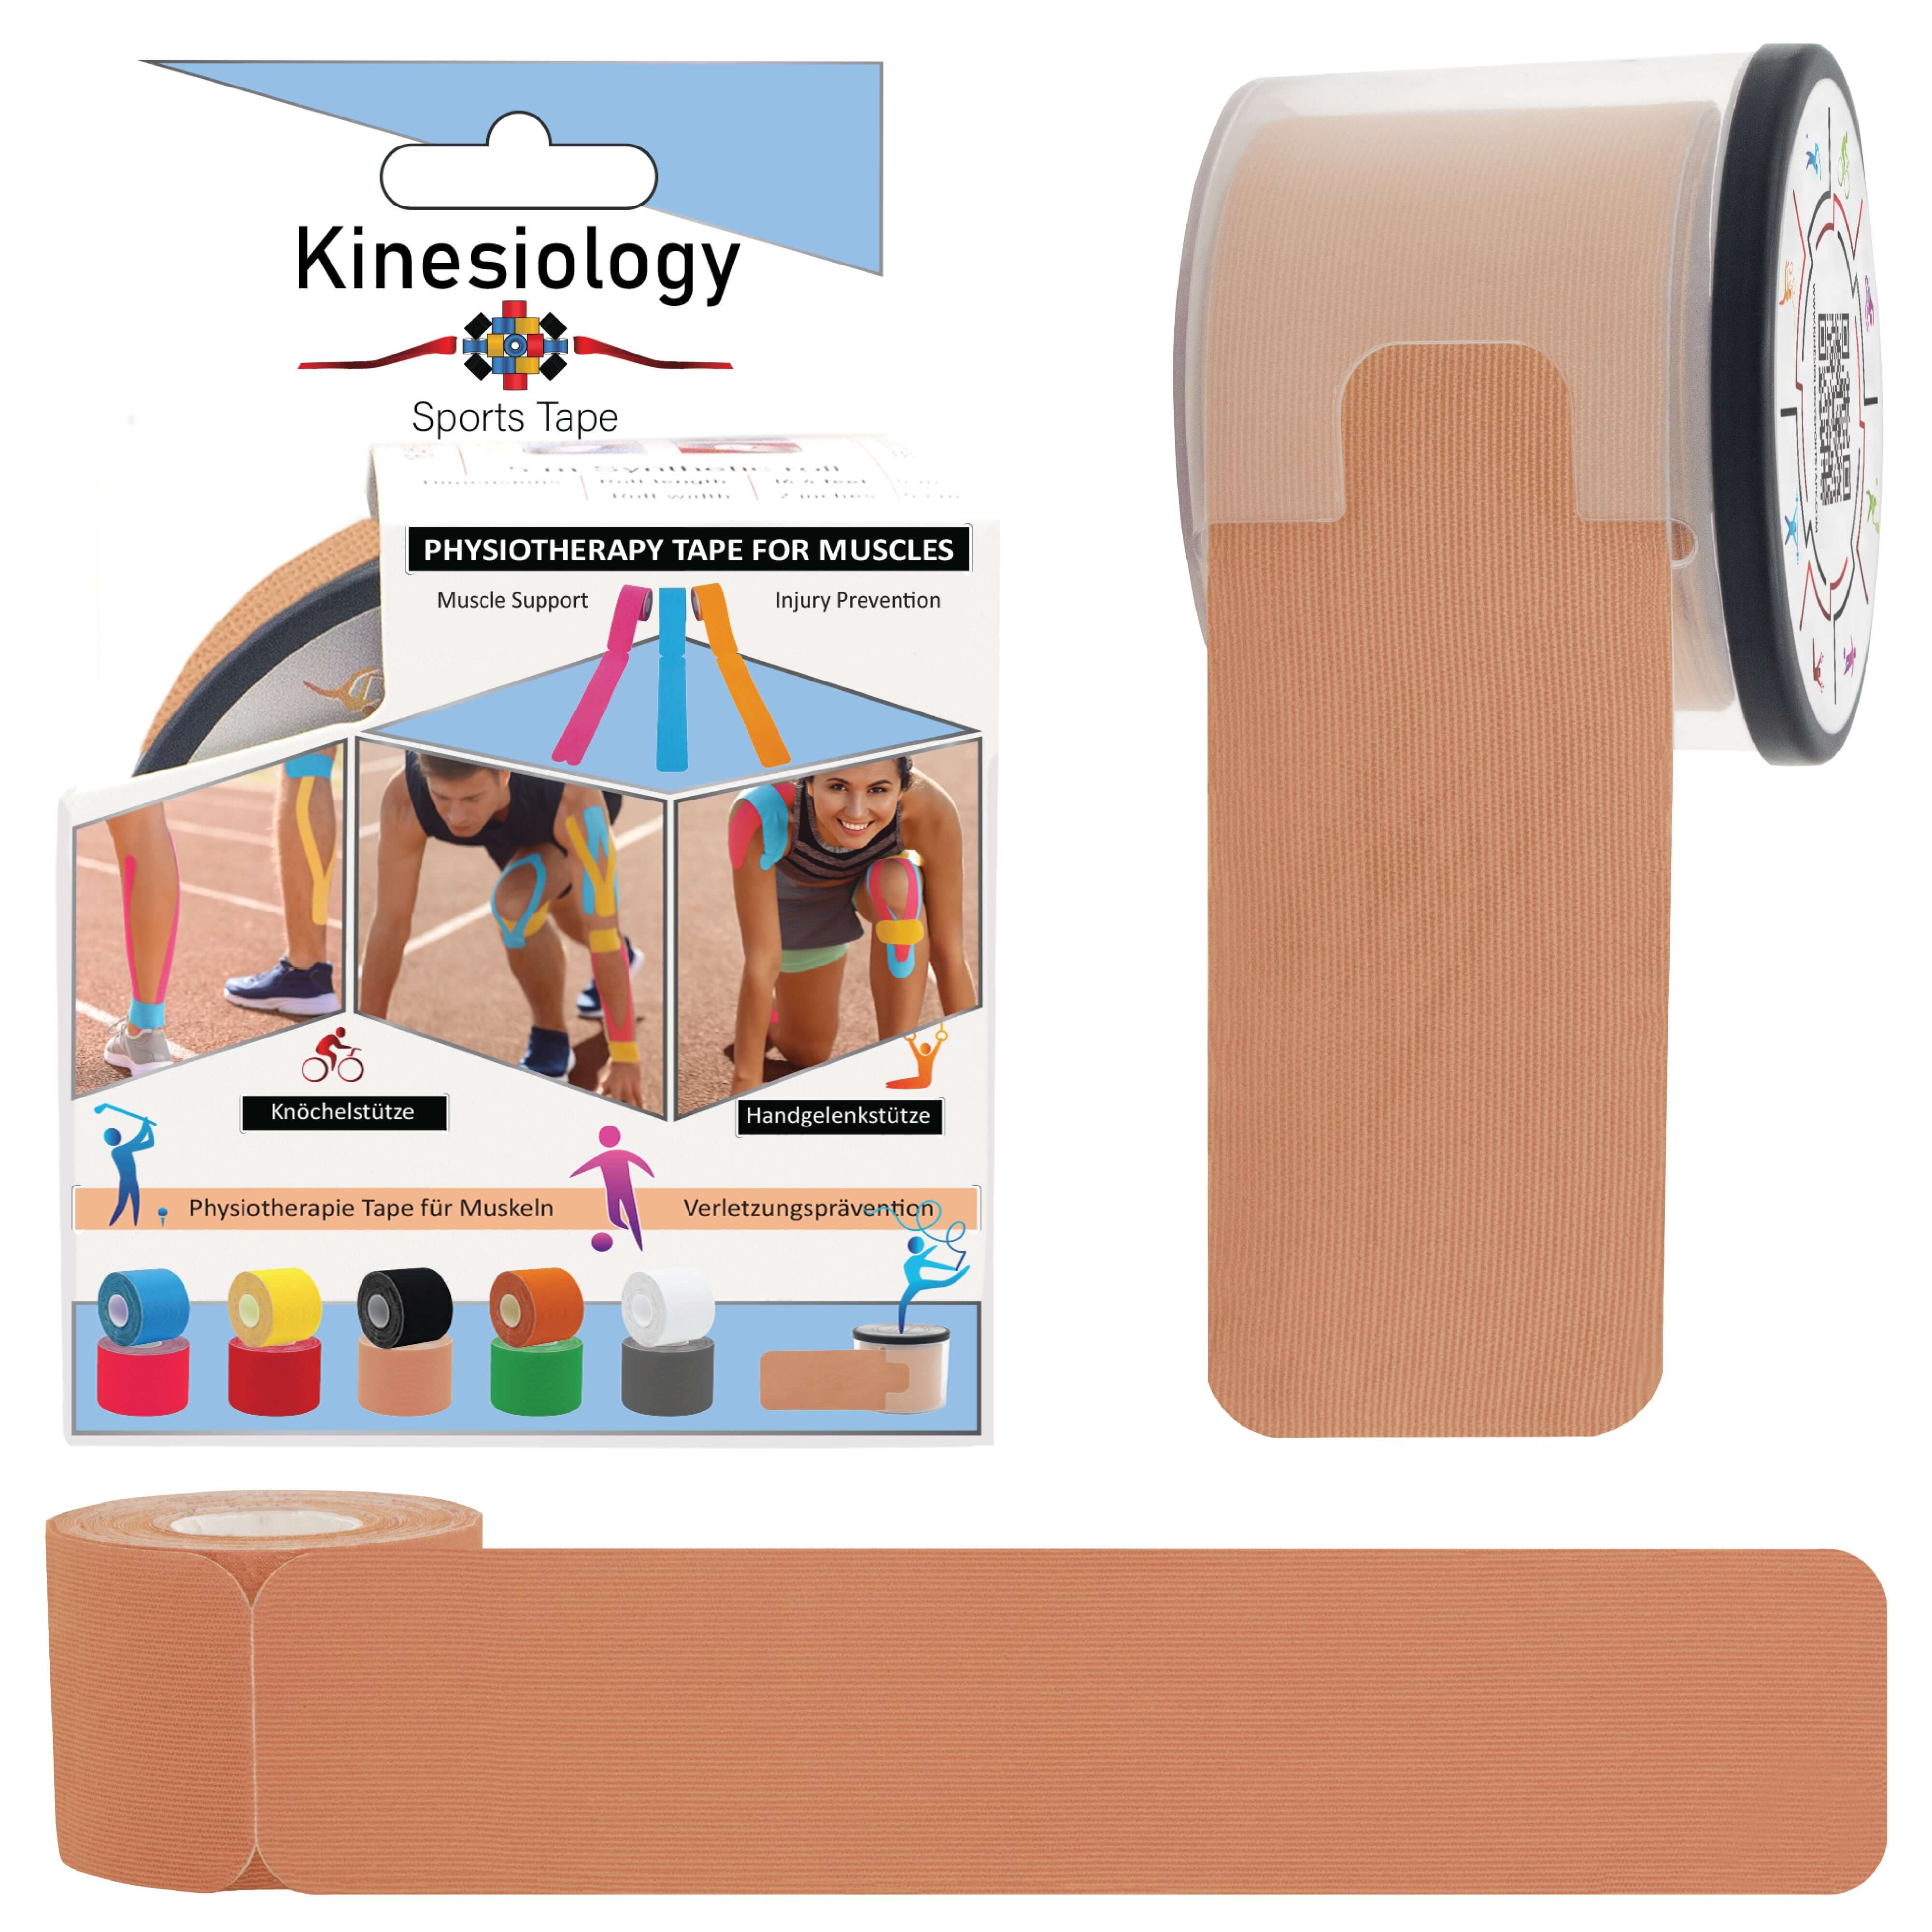
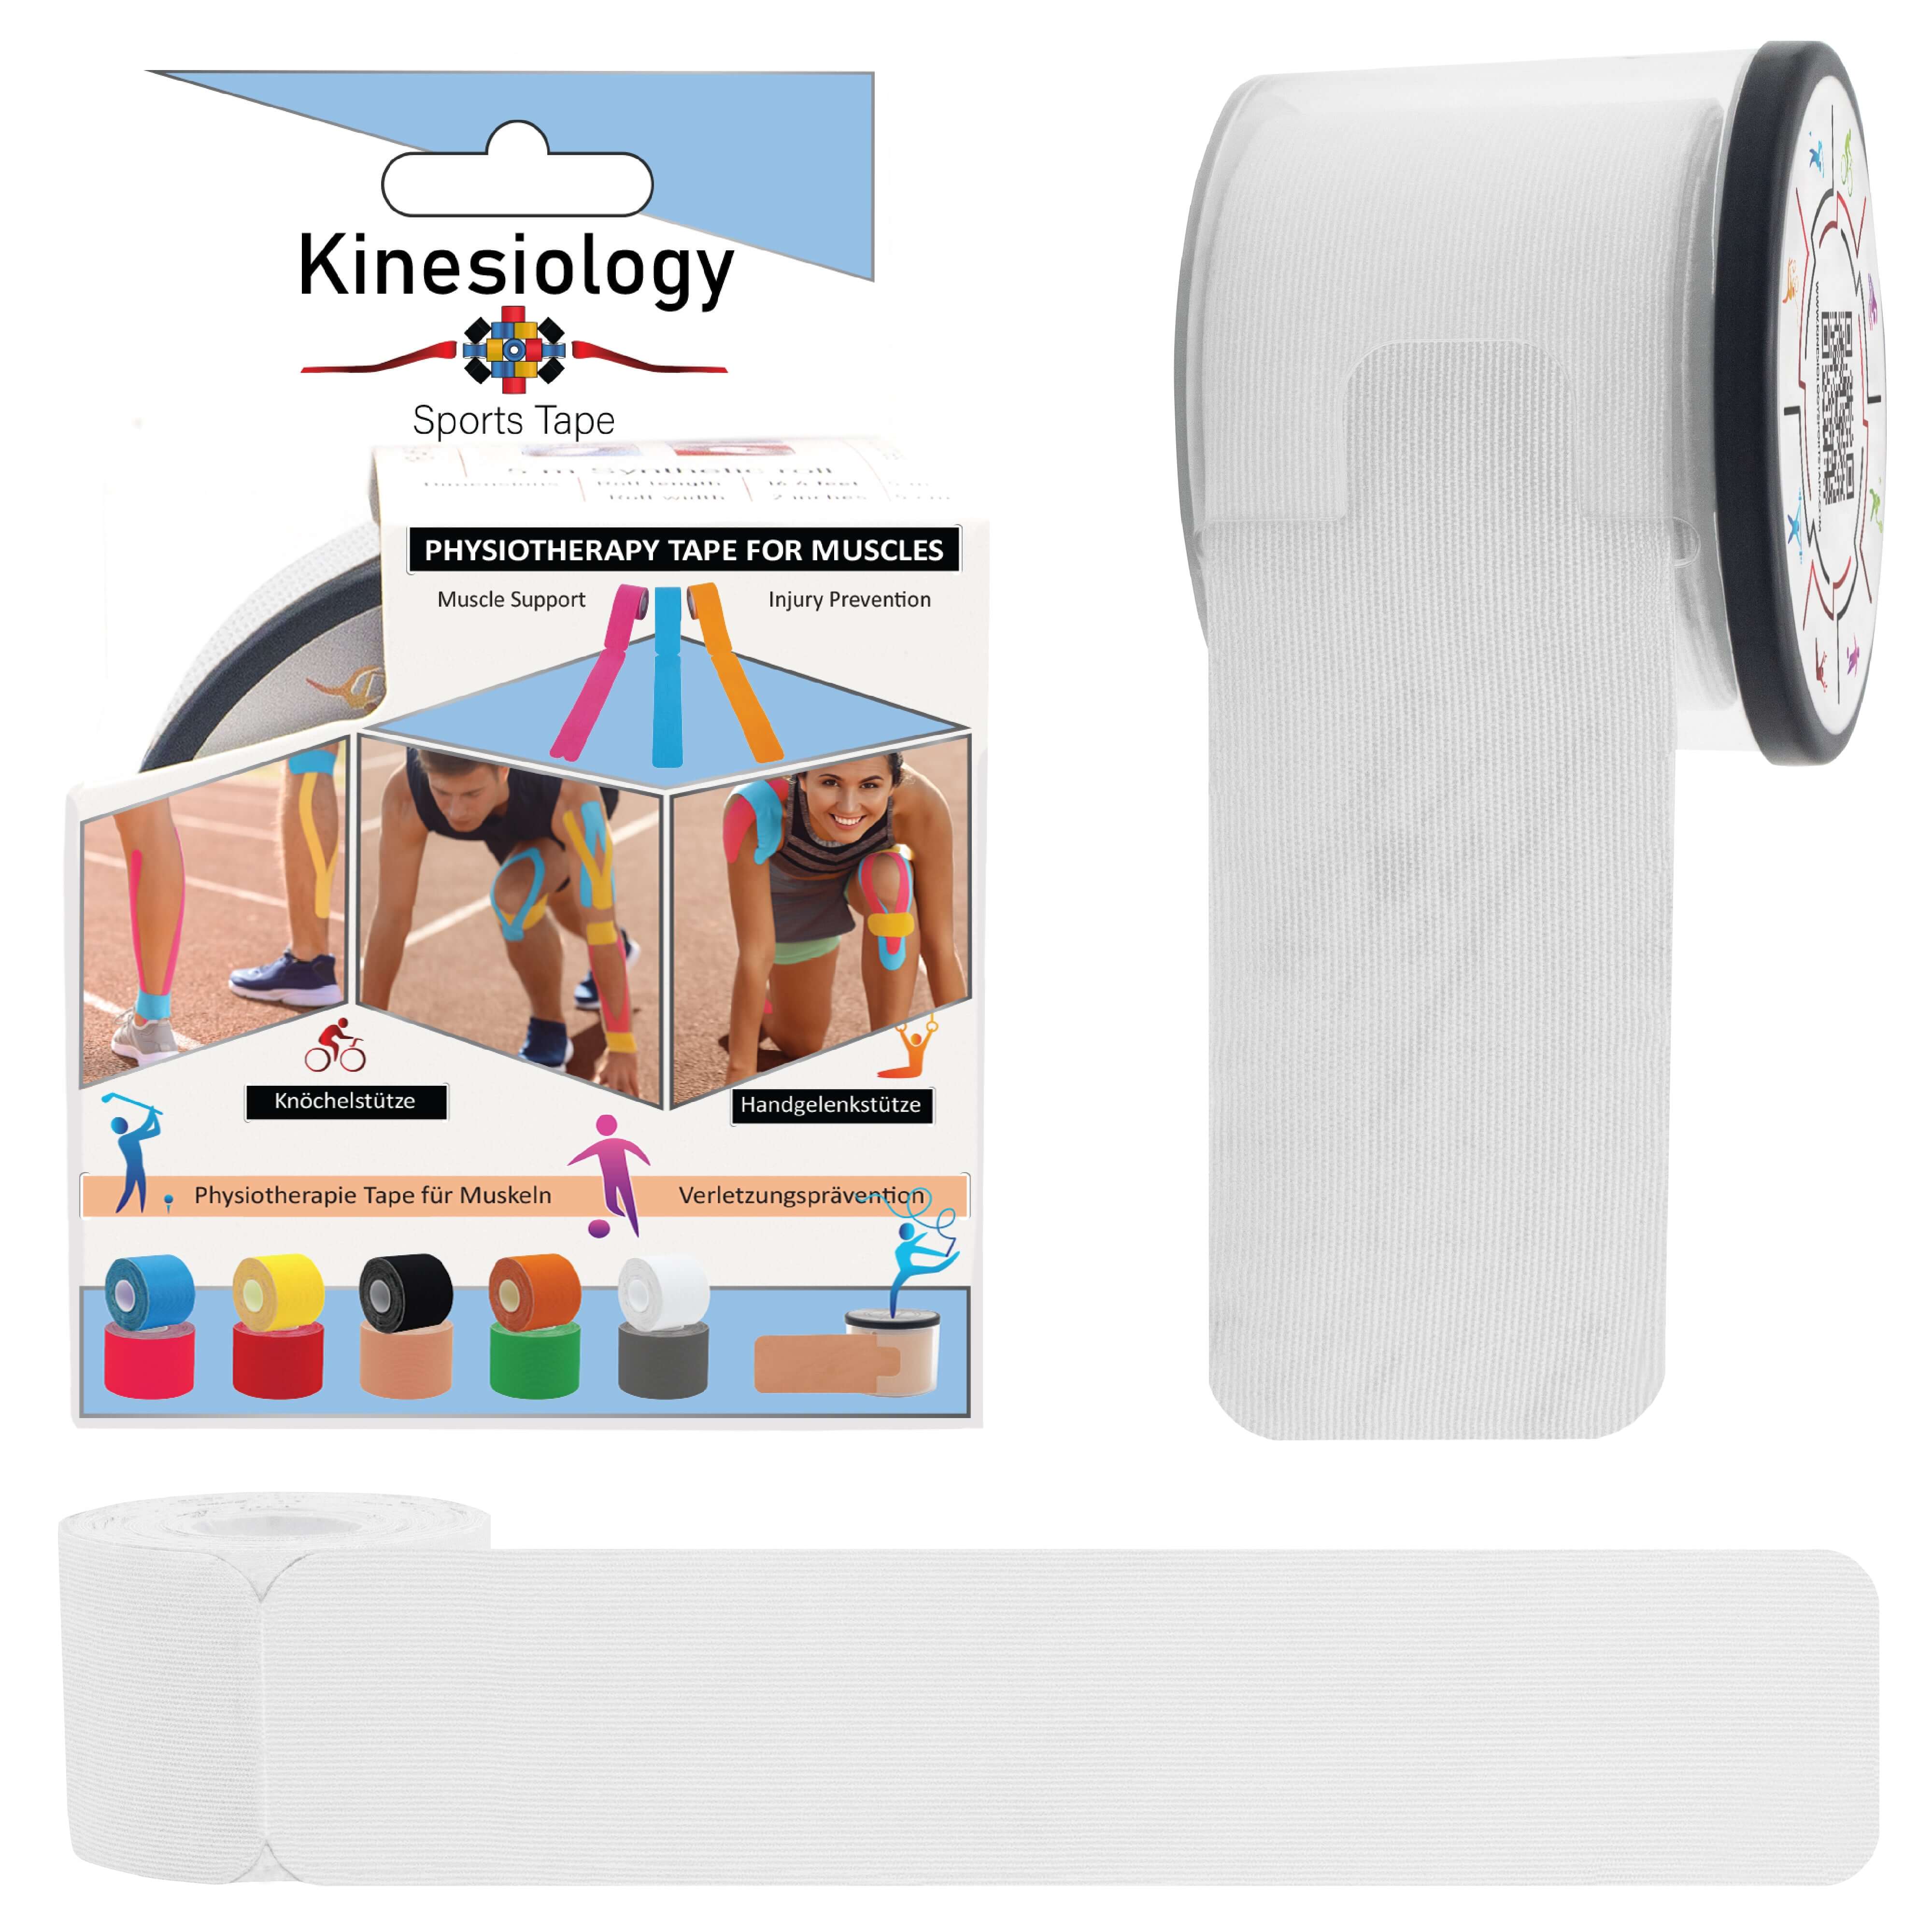
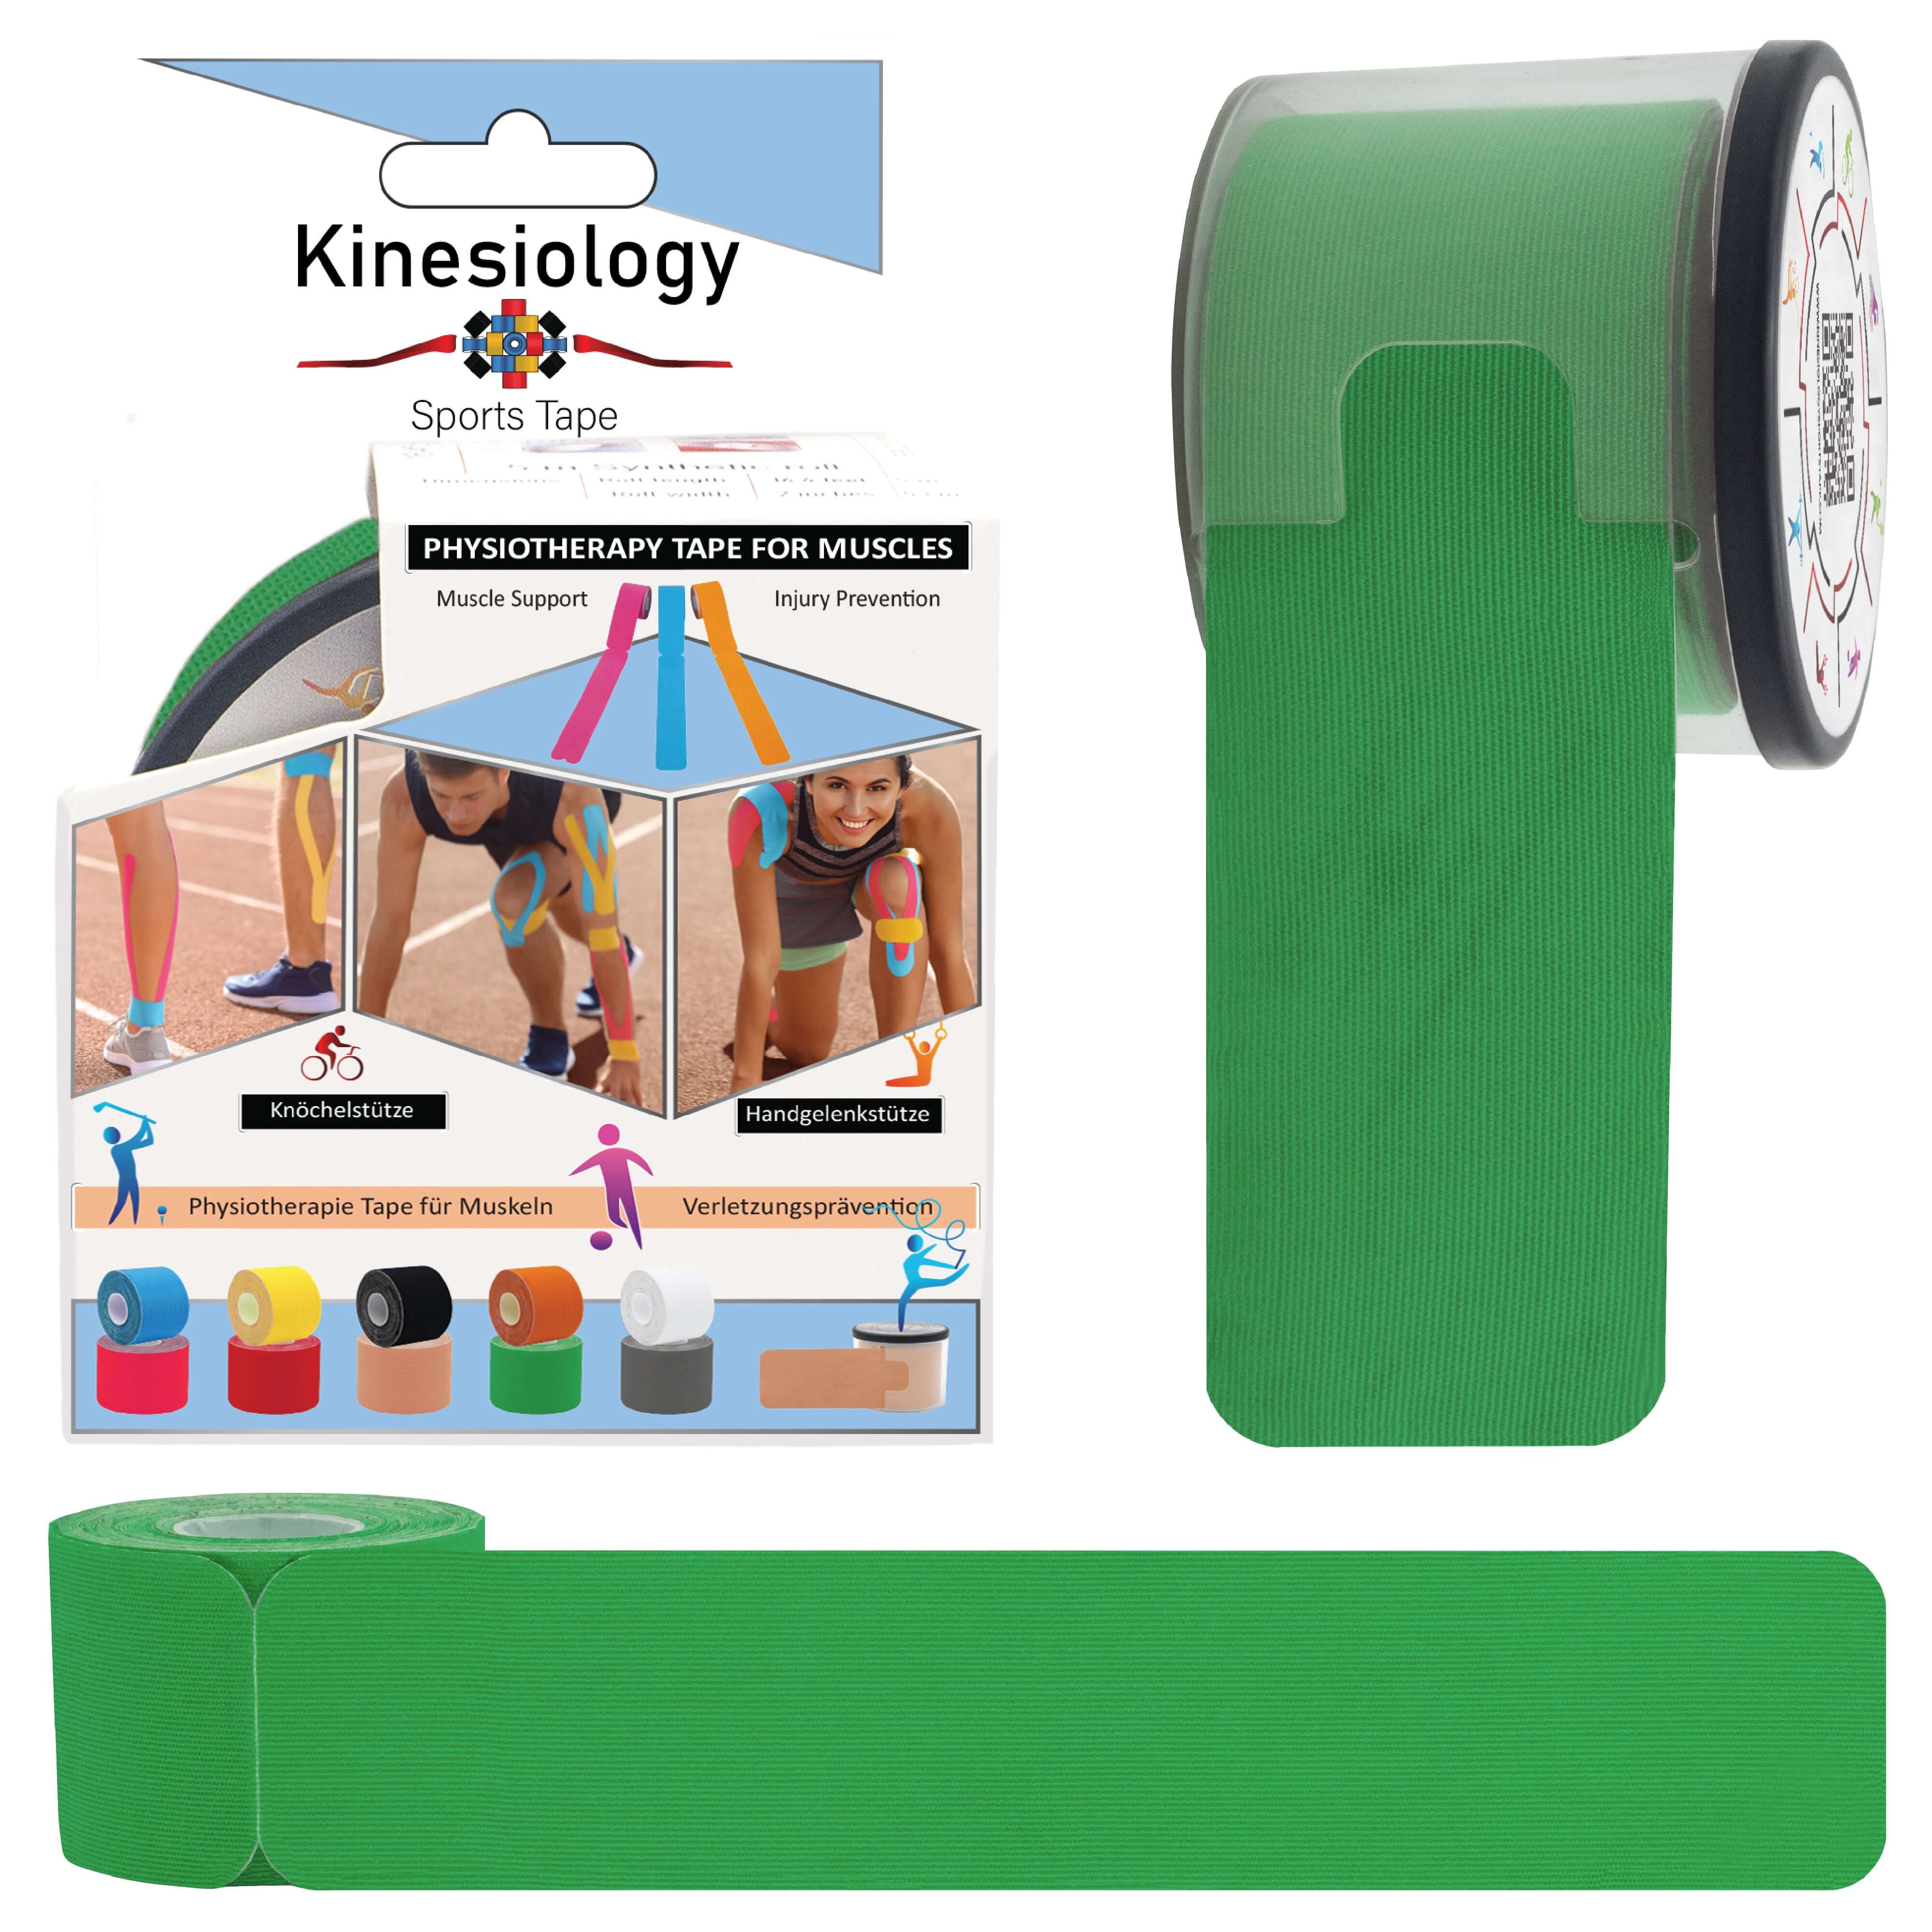
0 CommentsLigament Sprain Kinesiology Tape Guide: Ankle, Knee & Wrist Support
60-Second Taping Guide
Ligament Sprains: Ankle, Knee & Wrist
Pre-cut kinesiology tape application for joint support, proprioceptive feedback and return-to-sport confidence.
What is a ligament sprain?
A ligament sprain is a tear in the fibrous tissue that holds bones together at a joint, graded I (mild stretch), II (partial tear) or III (complete rupture). The most common is the lateral ankle sprain (rolling the ankle inward, injuring the ATFL and CFL ligaments), one of the most frequent sports injuries in the UK. Knee sprains (MCL, ACL) and wrist sprains (TFCC, scapholunate) are next most common. Symptoms: sudden onset, pain, swelling, bruising, joint feels unstable.

Common causes
- Sport: rolling an ankle on uneven ground or landing
- Falls onto an outstretched hand (wrist sprain)
- Twisting under load: football tackles, skiing falls
- Repeated minor sprains weakening the ligament
- Poor footwear or training surface
How kinesiology tape helps ligament sprains
Tape provides two things ligaments need during rehab: proprioception (the joint’s sense of where it is in space, sprains damage this) and gentle mechanical support without immobilising the joint. The skin lift over the swollen area is thought to ease pressure and improve lymphatic drainage, reducing the persistent puffiness that follows a sprain. Tape is used through the rehab phase, particularly during return-to-sport, alongside the strengthening work.
How to apply: ankle sprain example


01
Prep
Foot at 90°, slightly turned outward. Clean dry skin.
02
Strip 1
Anchor on outer mid-foot. Lay up outer ankle to mid-calf at 50% stretch.
03
Strip 2
Wrap horizontal across the ankle joint in a figure-8 at 50% stretch over the painful area.
04
Activate
Rub firmly 30 seconds. Stand, walk a few steps.
If the joint cannot bear weight, looks deformed, or has severe pain, get assessed. Could be a fracture or grade III tear. Kinesiology tape is for grade I-II support after acute care.
Recovery tips beyond taping
- PEACE & LOVE in the first 5 days. Protect, Elevate, Avoid NSAIDs early, Compress, Educate, Load (gentle), Optimism, Vascularisation (walking), Exercise.
- Single-leg balance work: the proprioception rehab. 3 × 30 seconds, eyes open then closed.
- Calf raises and ankle alphabet for ankle sprains: start with seated, progress to standing.
- Resistance band work: 4 directions (in/out/up/down) for ankle, 3 × 15 each daily.
- Wobble board at 2 to 3 weeks to challenge proprioception.
- Don’t skip the strength phase: the main reason for re-sprains.
When to see a physio or GP
Use the Ottawa Ankle Rules: if you can’t take 4 steps immediately after and at the assessment, or if there’s bone tenderness, get an X-ray. See a physio for any sprain that’s still painful at 2 weeks, feels unstable, or for return-to-sport guidance after grade II or III injuries.
Frequently asked
When can I start taping after a sprain?
After the first 48 to 72 hours once acute swelling starts to settle. The tape supports the rehab phase rather than the acute injury.
Tape or ankle brace?
Different tools. Brace gives mechanical restriction, best for return-to-sport in the first few weeks. Tape gives proprioception and gentle support without restriction, best for confidence and rebuild. Many athletes use both during return-to-play.
Will tape prevent another sprain?
Combined with proprioception and strength work, yes. It reduces re-sprain rates meaningfully. Tape alone, without strengthening, does not.
Can I run with a taped ankle?
Yes, once you’re pain-free walking and can hop on the affected side. Build up gradually with run-walk intervals.
Related post
22
Mar
21
Mar
21
Mar
05
Aug
Pain & Recovery Guides
Kinesiology Tape for Plantar Fasciitis: Complete Pain Relief and Recovery Guide
Read more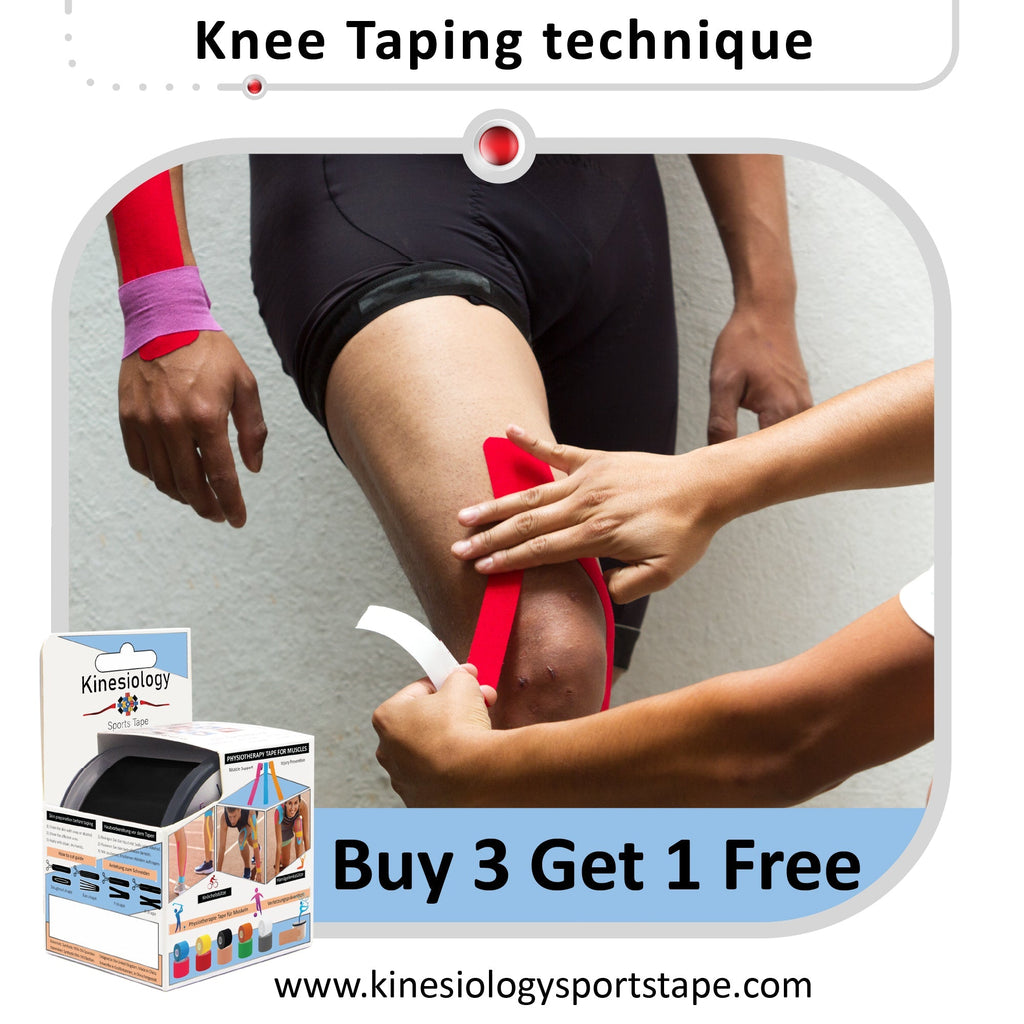
05
Aug