RECENT POSTS

22.March.2026
Kinesiology Tape for Knee Pain: Complete Relief Guide for Athletes and Active Individual
0 Comments
21.March.2026
Kinesiology Tape for Knee Pain: Complete Relief Guide for Athletes and Active Individuals
0 Comments
21.March.2026
Kinesiology Tape Benefits: Complete Guide to Uses, Applications, and Therapeutic Effects
0 Comments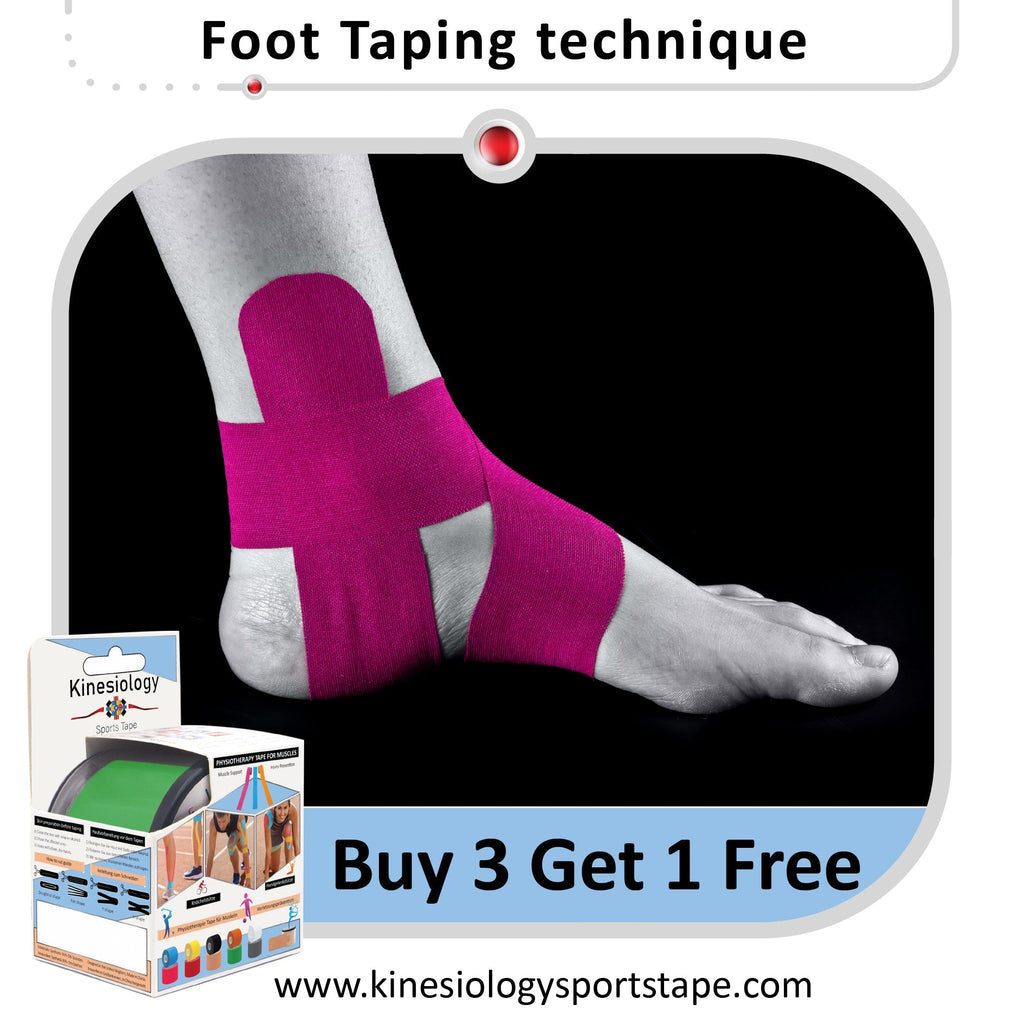
05.August.2025
Kinesiology Tape for Plantar Fasciitis: Complete Pain Relief and Recovery Guide
0 CommentsHow to Apply Kinesiology Tape - Complete Step-by-Step Guide
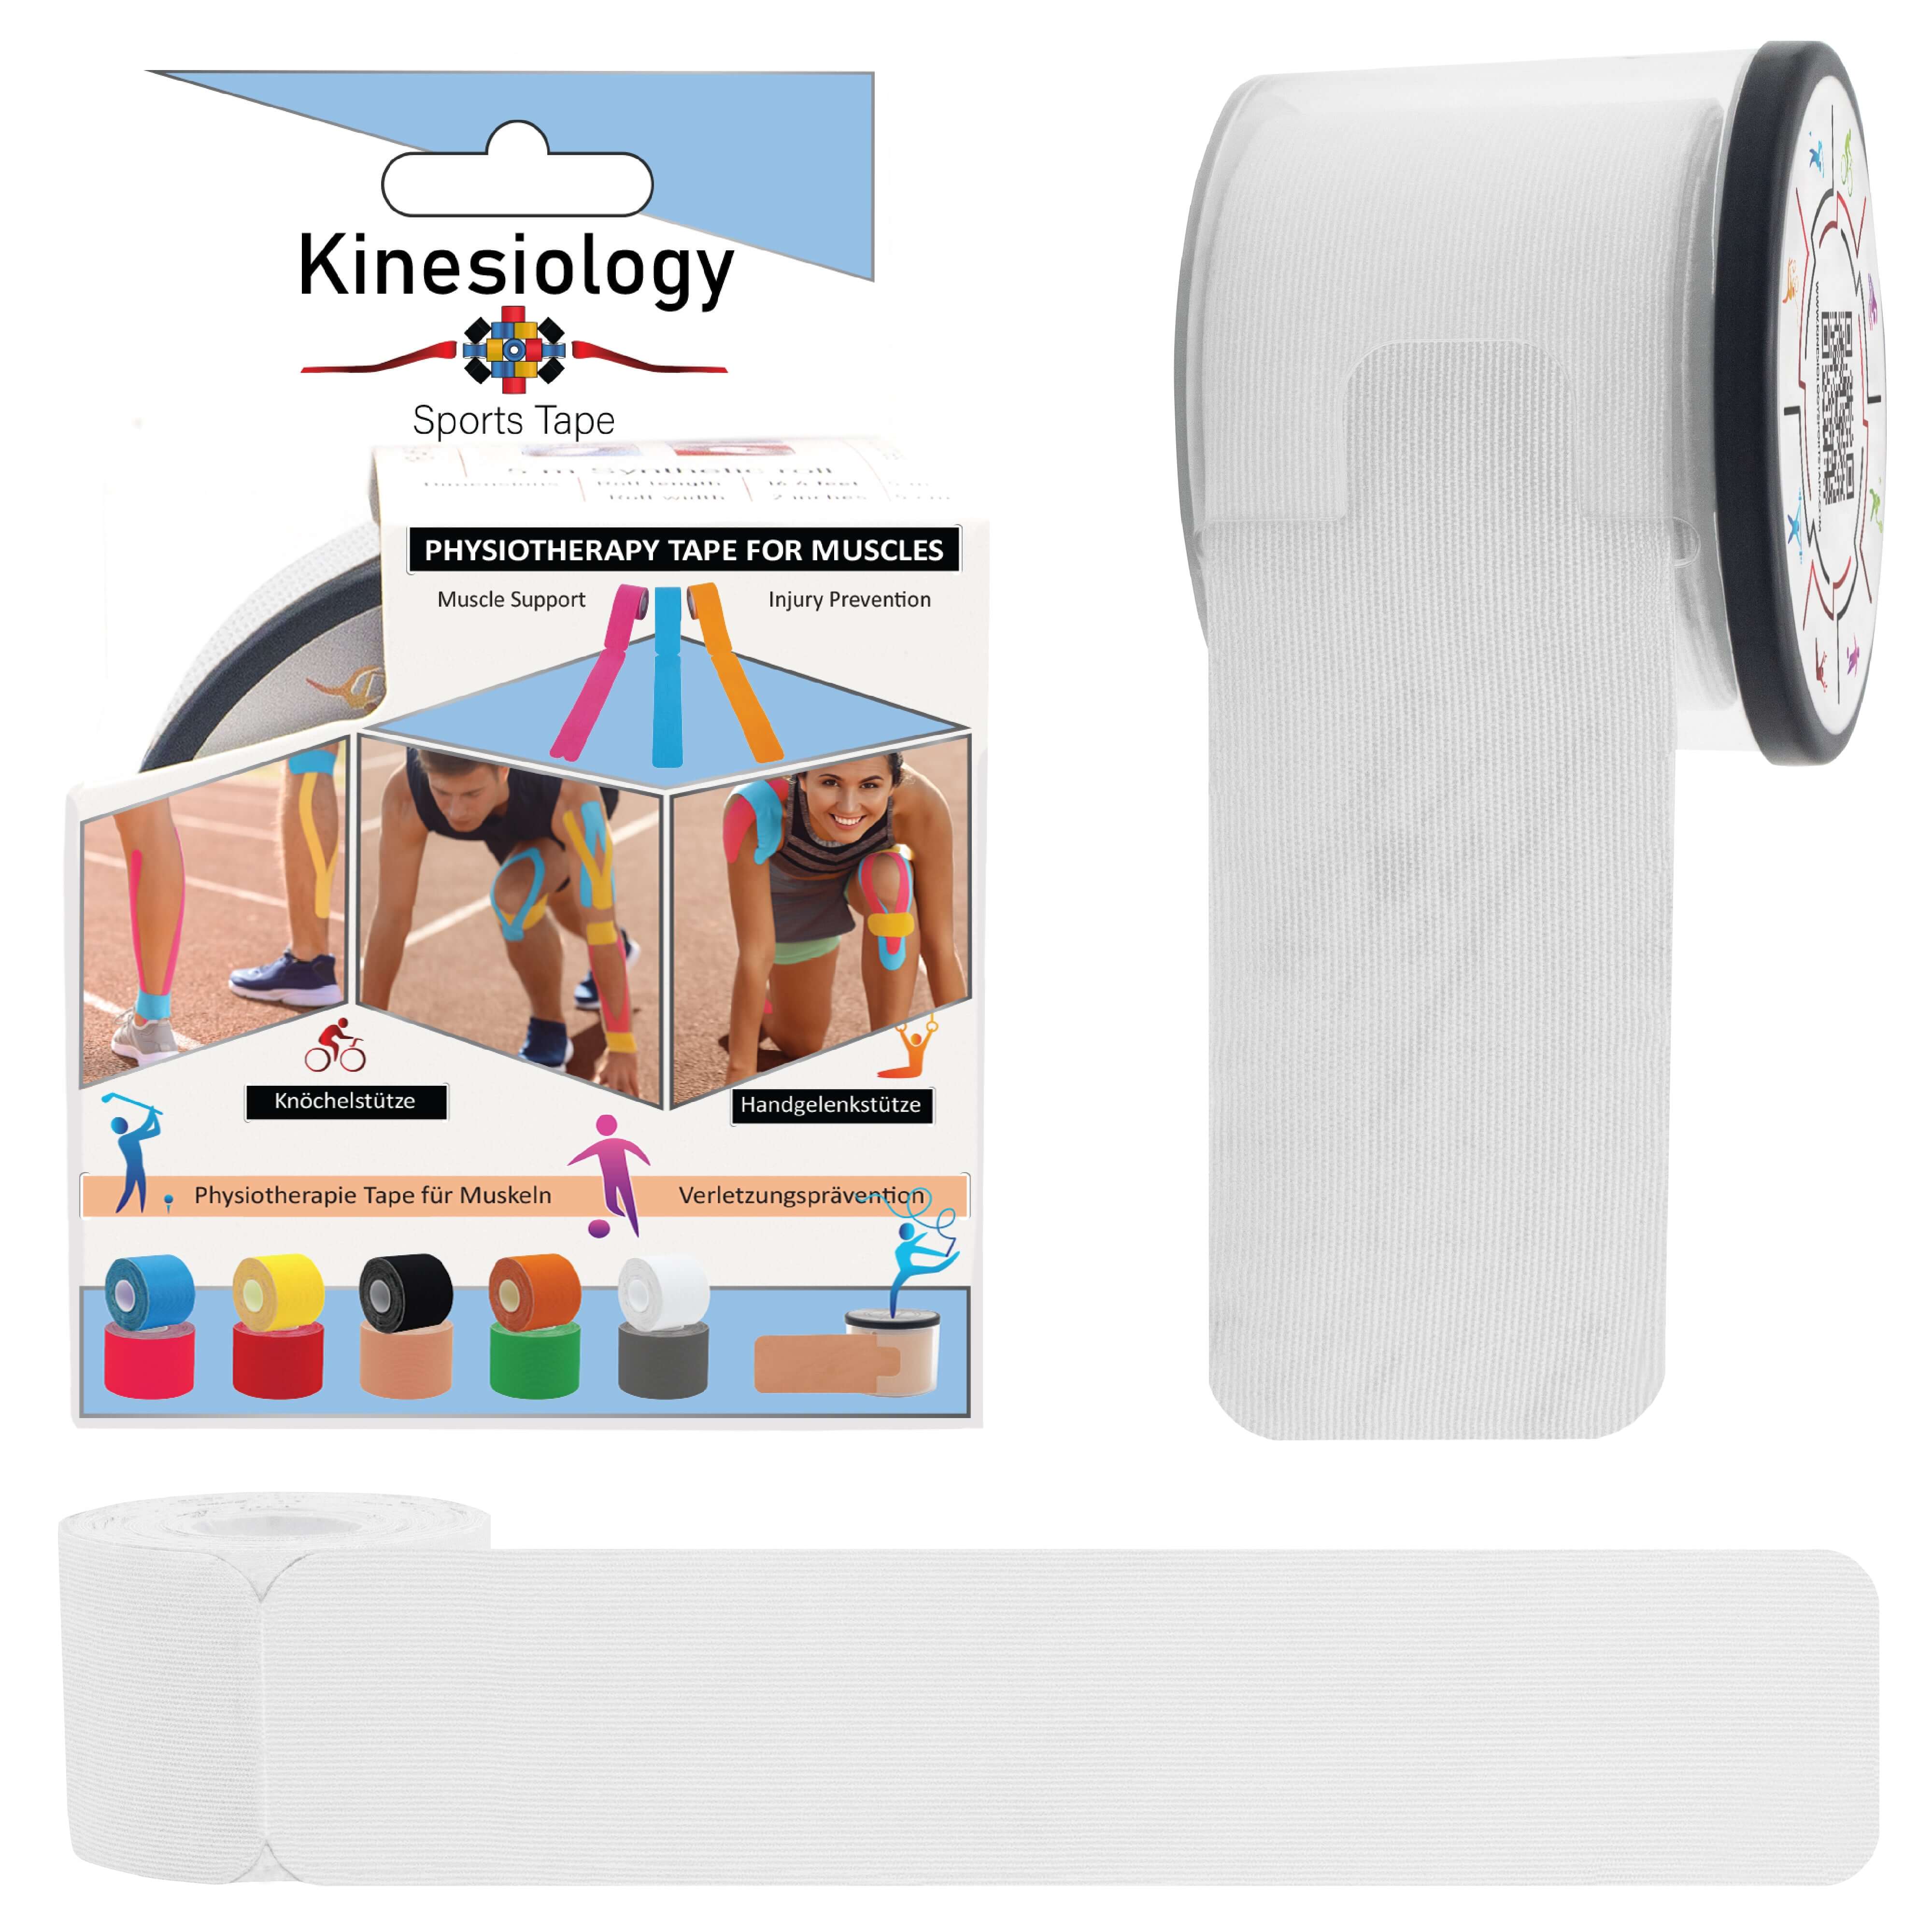
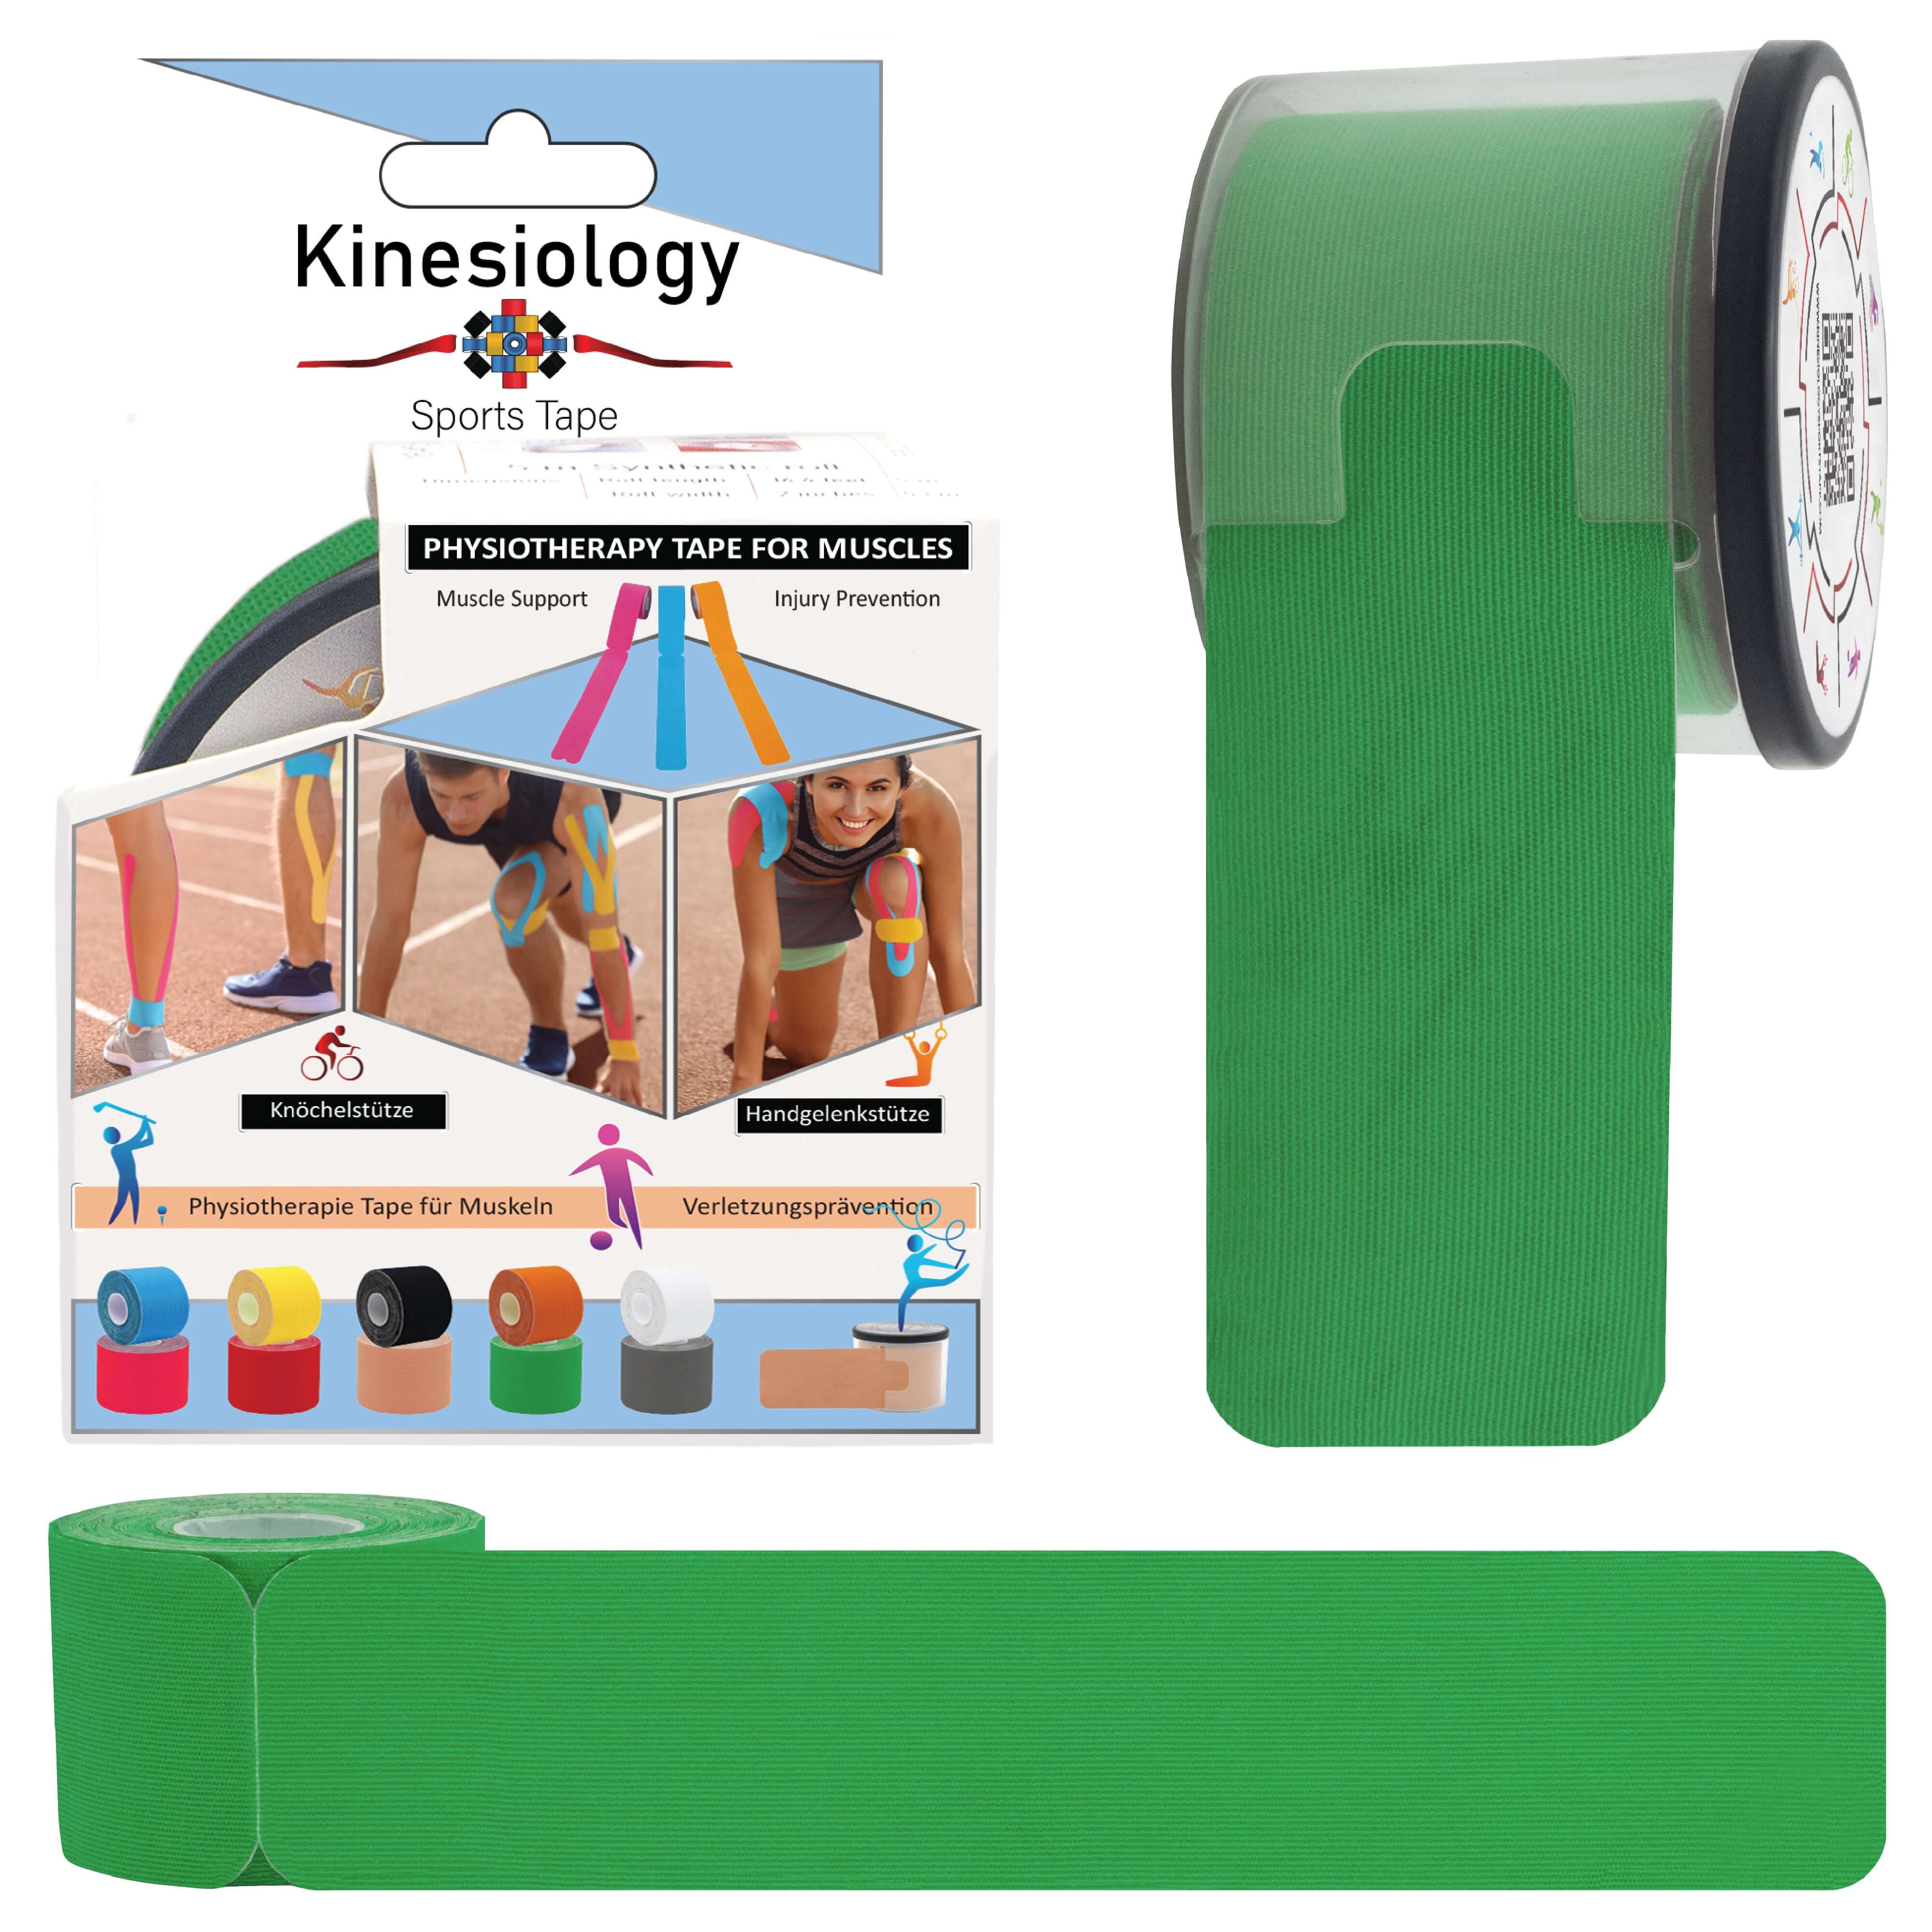
Kinesiology tape has revolutionized the approach to pain management, injury prevention, and performance enhancement across diverse populations, from elite athletes to individuals managing chronic conditions [1]. The proper application of kinesiology tape requires understanding of anatomy, biomechanics, and the specific therapeutic goals for each individual situation. Unlike traditional athletic tape that restricts movement, kinesiology tape works with the body's natural mechanics to provide support while maintaining full range of motion.
The effectiveness of kinesiology tape depends heavily on proper application technique, including appropriate tension, direction, and timing of application [2]. Incorrect application can not only reduce therapeutic benefits but may also cause skin irritation or exacerbate existing conditions. This comprehensive guide will provide you with the knowledge and skills necessary to apply kinesiology tape safely and effectively for various conditions and body regions.
Understanding the fundamental principles of kinesiology tape application is essential for achieving optimal therapeutic outcomes [3]. These principles include proper skin preparation, tape selection, tension control, and application sequence. Each element plays a crucial role in determining the success of the taping intervention and the duration of therapeutic benefits.
Fundamental Principles of Kinesiology Tape Application
The foundation of successful kinesiology tape application rests on understanding how the tape interacts with the skin, fascia, and underlying structures to produce therapeutic effects [4]. The tape's elastic properties allow it to mimic the elasticity of human skin, providing support without restricting natural movement patterns. When applied correctly, the tape creates a lifting effect on the skin that can improve circulation, reduce pain, and enhance proprioceptive feedback.
Proper tension control represents one of the most critical aspects of kinesiology tape application [5]. The amount of stretch applied to the tape during application determines the mechanical forces transmitted to the underlying tissues. Too little tension may result in inadequate therapeutic effect, while excessive tension can cause skin irritation, restrict circulation, or create unwanted movement restrictions. Most applications require between 10-50% of the tape's available stretch, depending on the specific therapeutic goals and body region being treated.
The direction of tape application significantly influences the therapeutic outcome and must be carefully considered based on the intended effect [6]. Tape applied from origin to insertion of a muscle can facilitate muscle contraction, while tape applied from insertion to origin may help inhibit overactive muscles. For lymphatic drainage applications, tape should follow the natural lymphatic flow patterns toward regional lymph nodes.
Step-by-Step Application Process
Proper skin preparation forms the foundation of successful kinesiology tape application and significantly impacts both adhesion and wear time [7]. Begin by thoroughly cleaning the application area with soap and water to remove oils, lotions, and debris that could interfere with adhesion. Allow the skin to dry completely before proceeding with tape application. For areas with excessive hair, consider trimming or shaving to improve tape contact with the skin.
The measurement and cutting phase requires careful attention to ensure optimal tape length and shape for the intended application [8]. Measure the tape while the target area is in a stretched position to account for the full range of motion. Round the corners of tape strips to prevent premature lifting and extend wear time. For most applications, the tape should extend 2-3 inches beyond the target area to provide adequate anchoring.
Anchor placement represents the starting point for most kinesiology tape applications and should be applied without tension to prevent skin irritation [9]. The anchor typically consists of the first 1-2 inches of tape and provides a stable foundation for the remainder of the application. Position the anchor on stable skin that experiences minimal movement during functional activities.
The working portion of the tape, which provides the therapeutic effect, should be applied with appropriate tension based on the specific goals of the intervention [10]. For pain relief applications, use light to moderate tension (10-25% stretch). For support applications, moderate tension (25-50% stretch) may be appropriate. For lymphatic drainage, minimal tension (0-15% stretch) is typically recommended.
Common Application Techniques
The I-strip technique represents the most basic and versatile kinesiology tape application method [11]. This technique involves applying a single strip of tape along the length of a muscle or over a specific area of concern. The I-strip can be used for muscle facilitation, pain relief, or general support depending on the direction and tension of application.
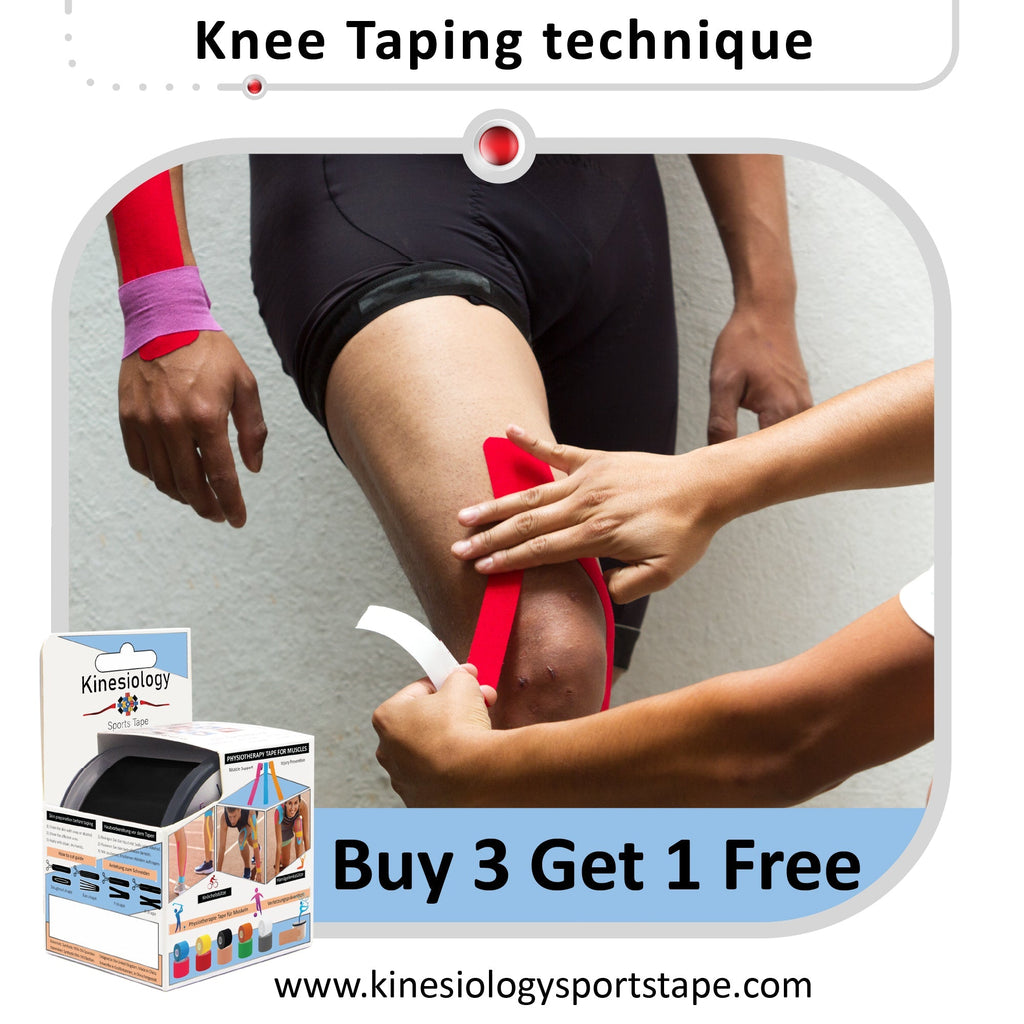
Y-strip applications involve cutting the tape to create a fork-like shape that can wrap around muscles or joints [12]. This technique is particularly useful for applications around the knee, shoulder, or other areas where the tape needs to conform to complex anatomical contours. The base of the Y provides the anchor, while the two tails can be applied with different tensions to achieve specific therapeutic goals.
X-strip techniques involve crossing two strips of tape over a central point, typically a joint or area of pain [13]. This method provides multidirectional support and can be particularly effective for joint stability applications. The crossing point should be positioned directly over the area requiring the most support.
Fan cuts create multiple narrow strips from a single piece of tape and are primarily used for lymphatic drainage applications [14]. The narrow strips create channels that can help direct lymphatic flow and reduce swelling. Fan cuts require minimal tension and should follow natural lymphatic drainage patterns.
Troubleshooting Common Issues
Premature tape failure often results from inadequate skin preparation, environmental factors, or improper application technique [15]. If tape consistently fails in certain areas, review your preparation process and consider factors such as skin moisture, hair removal, and activity level. Using a skin adherent spray can improve initial adhesion and extend wear time in challenging conditions.
Skin irritation can occur even with proper application and may be related to individual sensitivity, excessive tension, or prolonged wear time [16]. If irritation develops, remove the tape immediately and assess the cause. Future applications may require hypoallergenic tape, reduced tension, or shorter wear times. Some individuals benefit from using a skin protectant barrier before tape application.
Inadequate therapeutic effect may indicate problems with tape selection, application technique, or unrealistic expectations [17]. If initial applications don't provide expected benefits, consider modifying the tape tension, direction, or pattern. Sometimes a different taping technique altogether may be more appropriate for the specific condition being treated.
Safety Considerations and Contraindications
Understanding when not to use kinesiology tape is as important as knowing proper application techniques [18]. Contraindications include open wounds, active skin infections, severe swelling, suspected fractures, or areas of compromised circulation. Individuals with certain medical conditions, such as diabetes with poor circulation or those taking blood-thinning medications, should consult healthcare professionals before using kinesiology tape.
Proper removal technique is essential for maintaining skin health and preventing damage [19]. Remove tape slowly and carefully, supporting the skin with your free hand. If the tape is difficult to remove, use oil or adhesive remover to help loosen the adhesive. Never rip tape off quickly, as this can damage the skin and create negative associations with taping.
FAQ Section
Q: How long should I leave kinesiology tape on?
A: Kinesiology tape can typically be worn for 3-7 days, depending on your activity level and skin sensitivity. Most people find optimal benefits with 3-5 days of wear [20].
Q: Can I shower with kinesiology tape on?
A: Yes, quality kinesiology tape is water-resistant. After getting wet, gently pat the tape dry rather than rubbing vigorously [21].
Q: How much should I stretch the tape during application?
A: Most applications require 10-50% stretch. For pain relief, use 10-25%; for support, use 25-50%; for lymphatic drainage, use 0-15% [22].
Q: What should I do if the tape causes skin irritation?
A: Remove the tape immediately if irritation occurs. Consider using hypoallergenic tape or a skin barrier for future applications [23].
Q: Can I apply kinesiology tape to myself?
A: Yes, many applications can be self-applied, though some areas like the back may require assistance. Practice proper technique and start with simple applications [24].
References
[1] https://www.ncbi.nlm.nih.gov/pmc/articles/PMC4395677/ [2] https://www.physio-pedia.com/Kinesio_Taping [3] https://www.healthline.com/health/kinesiology-tape [4] https://www.verywellhealth.com/kinesiology-tape-in-physical-therapy-2696435 [5] https://www.kttape.com/blogs/how-to-apply/application-fundamentals [6] https://www.therabandktape.com/videos/applications.html [7] https://www.performancehealth.com/articles/kinesiology-tape-101 [8] https://sporttape.co.uk/blogs/news/how-to-apply-kinesiology-tape [9] https://www.healthandcare.co.uk/blog/ultimate-guide-how-to-apply-kinesiology-tape.html [10] https://tapegeeks.com/blogs/news/how-to-tape-different-areas-of-the-body [11] https://www.shape.com/fitness/tips/how-to-apply-kt-tape-instructions [12] https://www.goodrx.com/well-being/movement-exercise/what-is-kinesiology-tape [13] https://www.henryford.com/blog/2019/01/kinesiology-tape-help-hype [14] https://www.verywellhealth.com/treat-your-plantar-fasciitis-with-kinesiology-tape-2696033 [15] https://coastalorthopedics.com/blog/benefits-of-kinesio-tape/ [16] https://oaidocs.com/2018/09/14/benefits-of-kinesiology-tape/ [17] https://www.premierhealth.com/your-health/articles/women-wisdom-wellness-/how-tape-heals-the-secret-behind-kinesiology-tape [18] https://therapypartnersgroup.com/7-conditions-that-kinesio-tape-can-benefit-from/ [19] https://tapegeeks.com/blogs/news/benefits-of-kinesiology-tape [20] https://www.ptlinktherapy.com/kinesio-taping-vs-athletic-taping [21] https://www.hinklerpodiatry.com.au/k-tape-vs-sports-tape/ [22] https://goodhealthphysicaltherapy.com/what-is-the-difference-between-kinesiotape-and-athletic-tape/ [23] https://qubecore.com/the-power-of-taping-athletic-vs-kinesio/ [24]
Related post
22
Mar
21
Mar
21
Mar
05
Aug