RECENT POSTS
05.August.2025
Kinesiology Tape for Plantar Fasciitis: Complete Pain Relief and Recovery Guide
0 Comments
16.July.2025
Kinesiology Tape for Knee Pain: Complete Relief Guide for Athletes and Active Individuals
0 Comments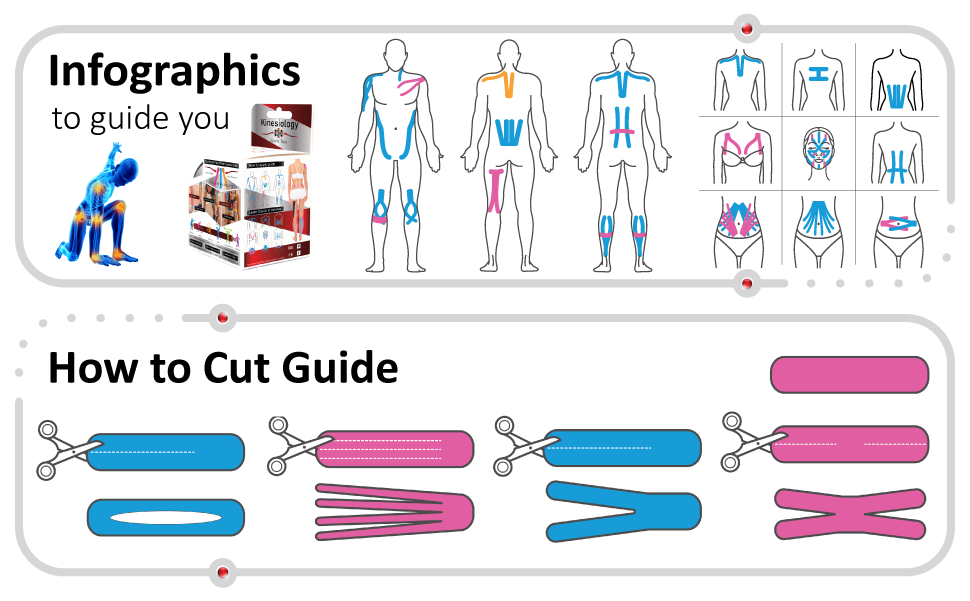
16.July.2025
How to Apply Kinesiology Tape: Complete Step-by-Step Guide for Beginners and Professionals
0 CommentsLet’s Talk Stretching and Anchors!
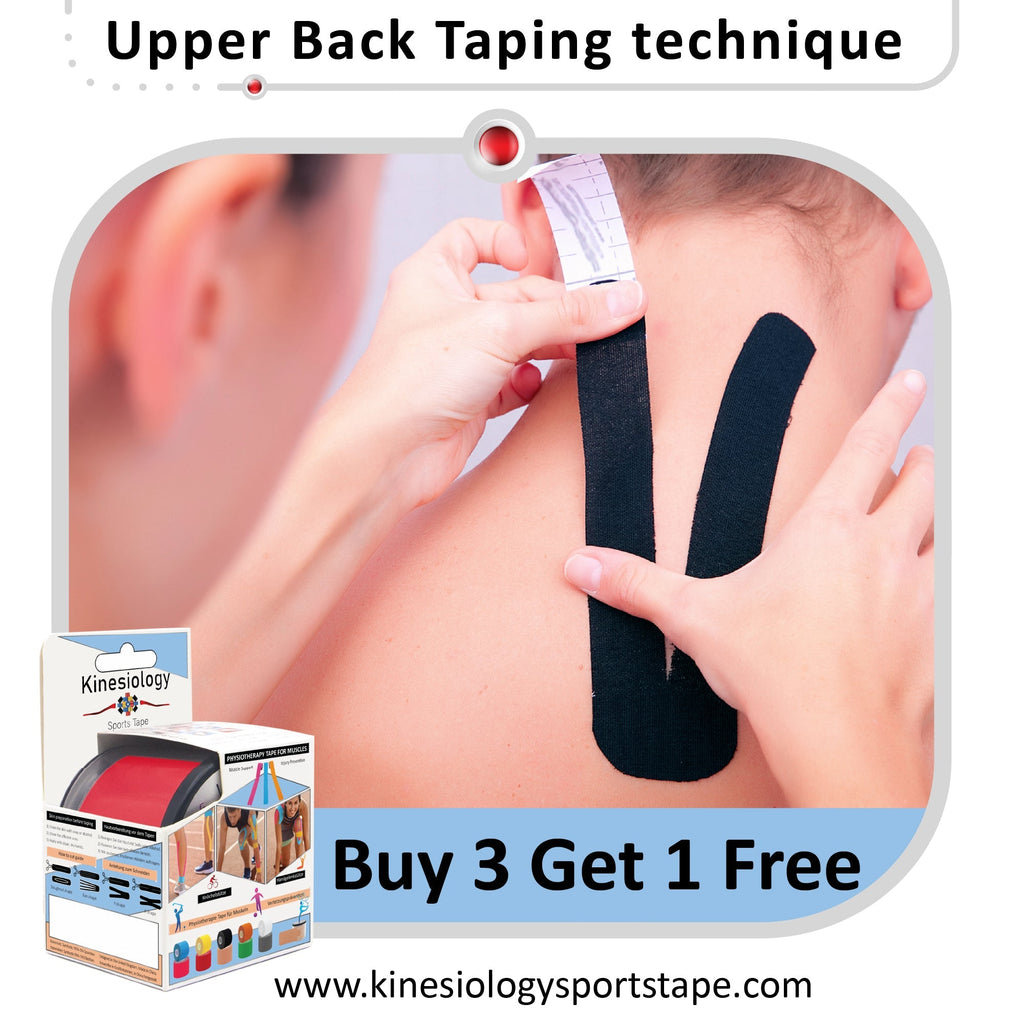
No we are not talking about some strange new exercise on a boat, stretching and anchors are two things you need to become familiar with in order to get the best from your kinesiology tape. So let’s have a look at each of these in turn.
Stretching
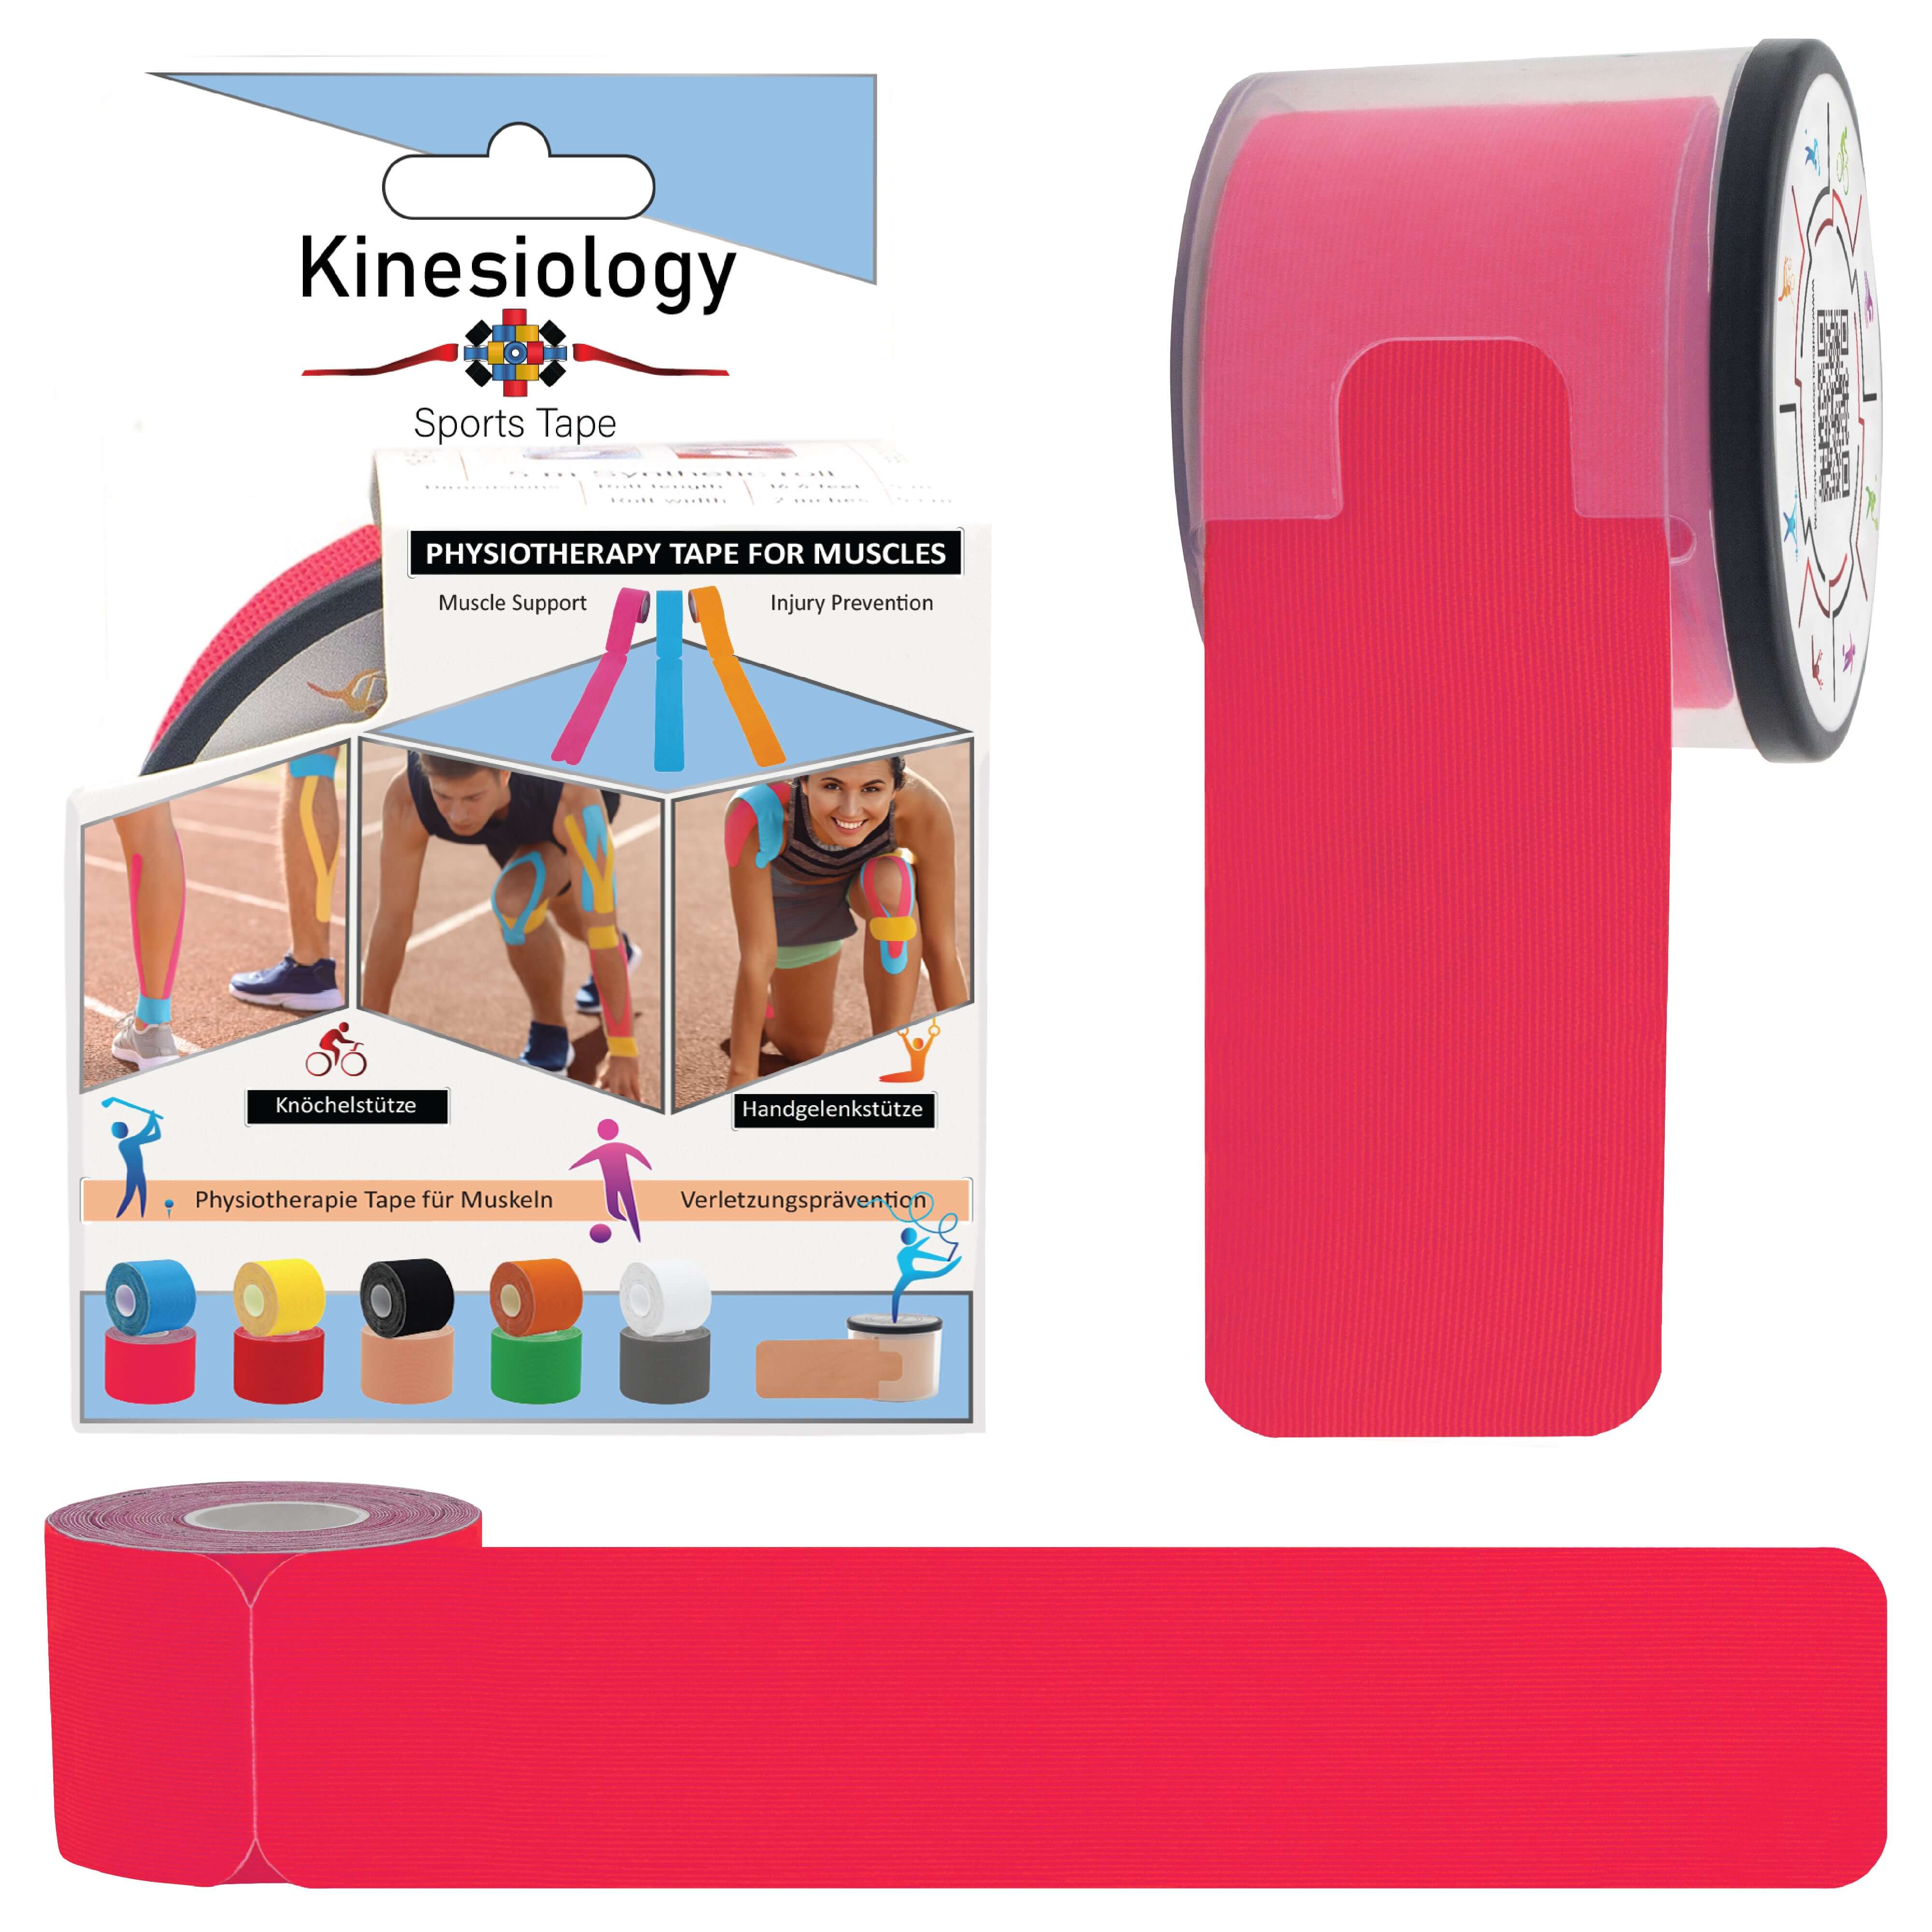
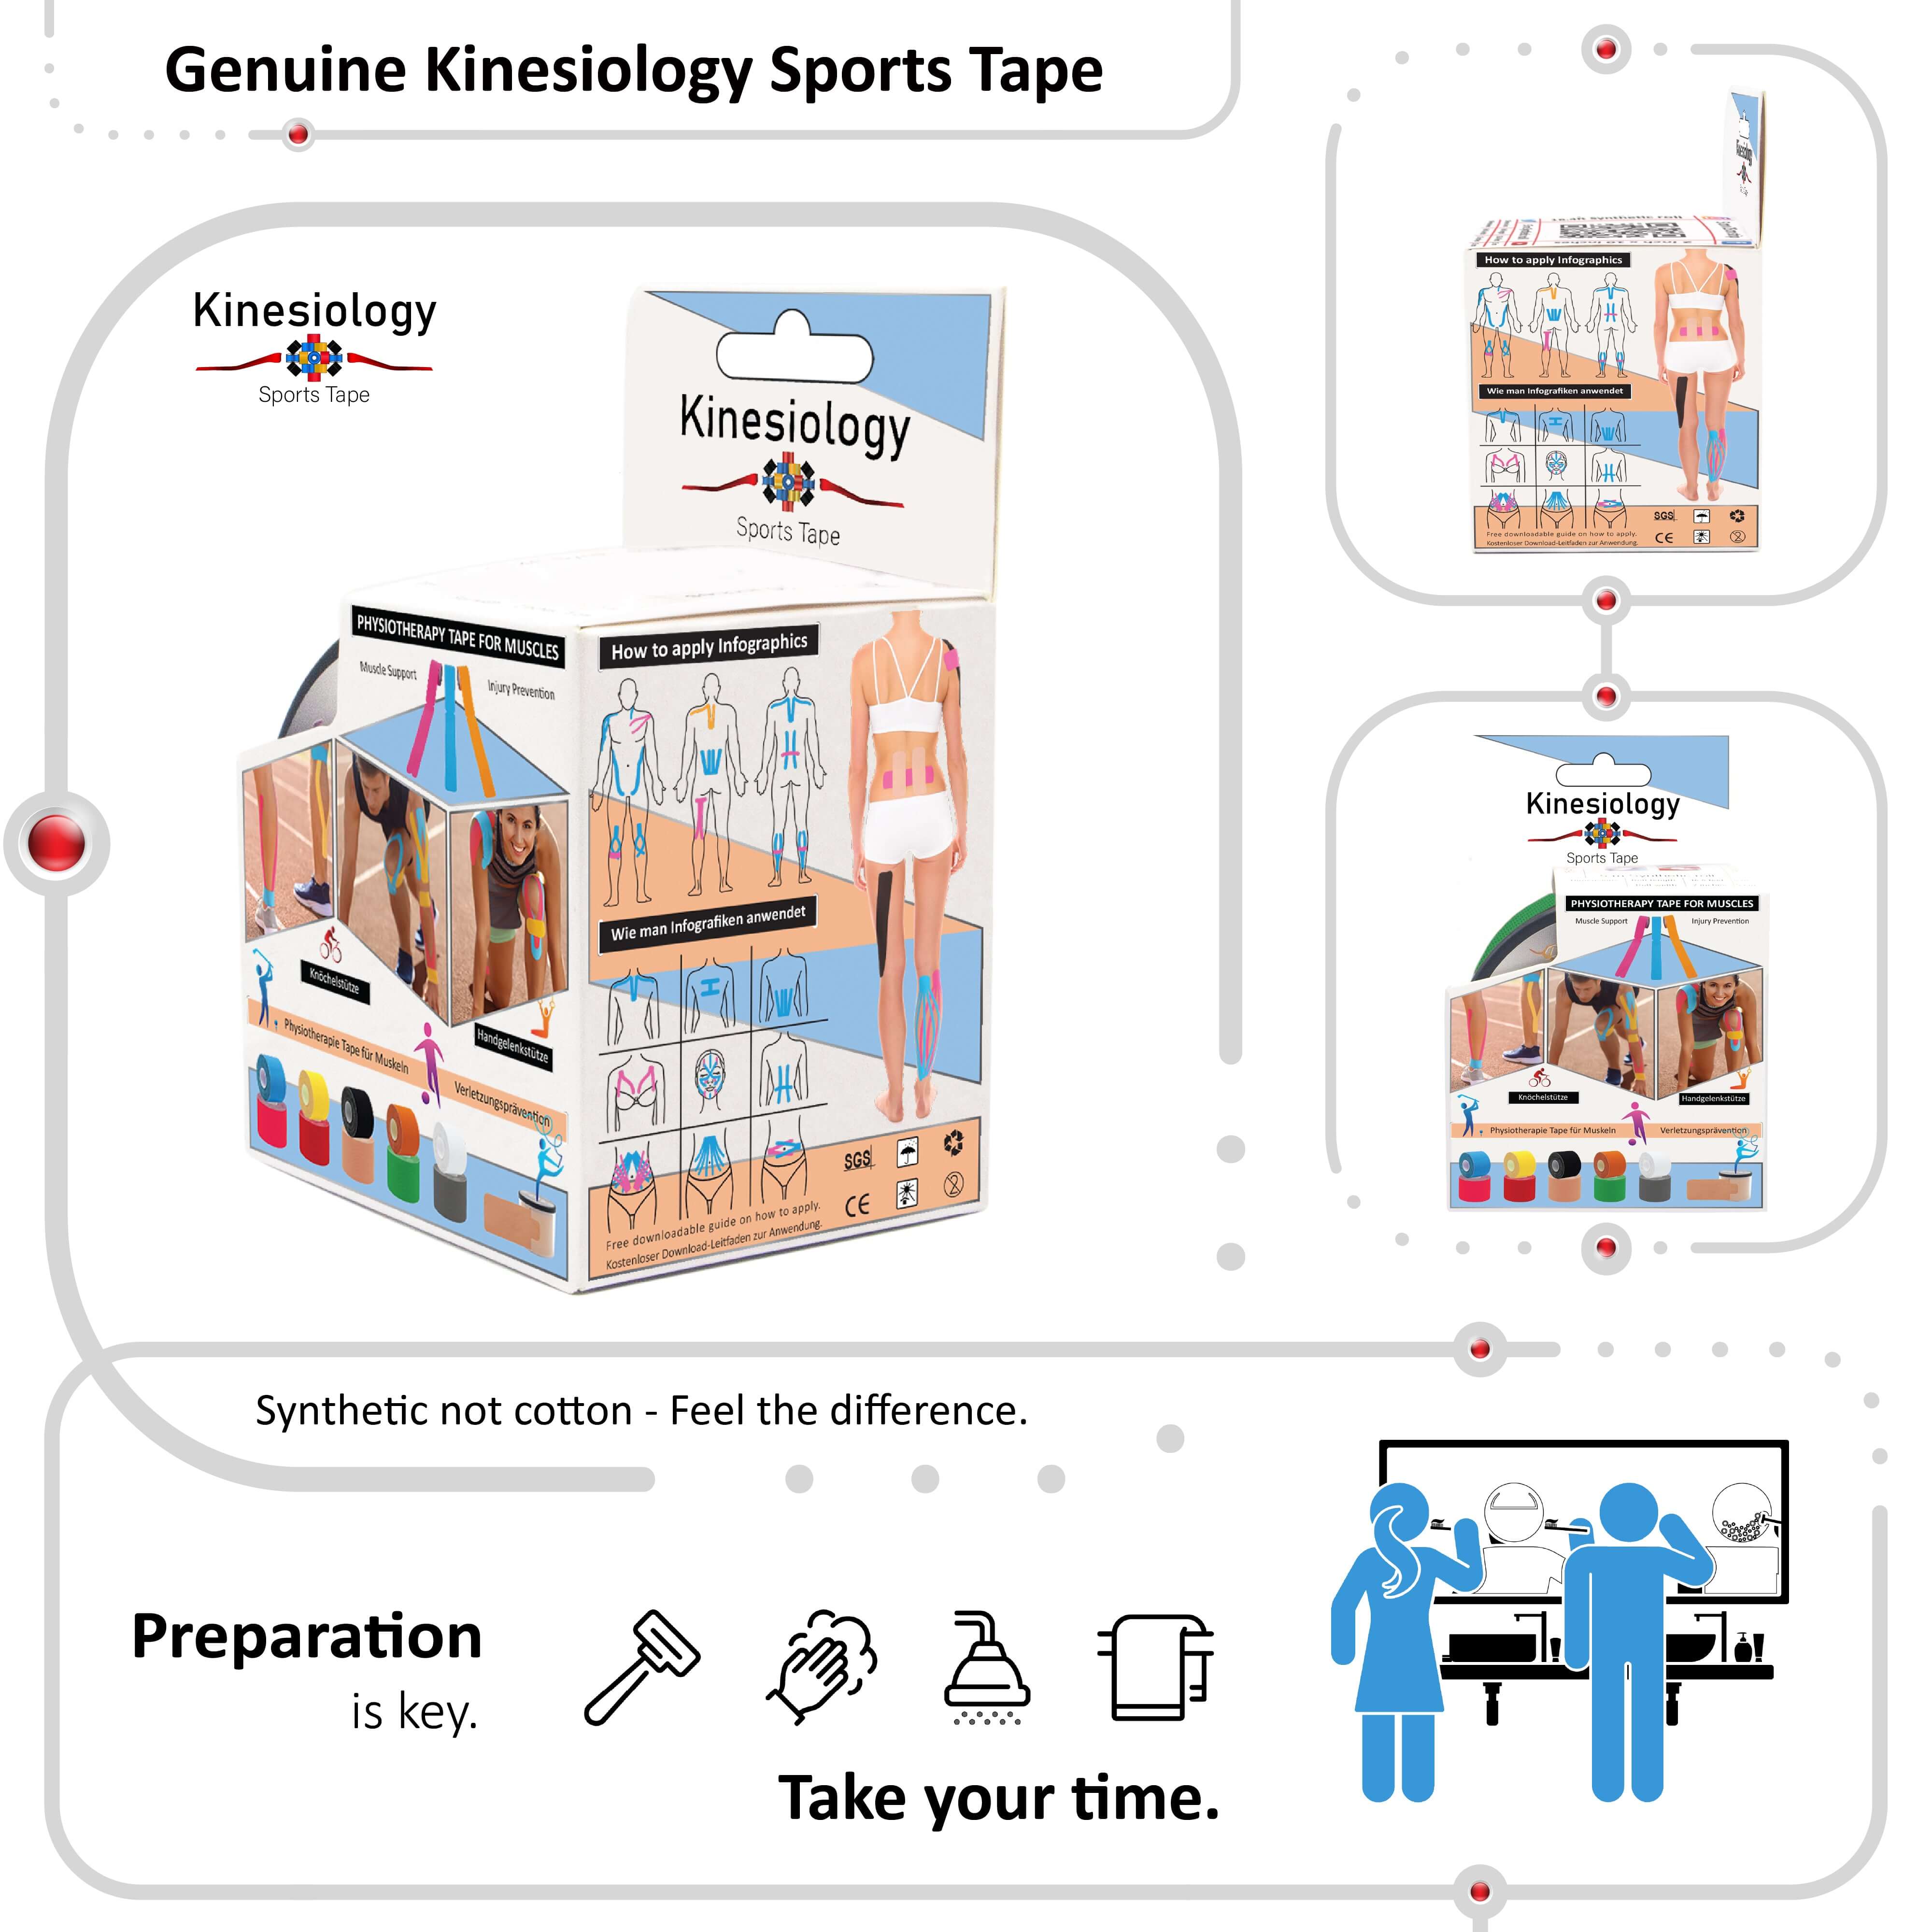
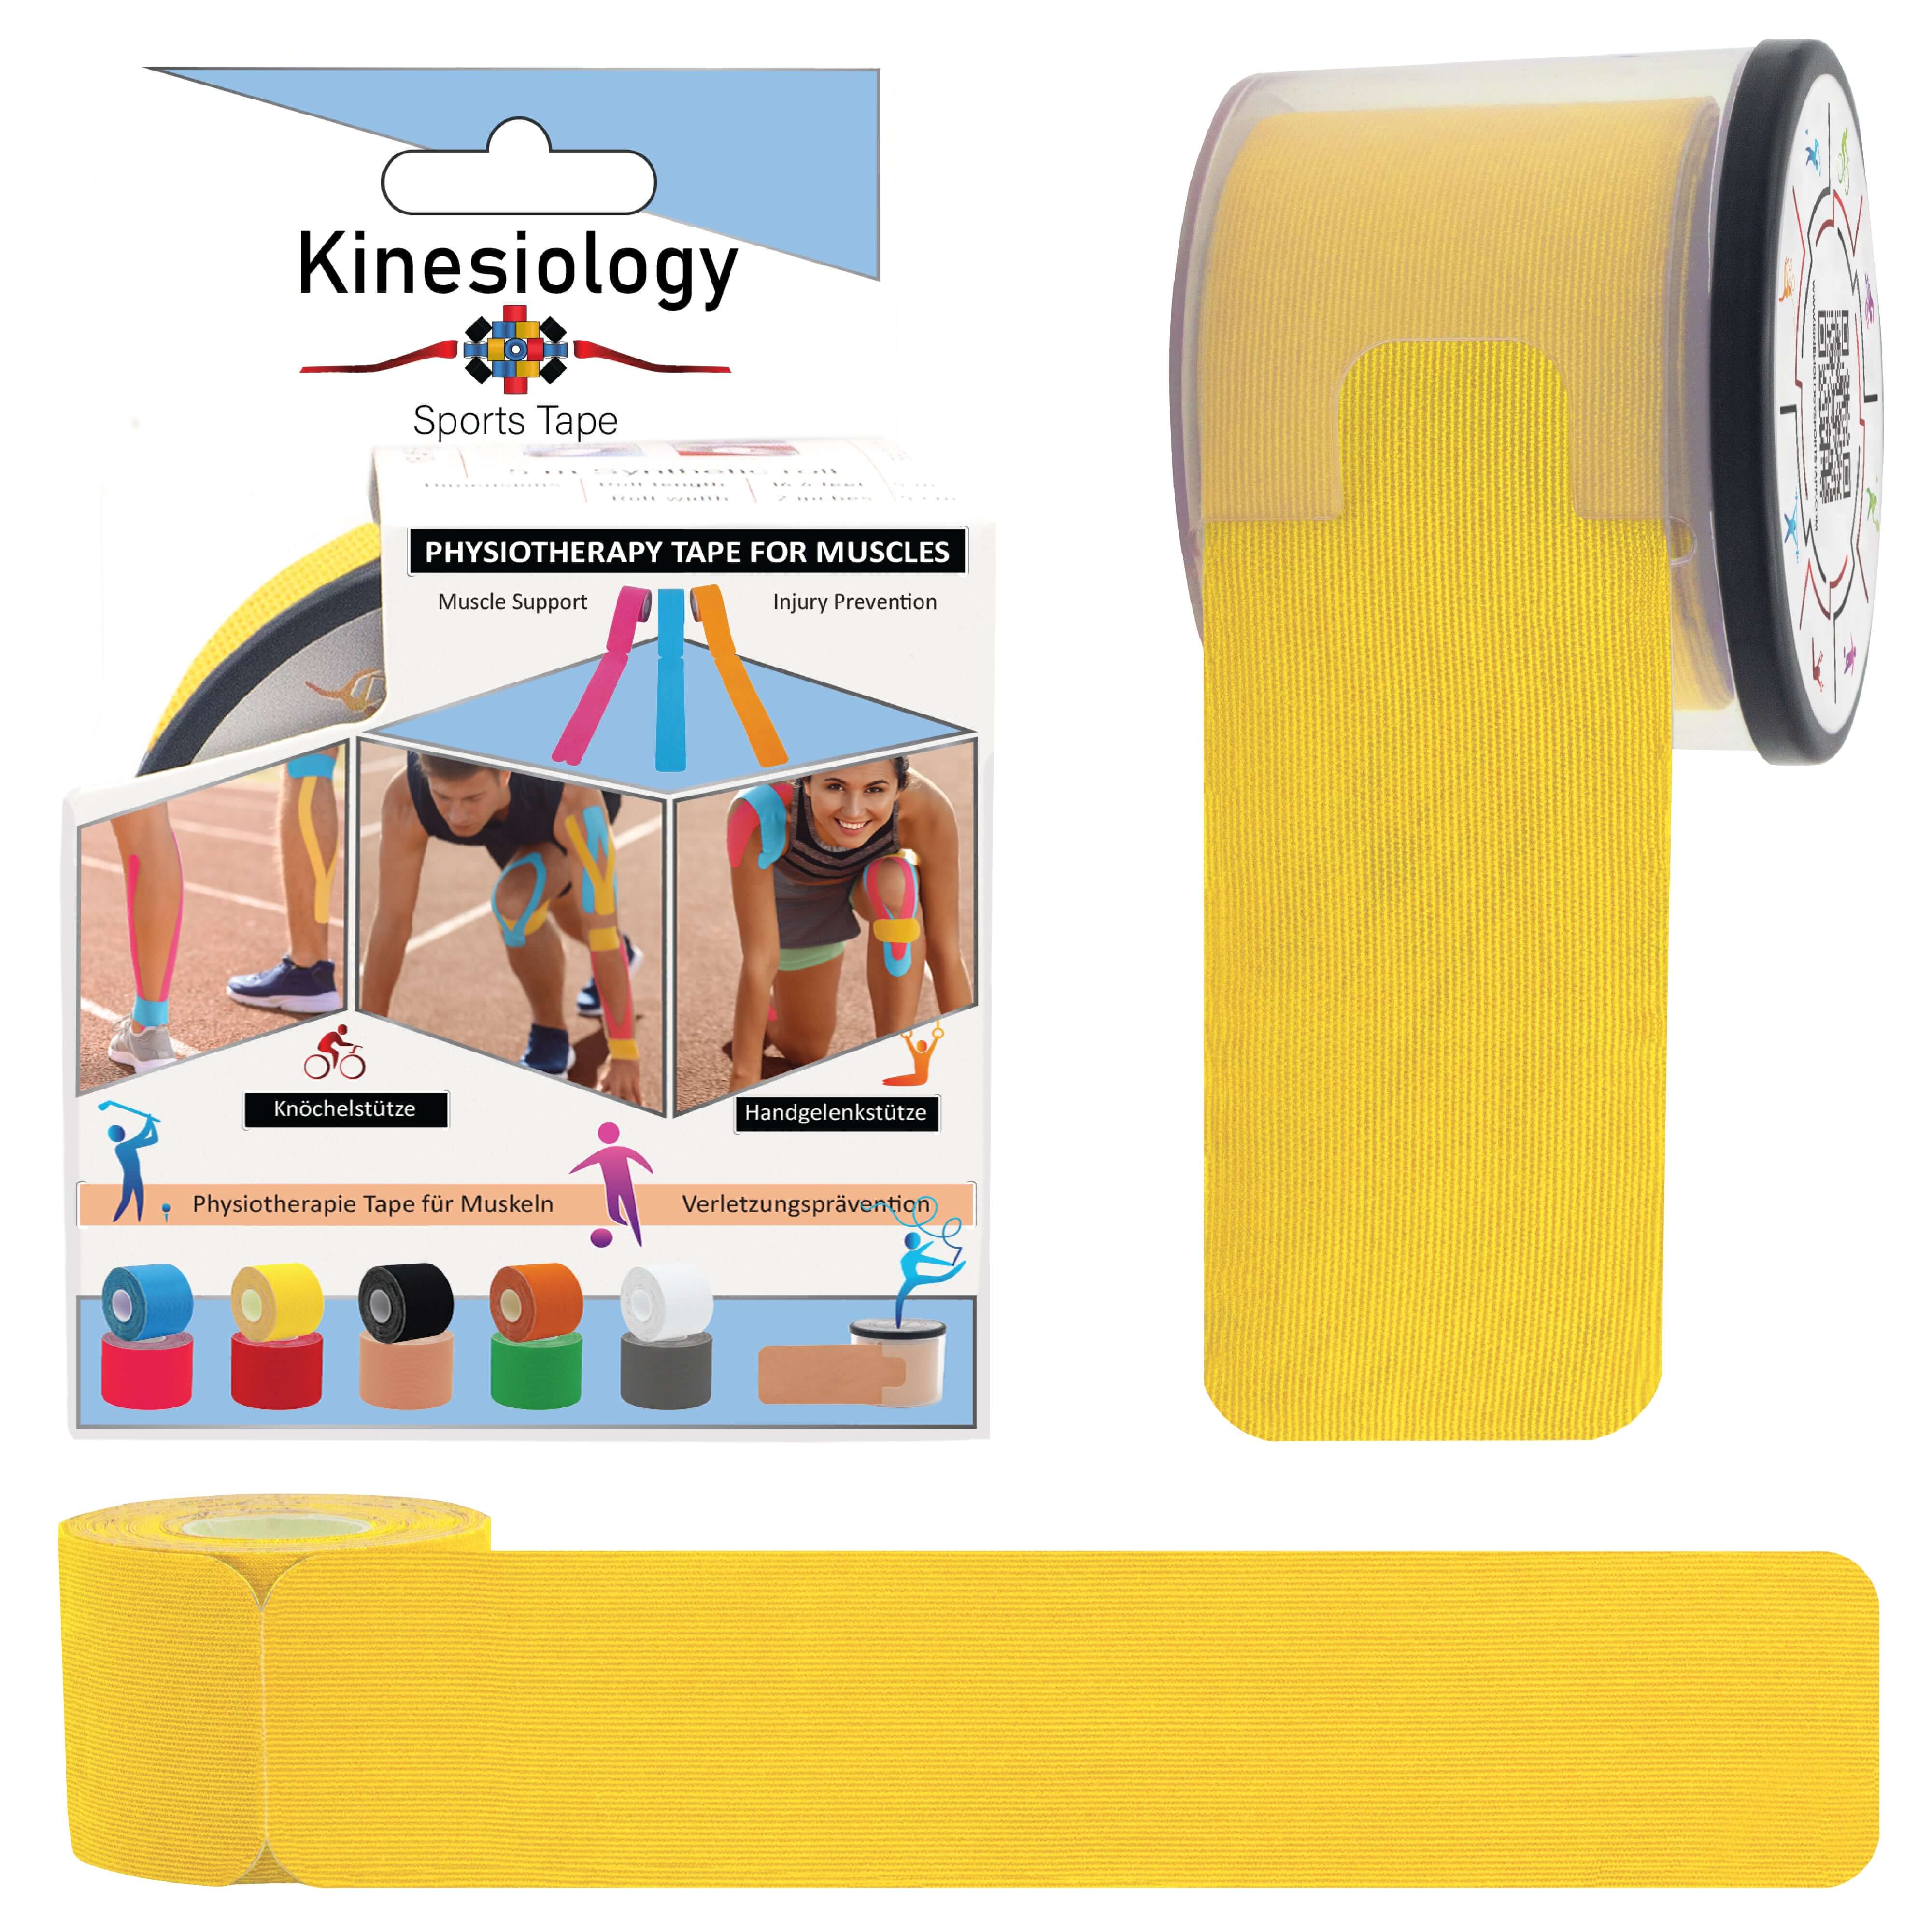
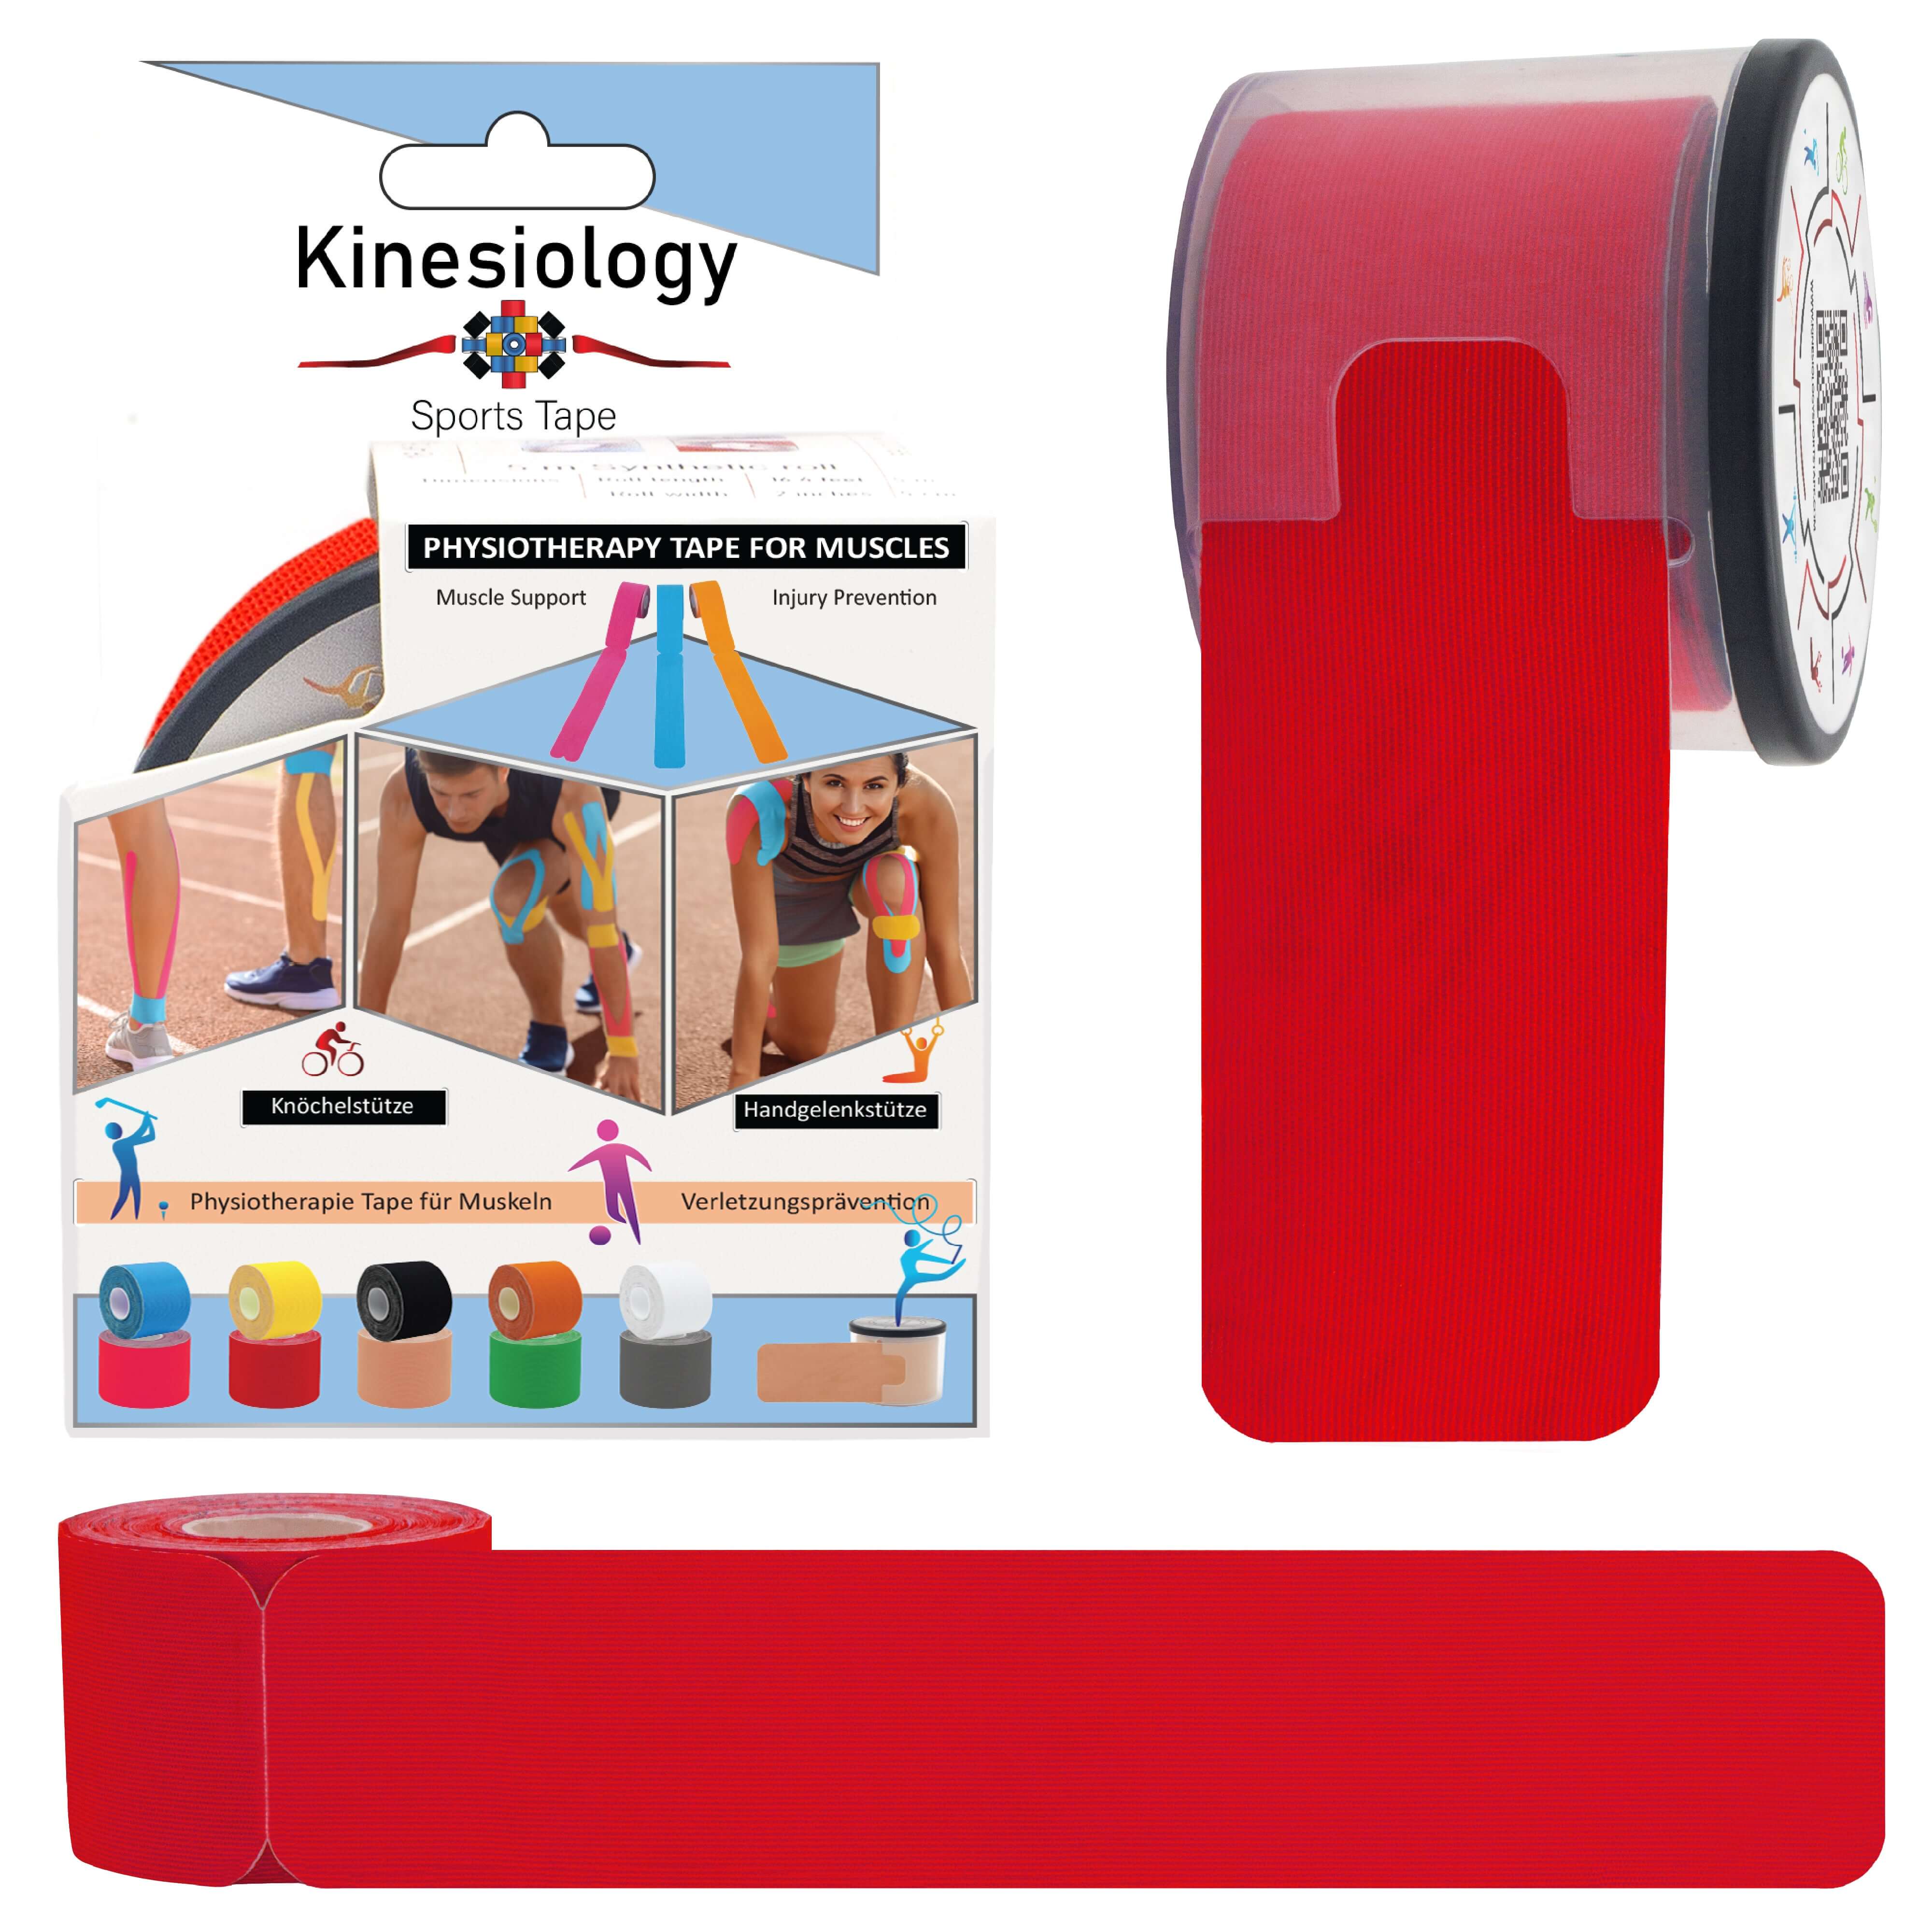
Kinesiology tape is stretchy. It is made from a synthetic material that is naturally elastic. This careful design ensures that it is multifunctional when supporting your body after injury or illness. When your kinesiology tape arrives it is at 0% stretch that is to say it is completely flat and in its natural state. When you come to take a pre-cut section of tape or cut your own length you will notice that it’s quite flexible. Depending on what you want to achieve, from reducing bruising to supporting sore muscles the amount of stretch you put on the tape varies.
If you have a look at our numerous guides to applying kinesiology tape in different situations you will notice we offer a percentage stretch to apply your tape. Have a play with the tape and see what the maximum stretch is. This would be 100%. After that it is using knowledge and guesswork combined to work out roughly what a 50% stretch would be for a 60% stretch even. So when you apply the tape and remove the backing paper you stretch the strip to the desired tension before sticking it to the skin.

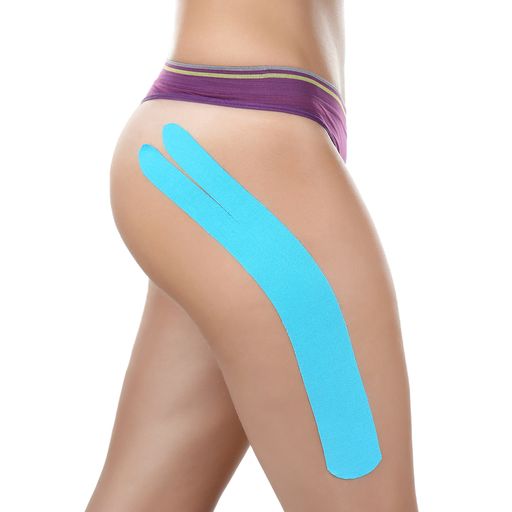
Anchors
Anchors are the point at which the tape begins and ends on your skin. So if you are applying a piece of tape along your arm starting from your wrist the 1st inch and a bit would be the anchor. This is always applied at 0% stretch. You remove just enough backing paper to secure your first anchor, laying it flat and smooth with no stretch at all. Then holding onto the anchor with one hand you can pull the remaining tape to the required percentage stretch and apply it to the body part, in this case the arm.
Maintaining the stretch and sticking it to the skin as you go you stop as you reach the anchor at the other end. This is the last inch and a bit and hear you release the tension on that last piece and secure the tape with a 0% stretch once more.
Taping Pattern
So essentially all kinesiology tape applications follow the same pattern. Apply the anchor with 0% stretch, apply the body of the tape with the suggested stretch for the specific injury you are taping and finish with a 0% stretch on the other end.
The eagle eyed among you may have spotted that with some cutting patterns there only seems to be one anchor. A fan is a good example of this as it has many tales to the tape. But actually that just means you have three or four small anchors and you need to apply the end of the tape with 0% stretch.
Related post
05
Aug
16
Jul
16
Jul