Price :
QTY :
CART TOTALS :
There are items
in your cart
CART TOTALS :
With this products also buy:
Your shopping bag is empty
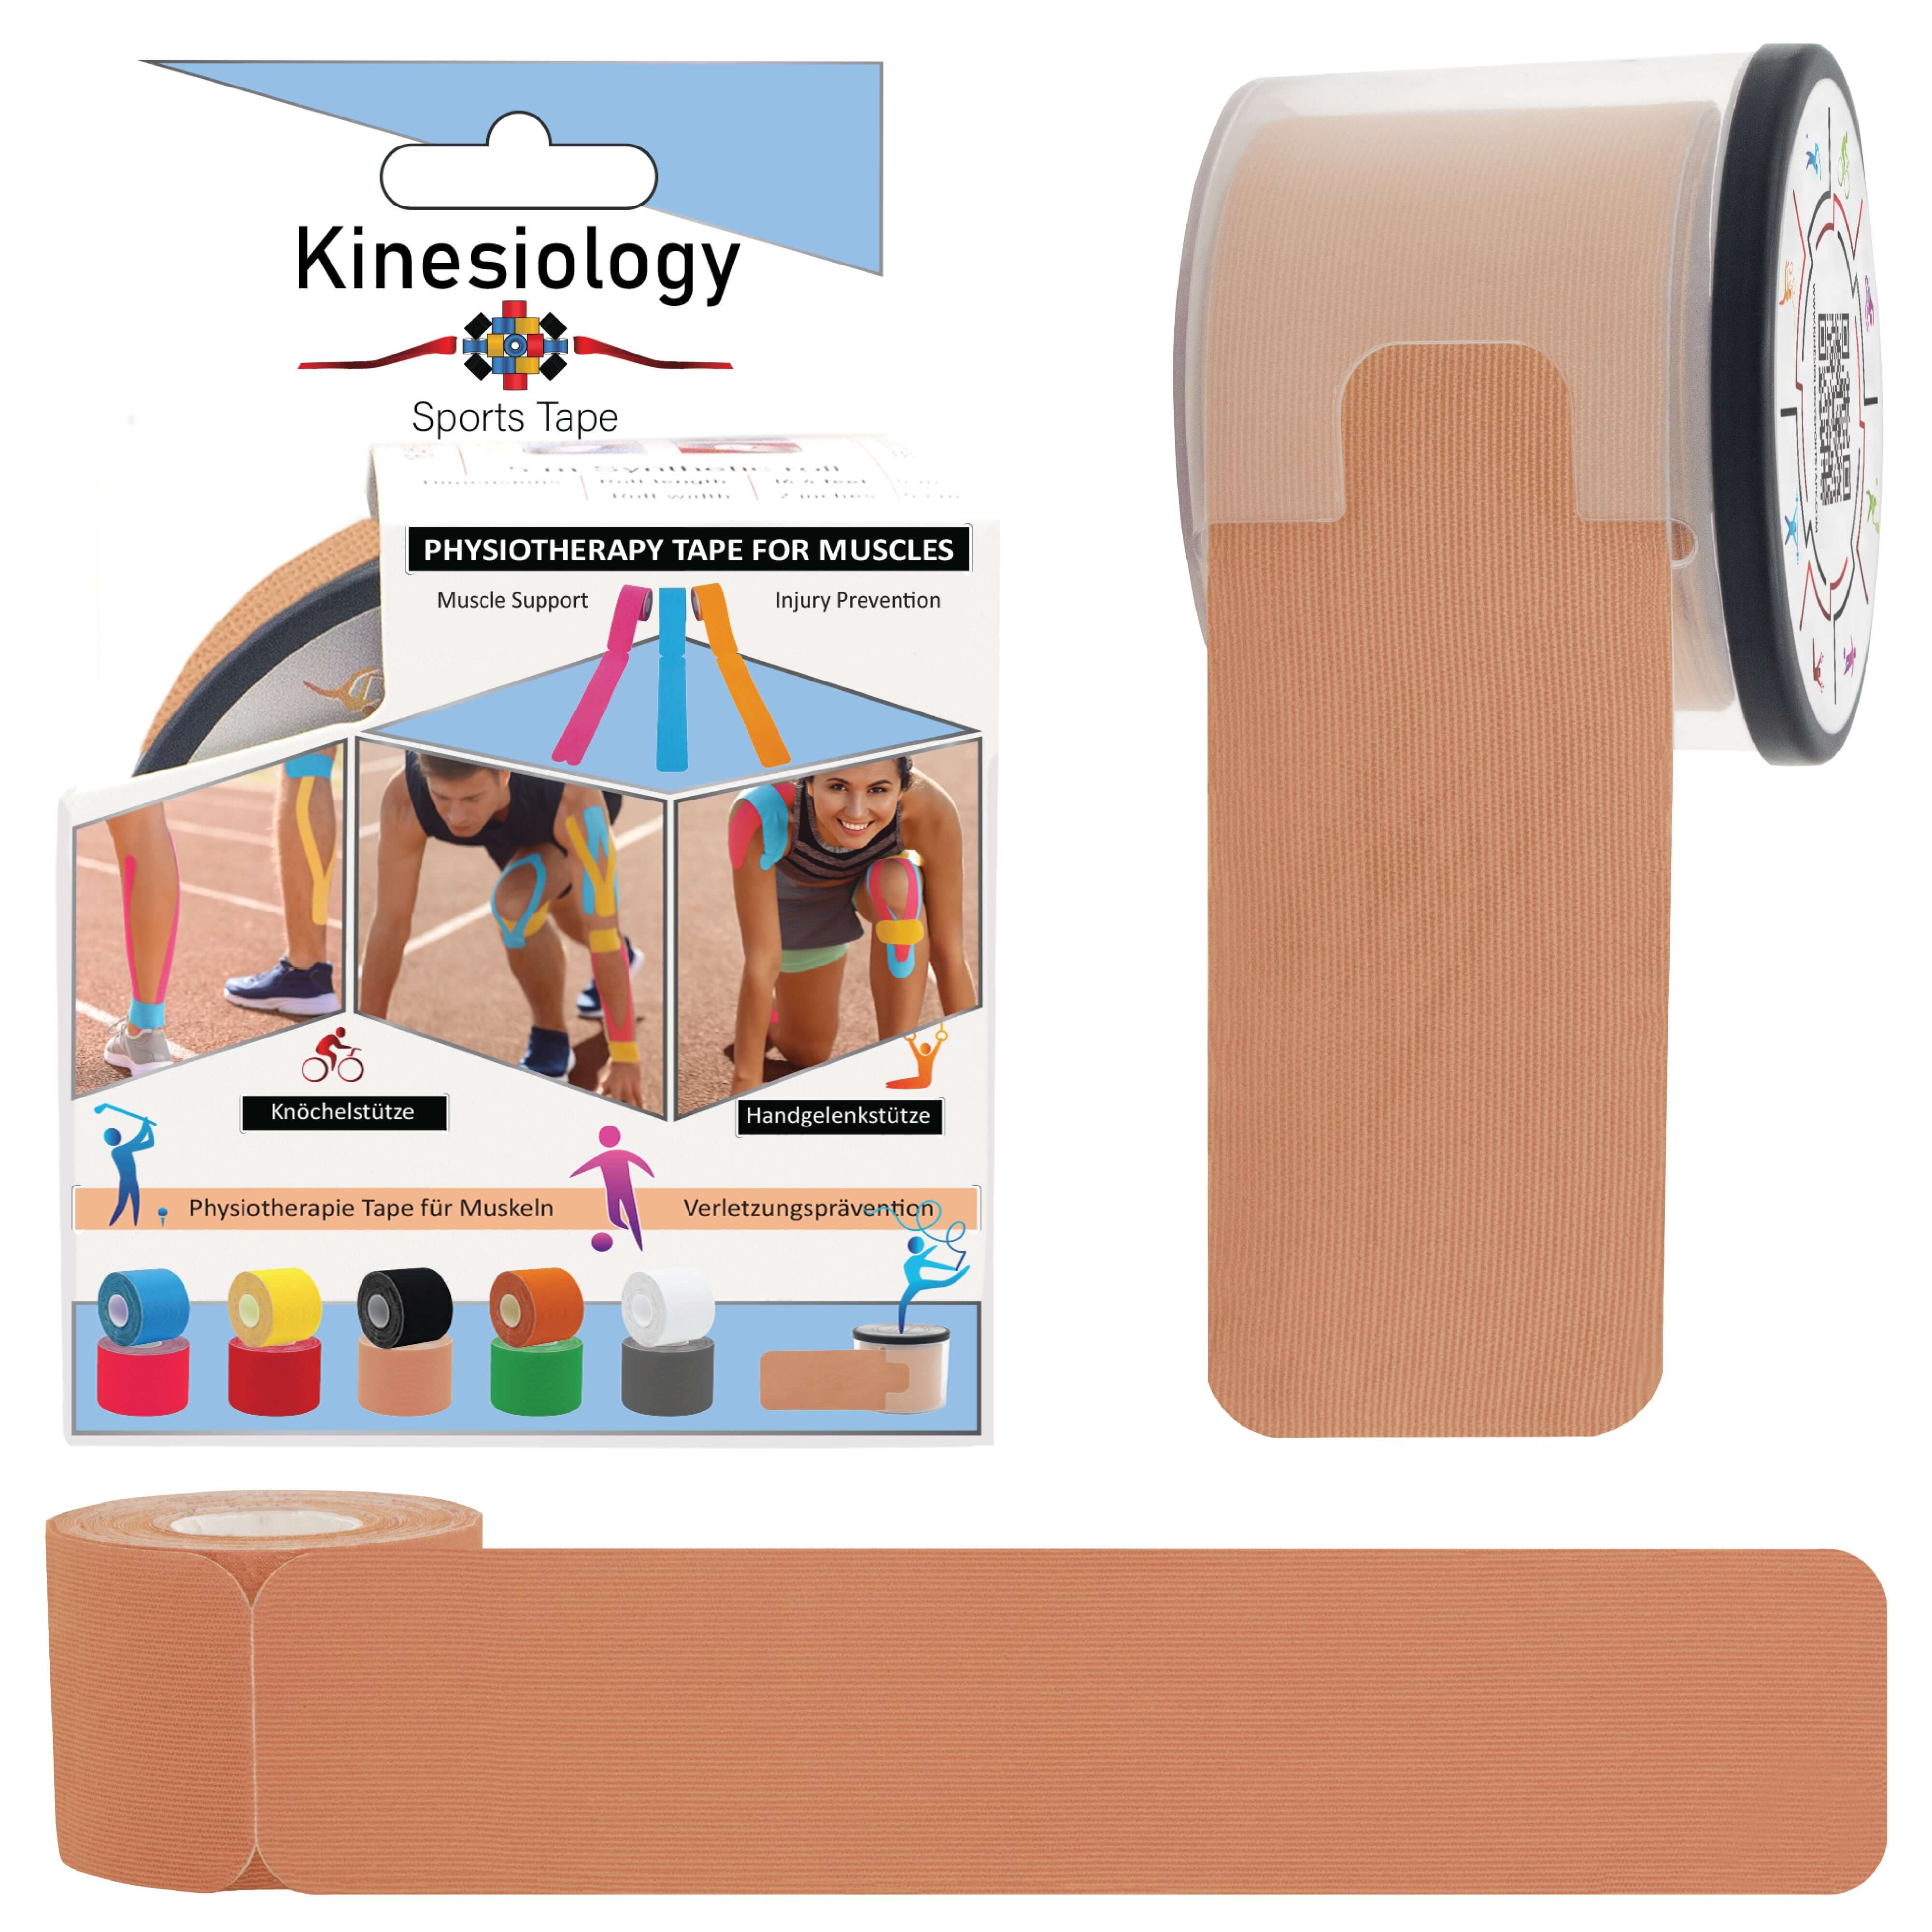
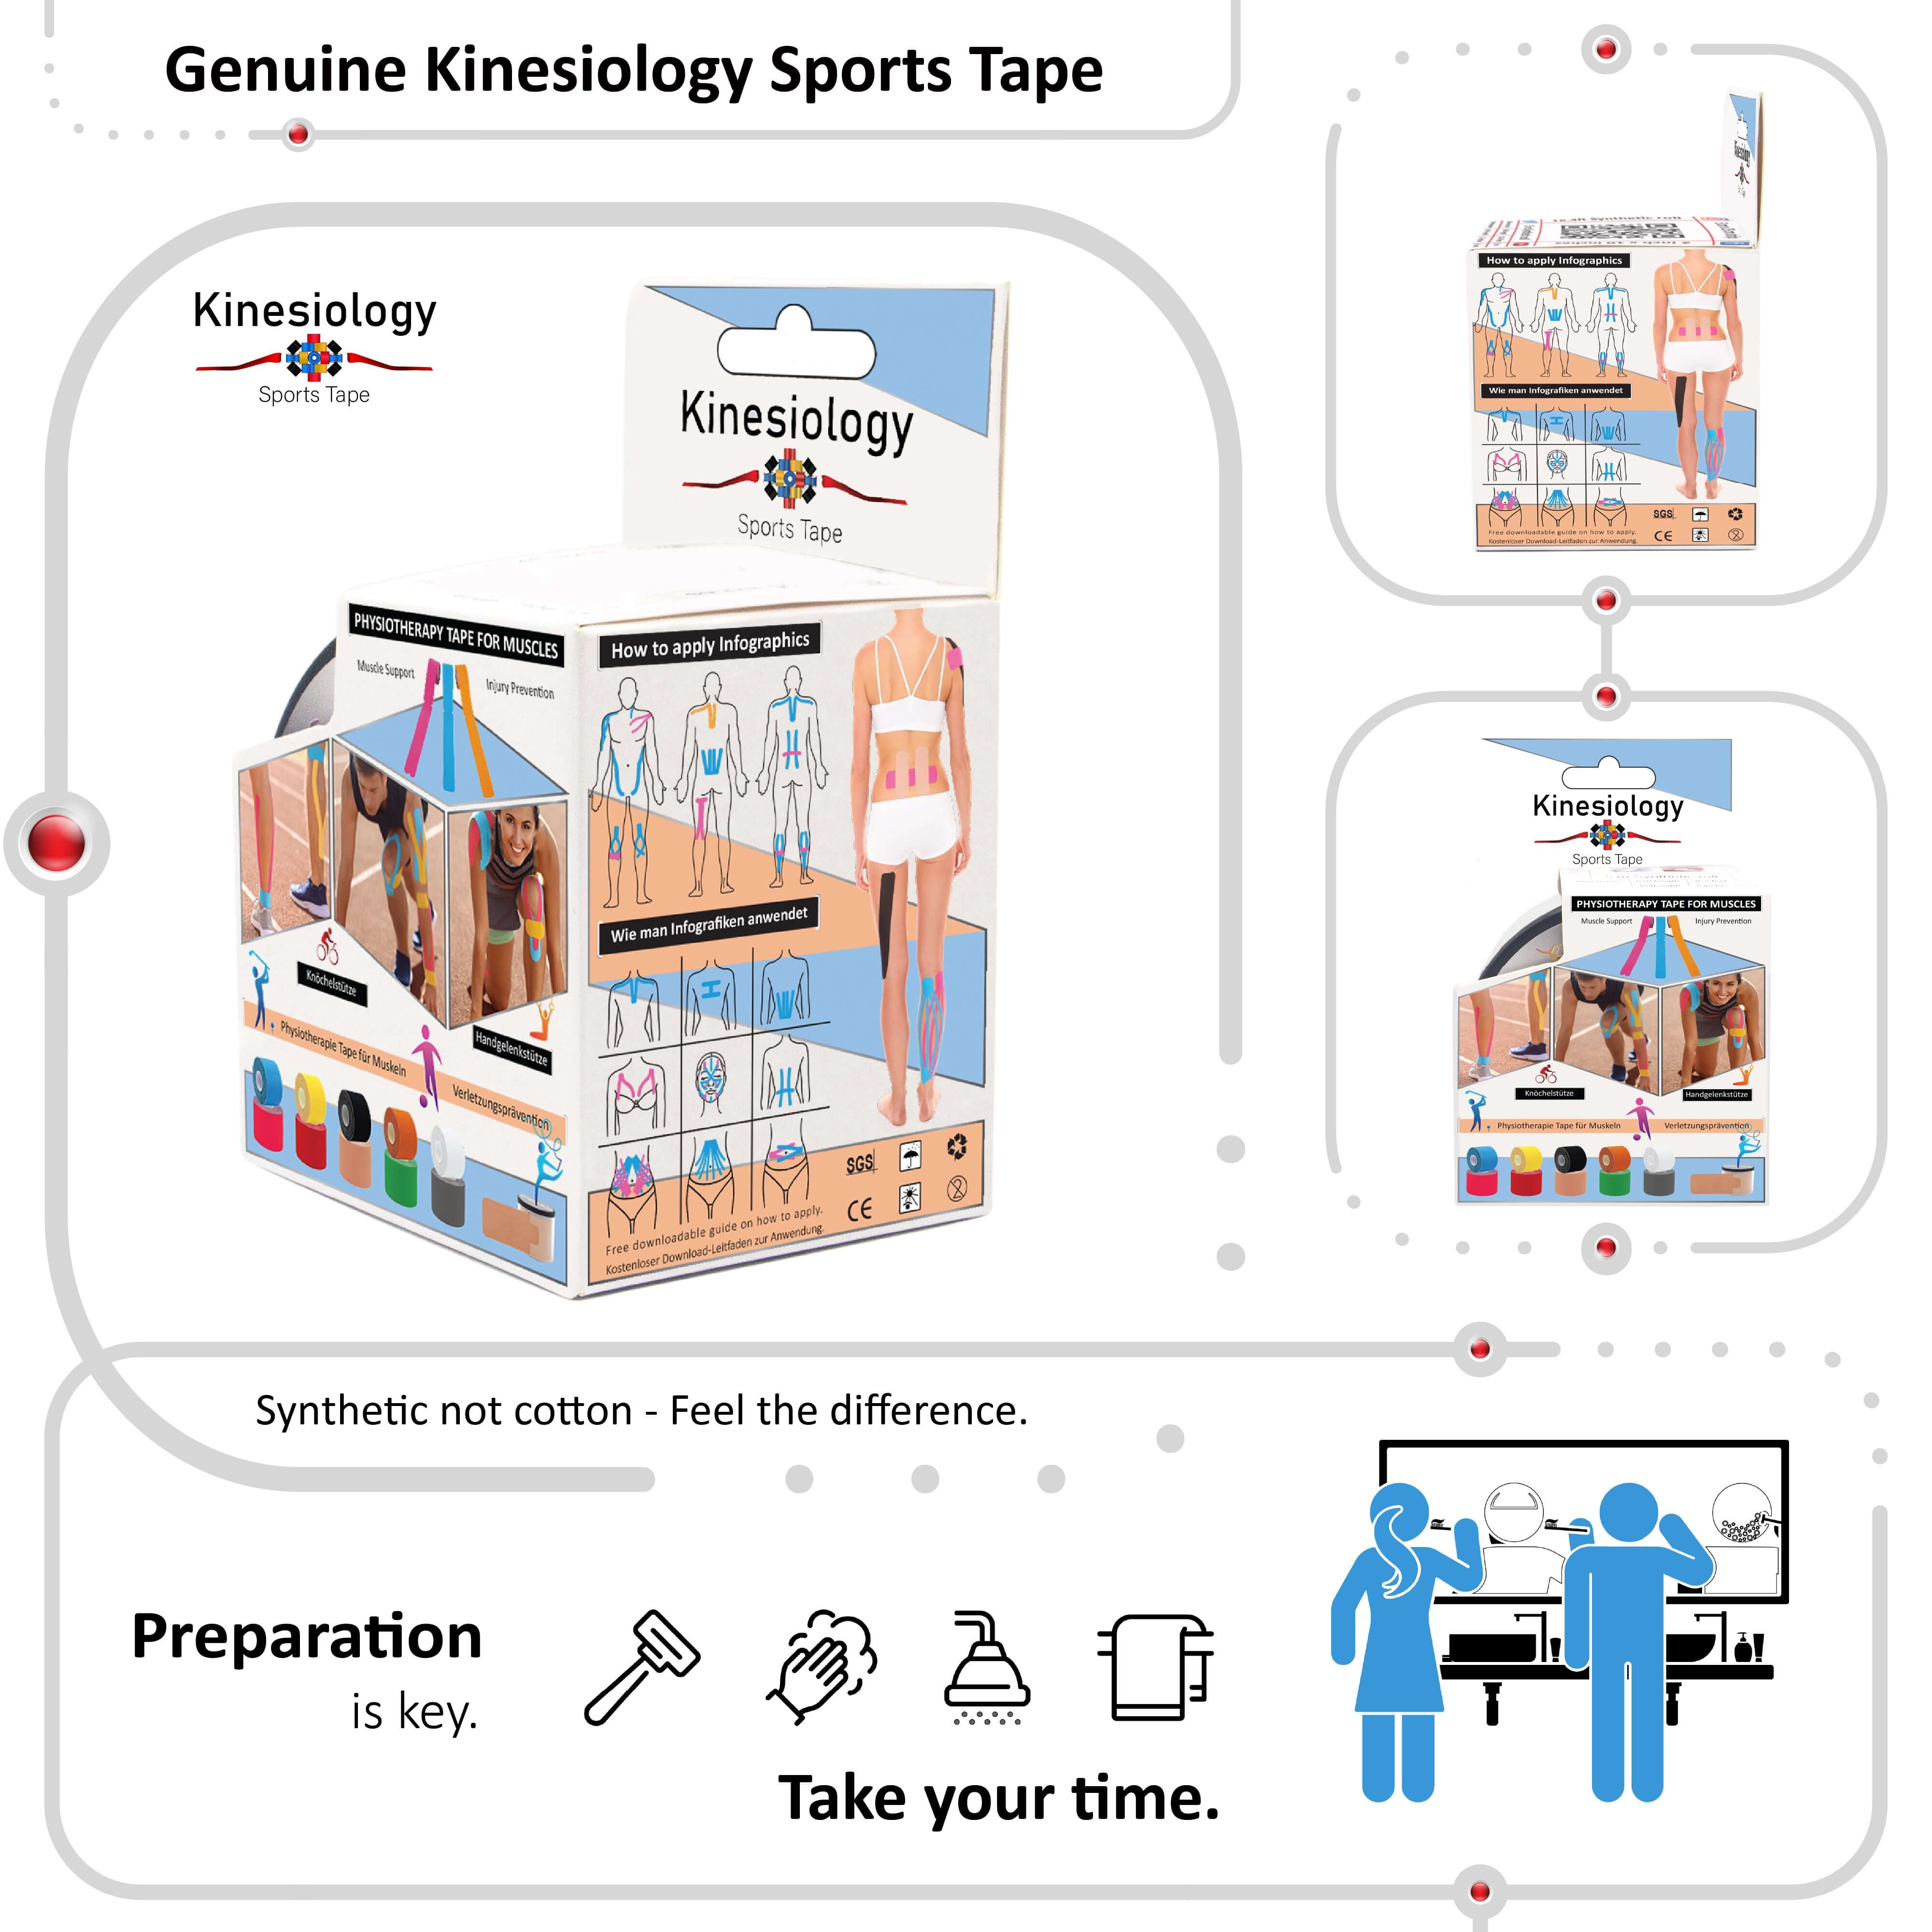
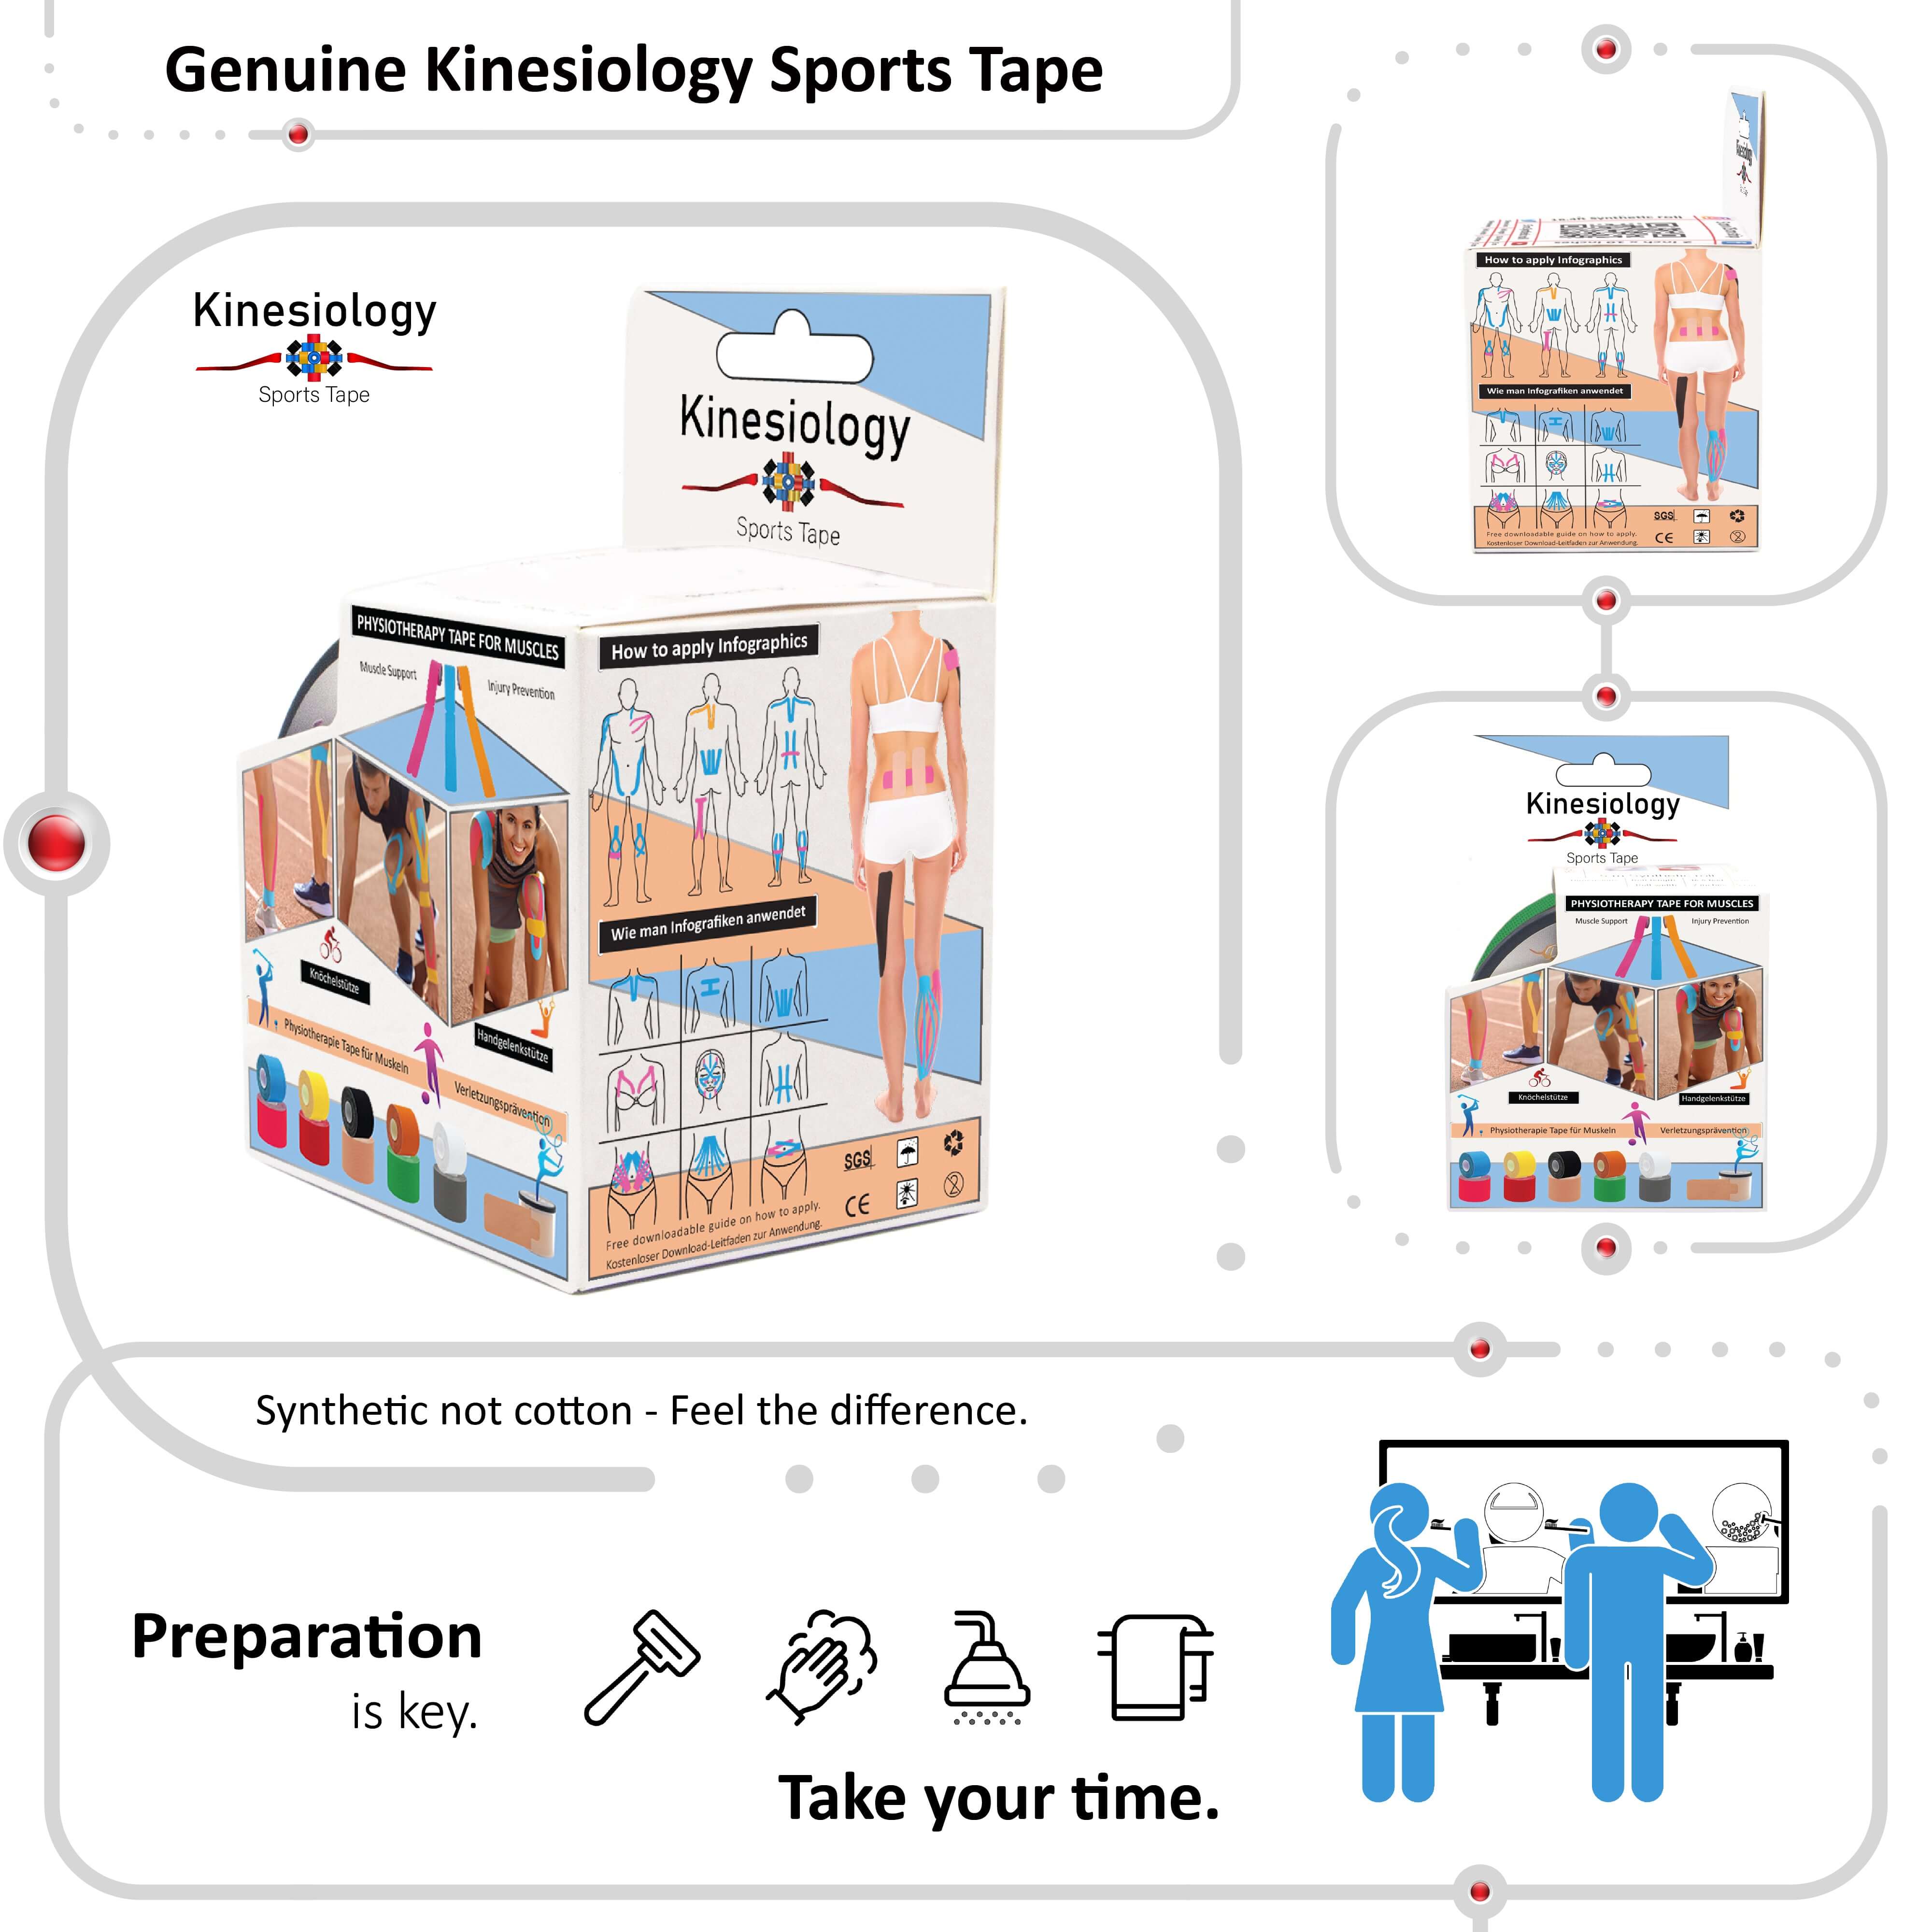
Go to the shopFollow these 8 steps for a clean, secure, long-lasting application. Getting the preparation right is just as important as the taping itself — take your time with steps 1 and 2 for the best results.
A few minutes of preparation will significantly extend the wear time of your tape and ensure it bonds securely to the skin.
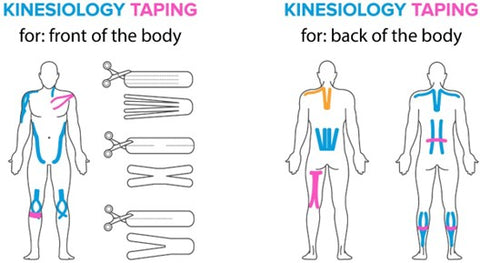
Pinpoint the specific muscles that are sore or painful in the part of your body where you are experiencing pain, discomfort, or fatigue. Understanding exactly where the problem is will determine the correct taping technique and strip length.

Ensure your skin is washed, shaved, dry, and free of oil and grease in the area where you will be applying the tape. We recommend using a safe degreasing agent like surgical spirit — gently dab it on your skin before applying to get the most out of the product and to extend wear time.

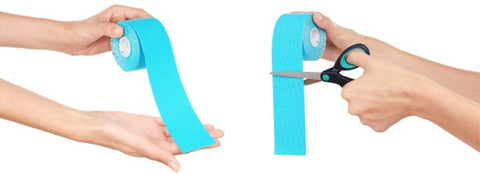
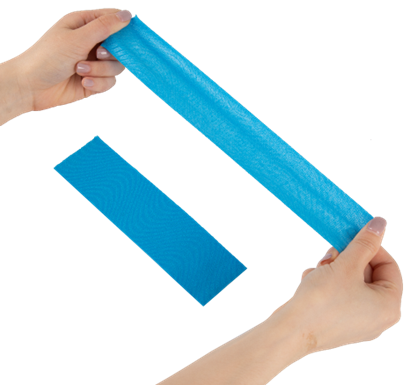
Cut the tape to the appropriate length for application on the area you wish to treat, and prepare the right number of strips. Carefully round off all corners with a pair of scissors — rounded corners prevent the edges from catching and peeling away prematurely.
Get your tape anchors ready. These anchors — roughly 1.5 inches from both ends — should never be stretched when you apply them. To prepare, peel off the backing down to the second anchor point. There is no need to worry about tearing the tape as it is made to be both durable and ultra-flexible.
Prepare the tape either with or without stretch, depending on what is recommended in the taping method guidelines for your condition. As a guide: 0% = no stretch needed, 100% = maximum stretch required. Your pain guide will specify the correct percentage for your injury.
To achieve maximum stretch, expand the tape completely. Once you have mastered the two extremes — 0% and 100% — you will be able to intuitively alter the stretch of the tape to achieve the intermediate percentages required for different conditions.
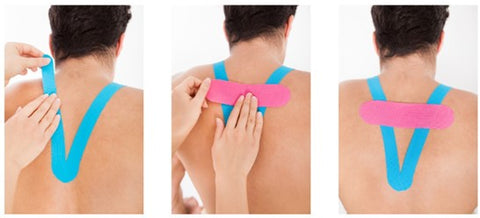
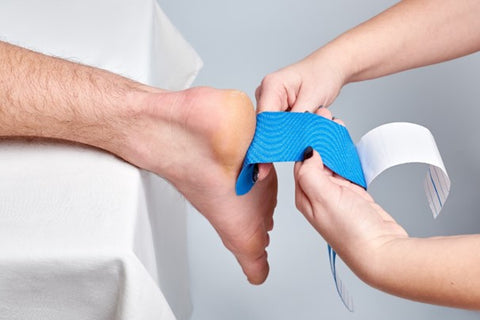
After stretching appropriately, apply the treatment strip carefully, placing it level on the skin. Once the treatment strip is in place, peel off the anchor backings and apply the tape anchors without any stretch. Place the tape smoothly and check it is lying flat on the skin — wrinkles can exacerbate blisters and sores.
Once you have placed the tape on the treatment area, rub or apply warmth for a short period to activate the heat-sensitive adhesive and encourage the tape to bond to your skin securely. The warmth from your hand is usually sufficient — rub firmly along the length of the tape for 20–30 seconds.

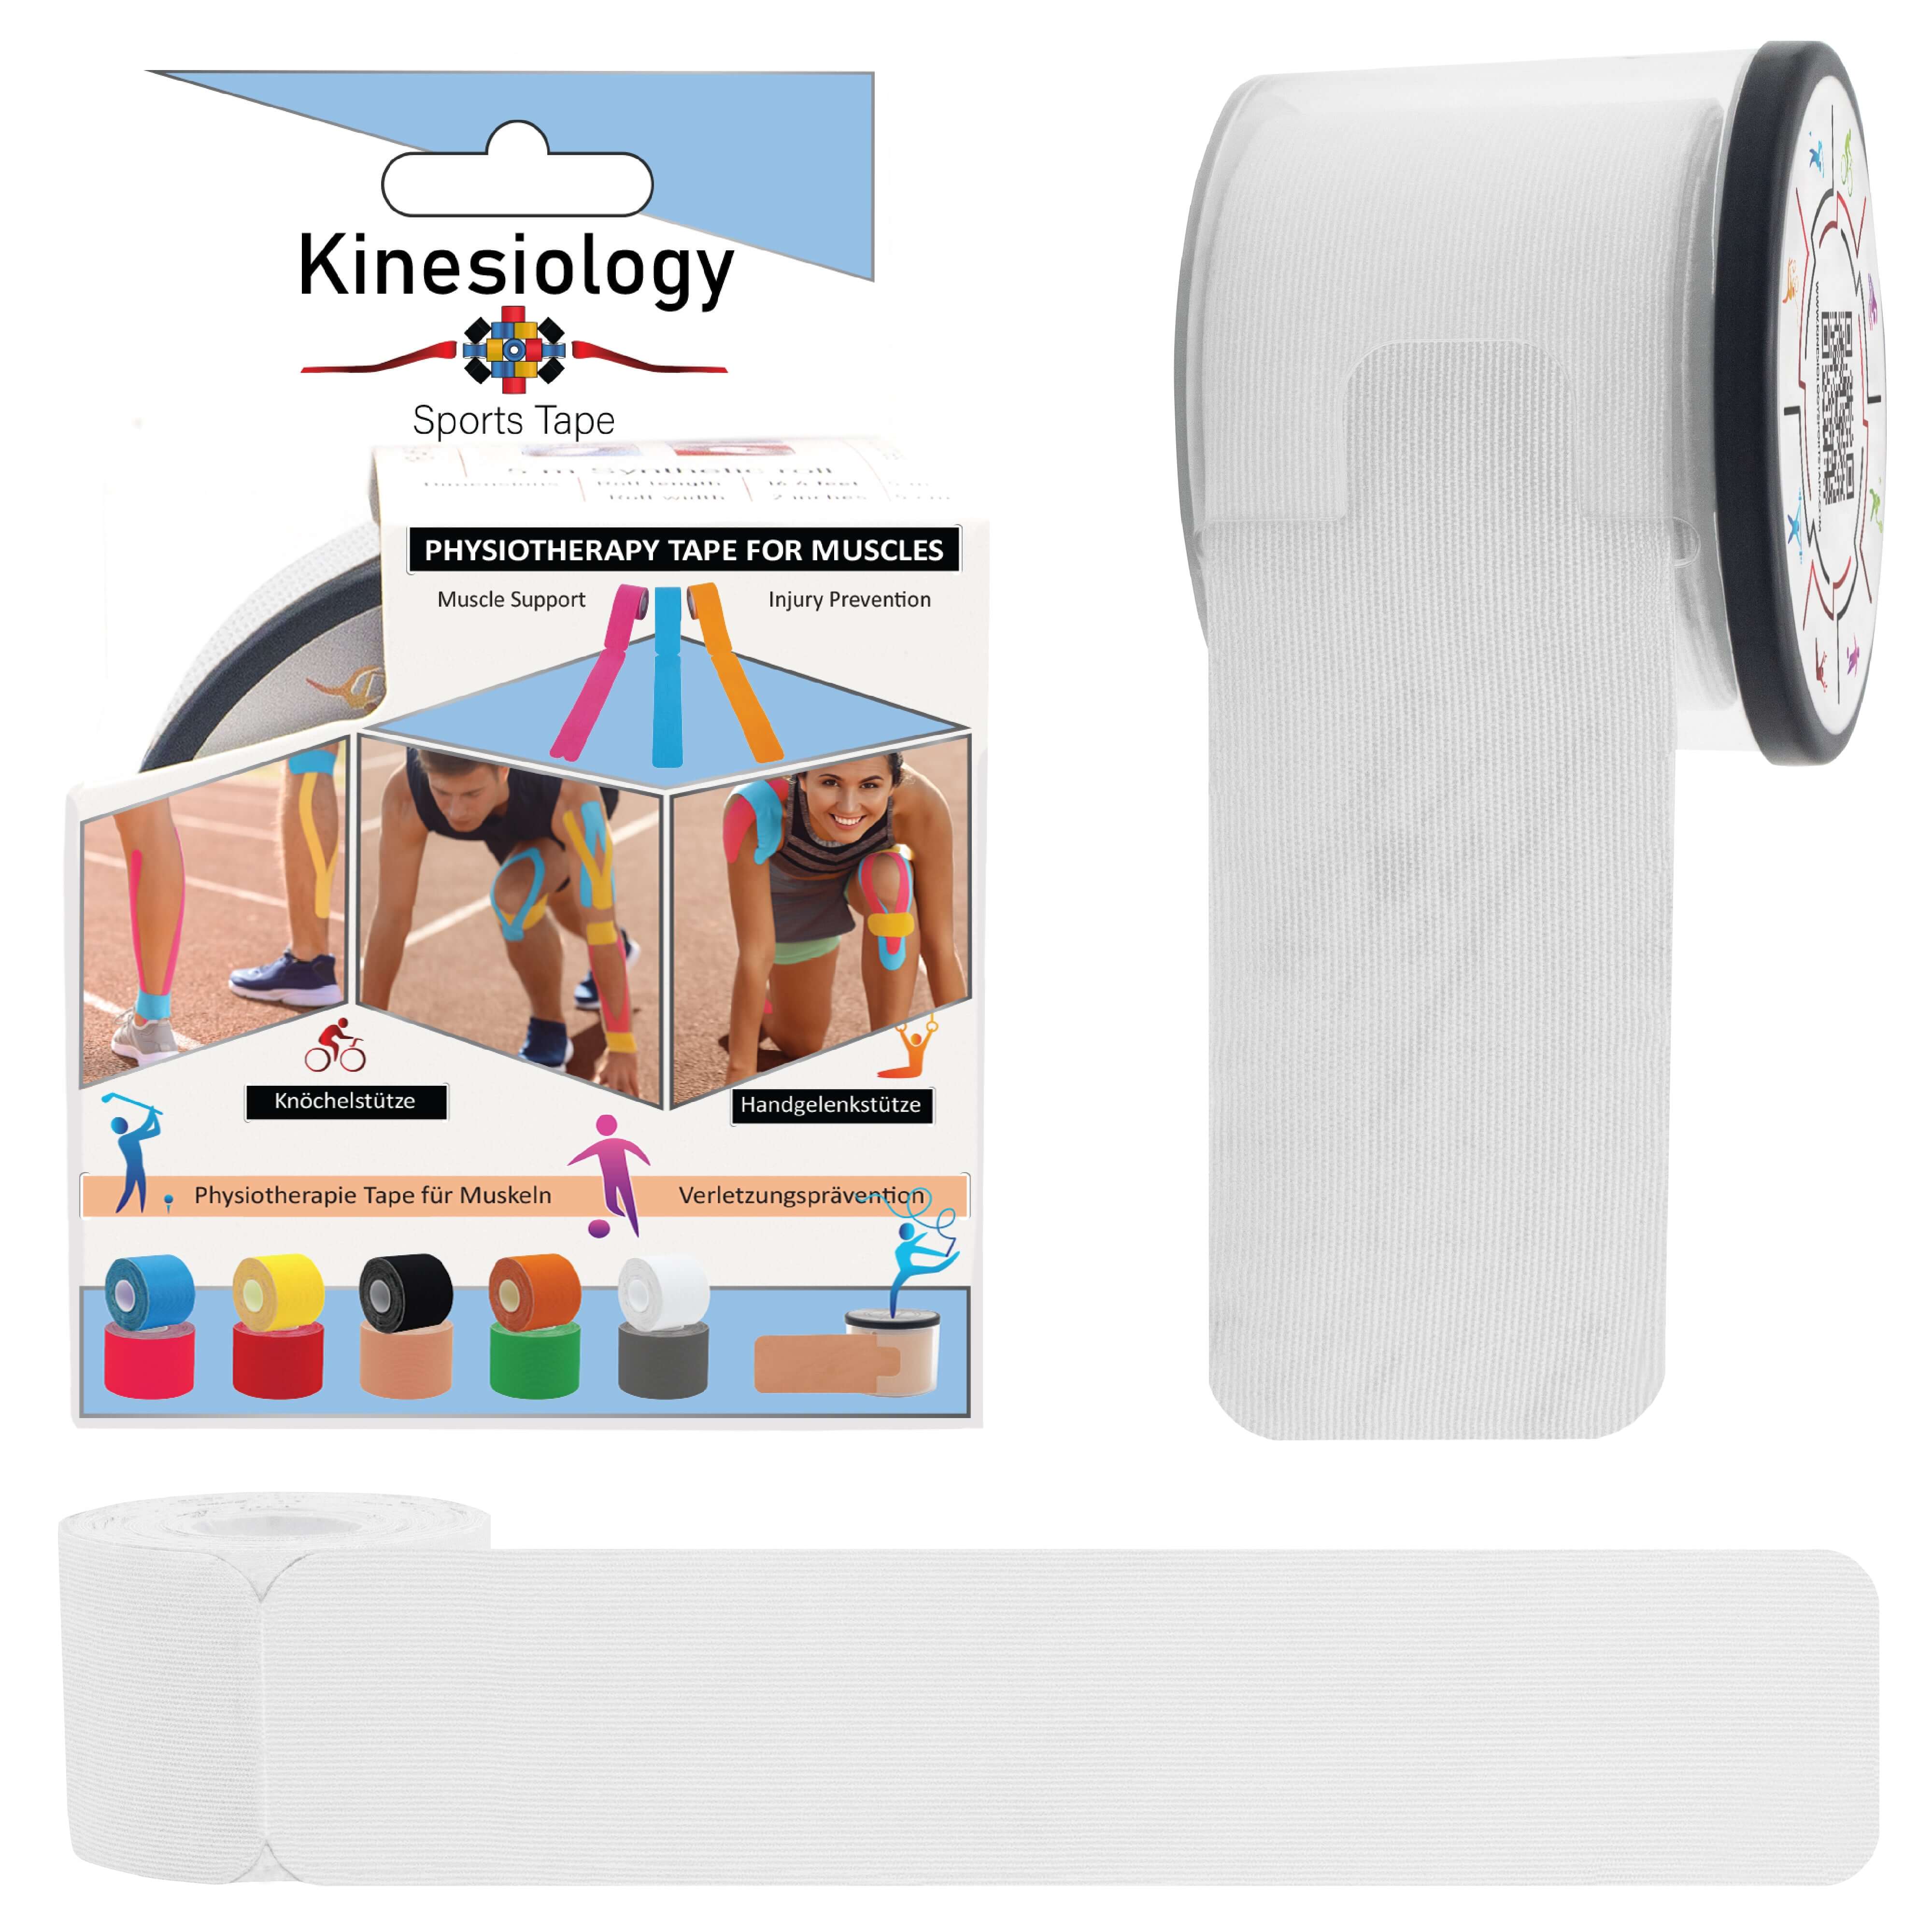
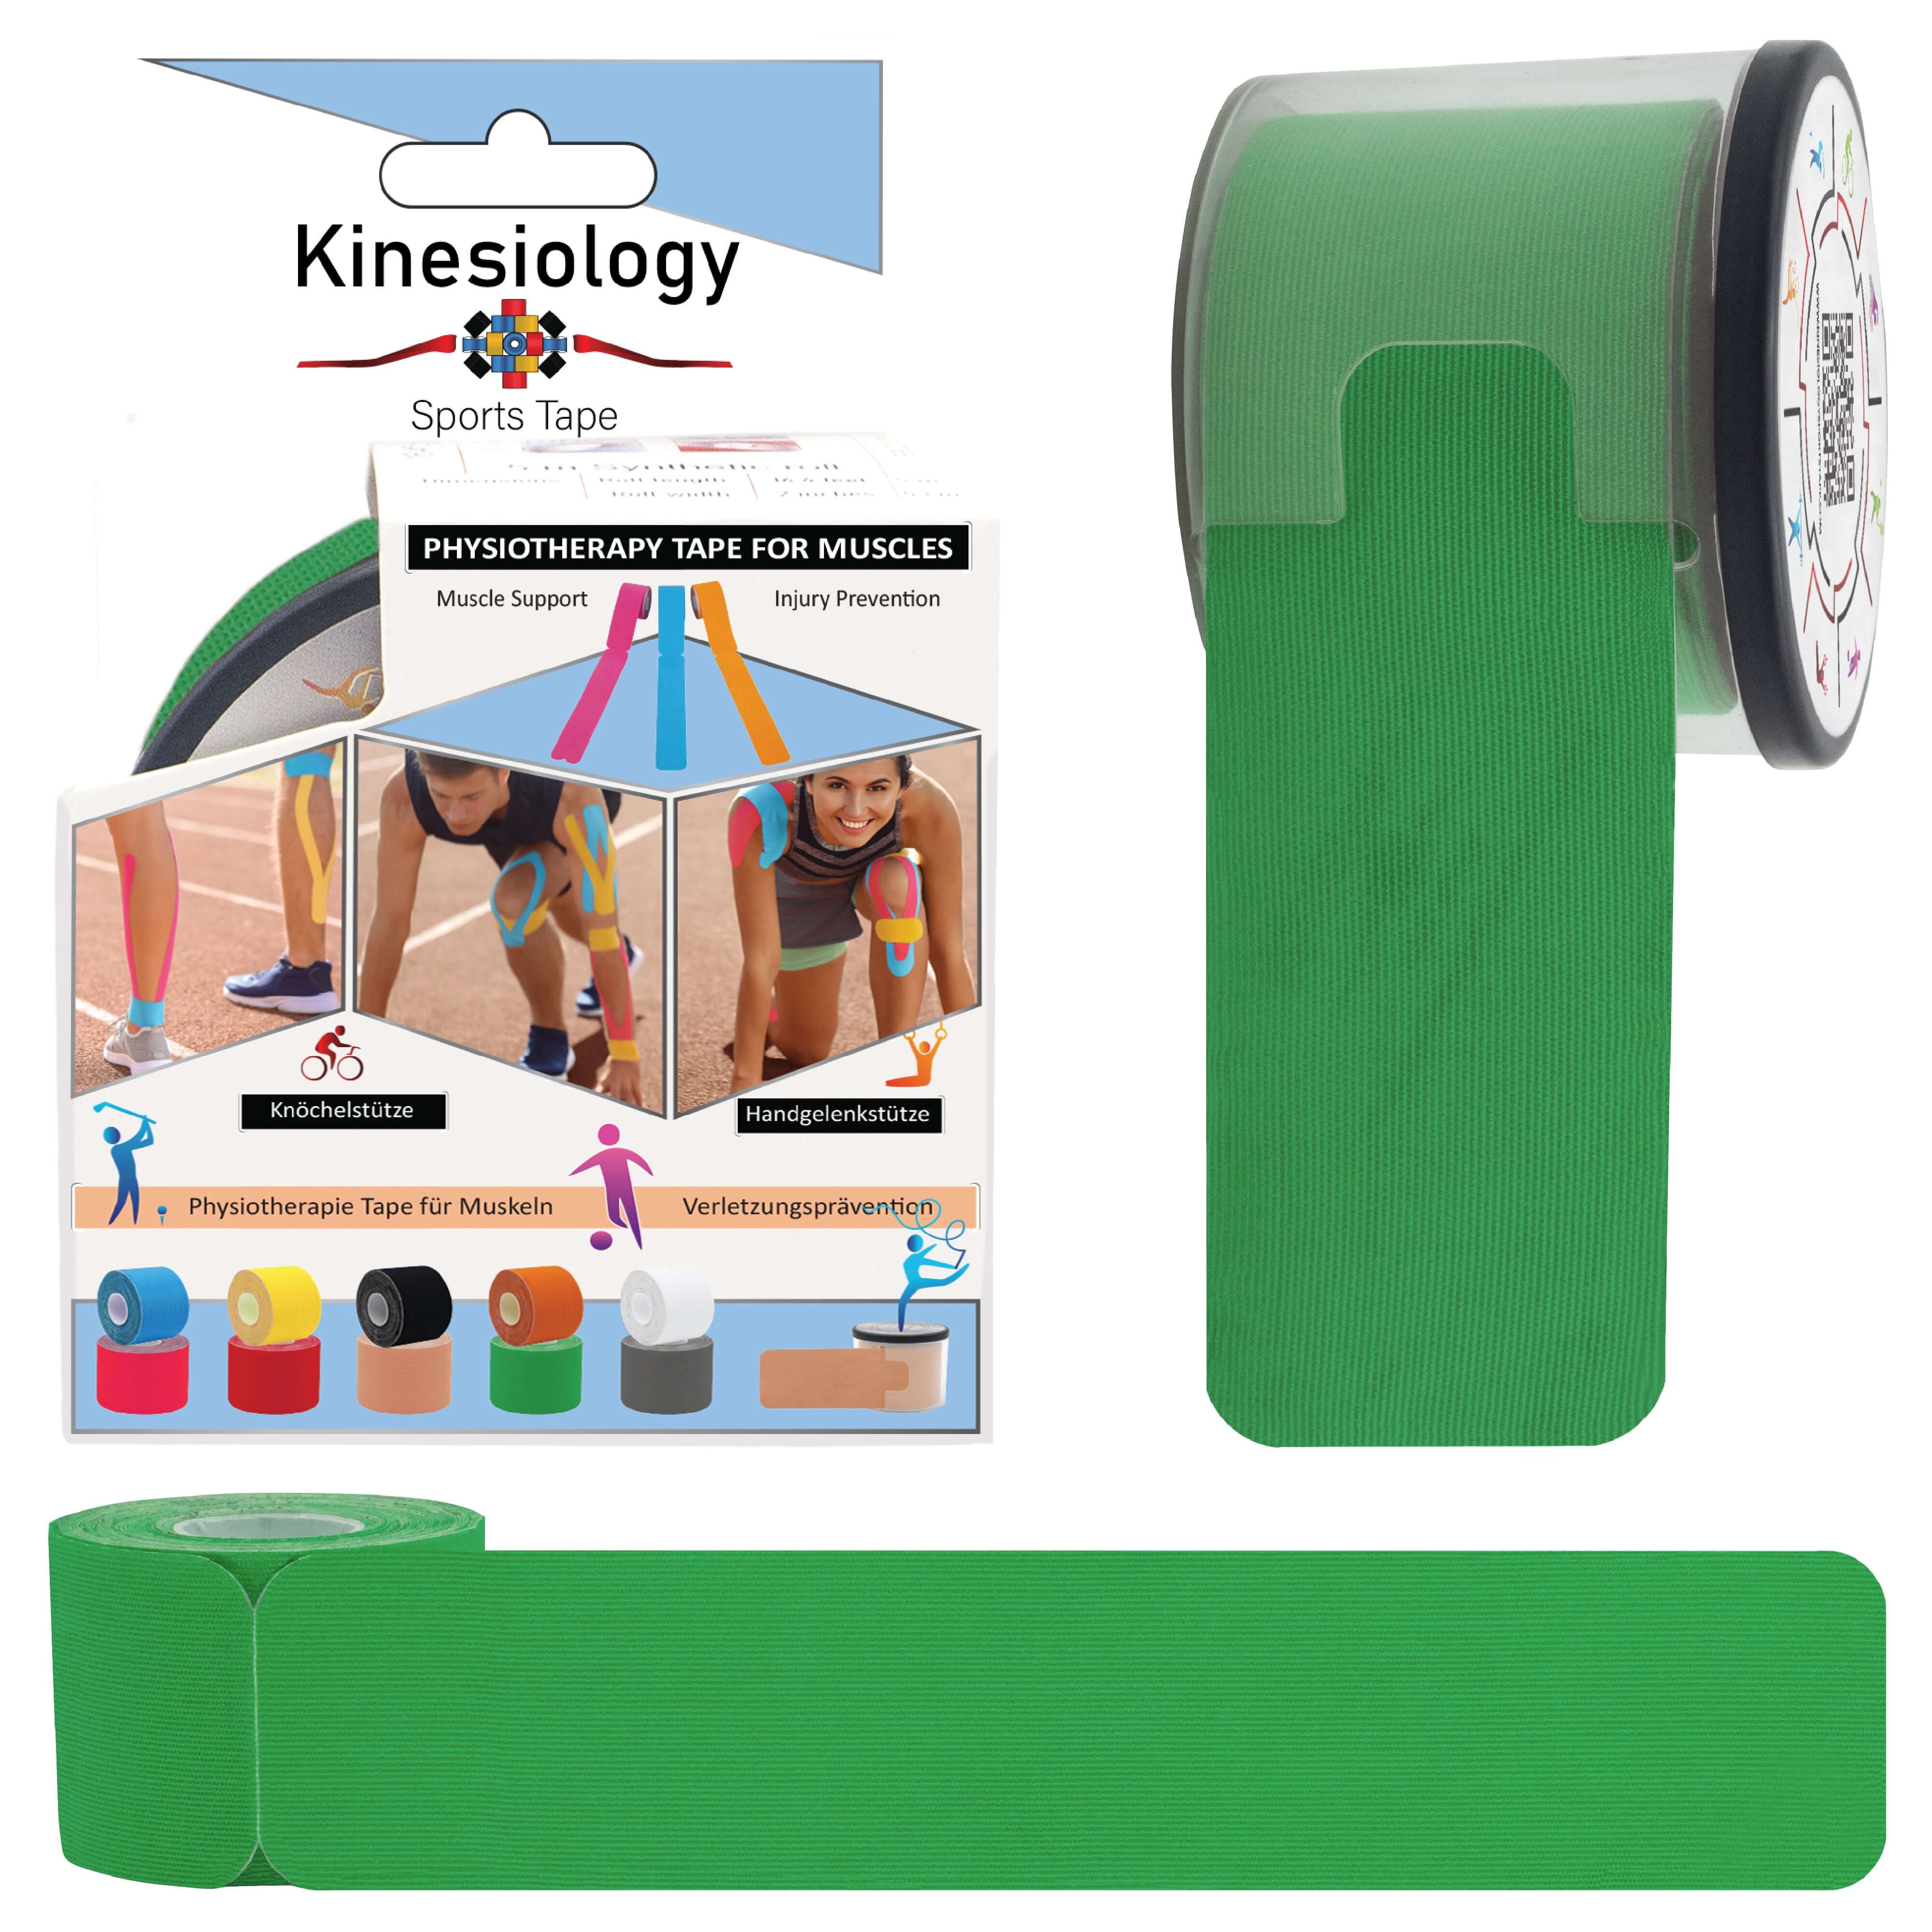
Please do a test patch before applying kinesiology sports tape. Our tape is safe, but as a precaution we recommend all customers to do a test first. Apply a small piece to the inside of your wrist or forearm and leave for 30 minutes. This way you can avoid any negative or allergic reaction before applying to a larger area.