RECENT POSTS

22.March.2026
Kinesiology Tape for Knee Pain: Complete Relief Guide for Athletes and Active Individual
0 Comments
21.March.2026
Kinesiology Tape for Knee Pain: Complete Relief Guide for Athletes and Active Individuals
0 Comments
21.March.2026
Kinesiology Tape Benefits: Complete Guide to Uses, Applications, and Therapeutic Effects
0 Comments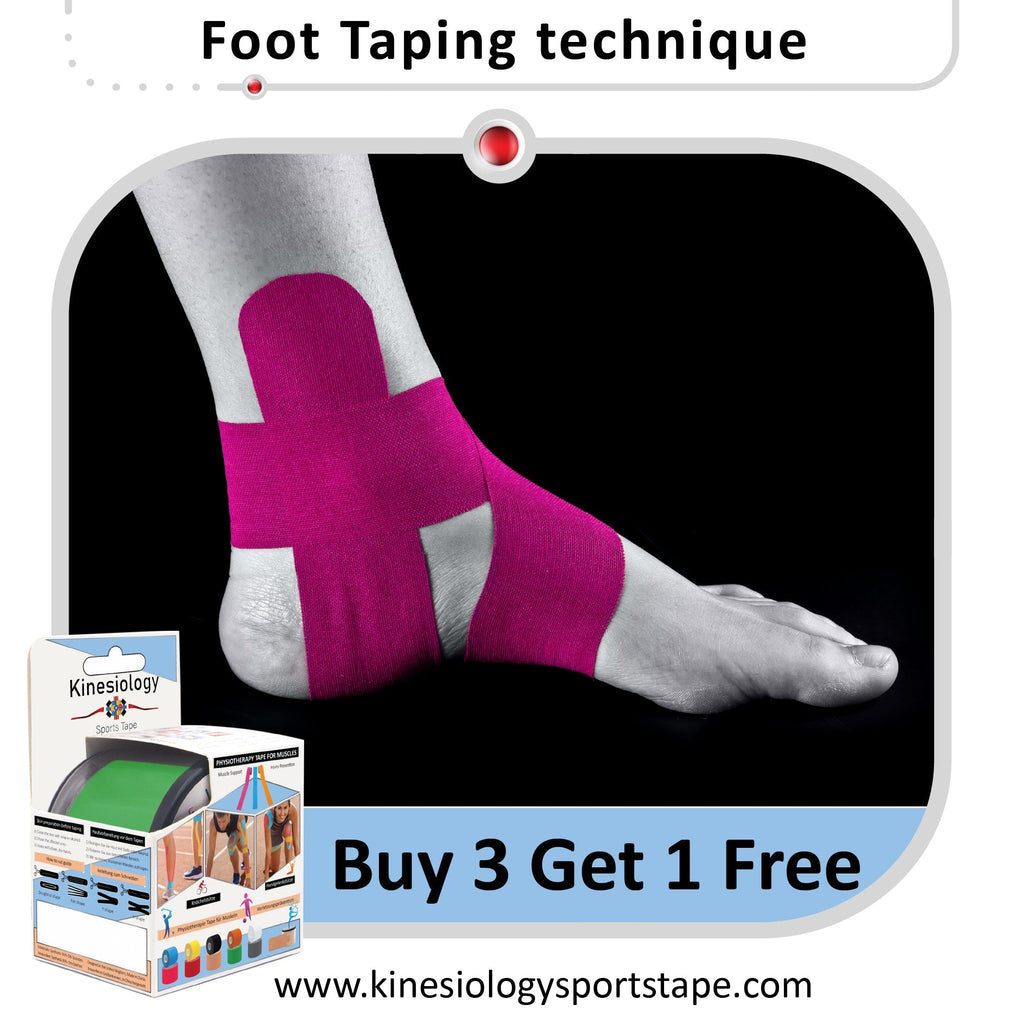
05.August.2025
Kinesiology Tape for Plantar Fasciitis: Complete Pain Relief and Recovery Guide
0 CommentsTop Kinesiology Taping Techniques for Common Injuries Step-by-Step
Once you’ve learned how to apply kinesiology tape properly, the next step is learning specific techniques for common injuries and pain areas. Whether you’re an athlete, a rehab professional, or just managing daily discomfort, the right taping pattern can make a real difference in mobility, comfort, and recovery.
In this guide, we’ll walk you through the most effective kinesiology taping techniques for:
-
Knee pain
-
Shoulder injuries
-
Lower back discomfort
-
Plantar fasciitis
-
Shin splints
-
Ankle instability
-
Neck tension
-
Tennis elbow
-
Carpal tunnel
-
IT band syndrome
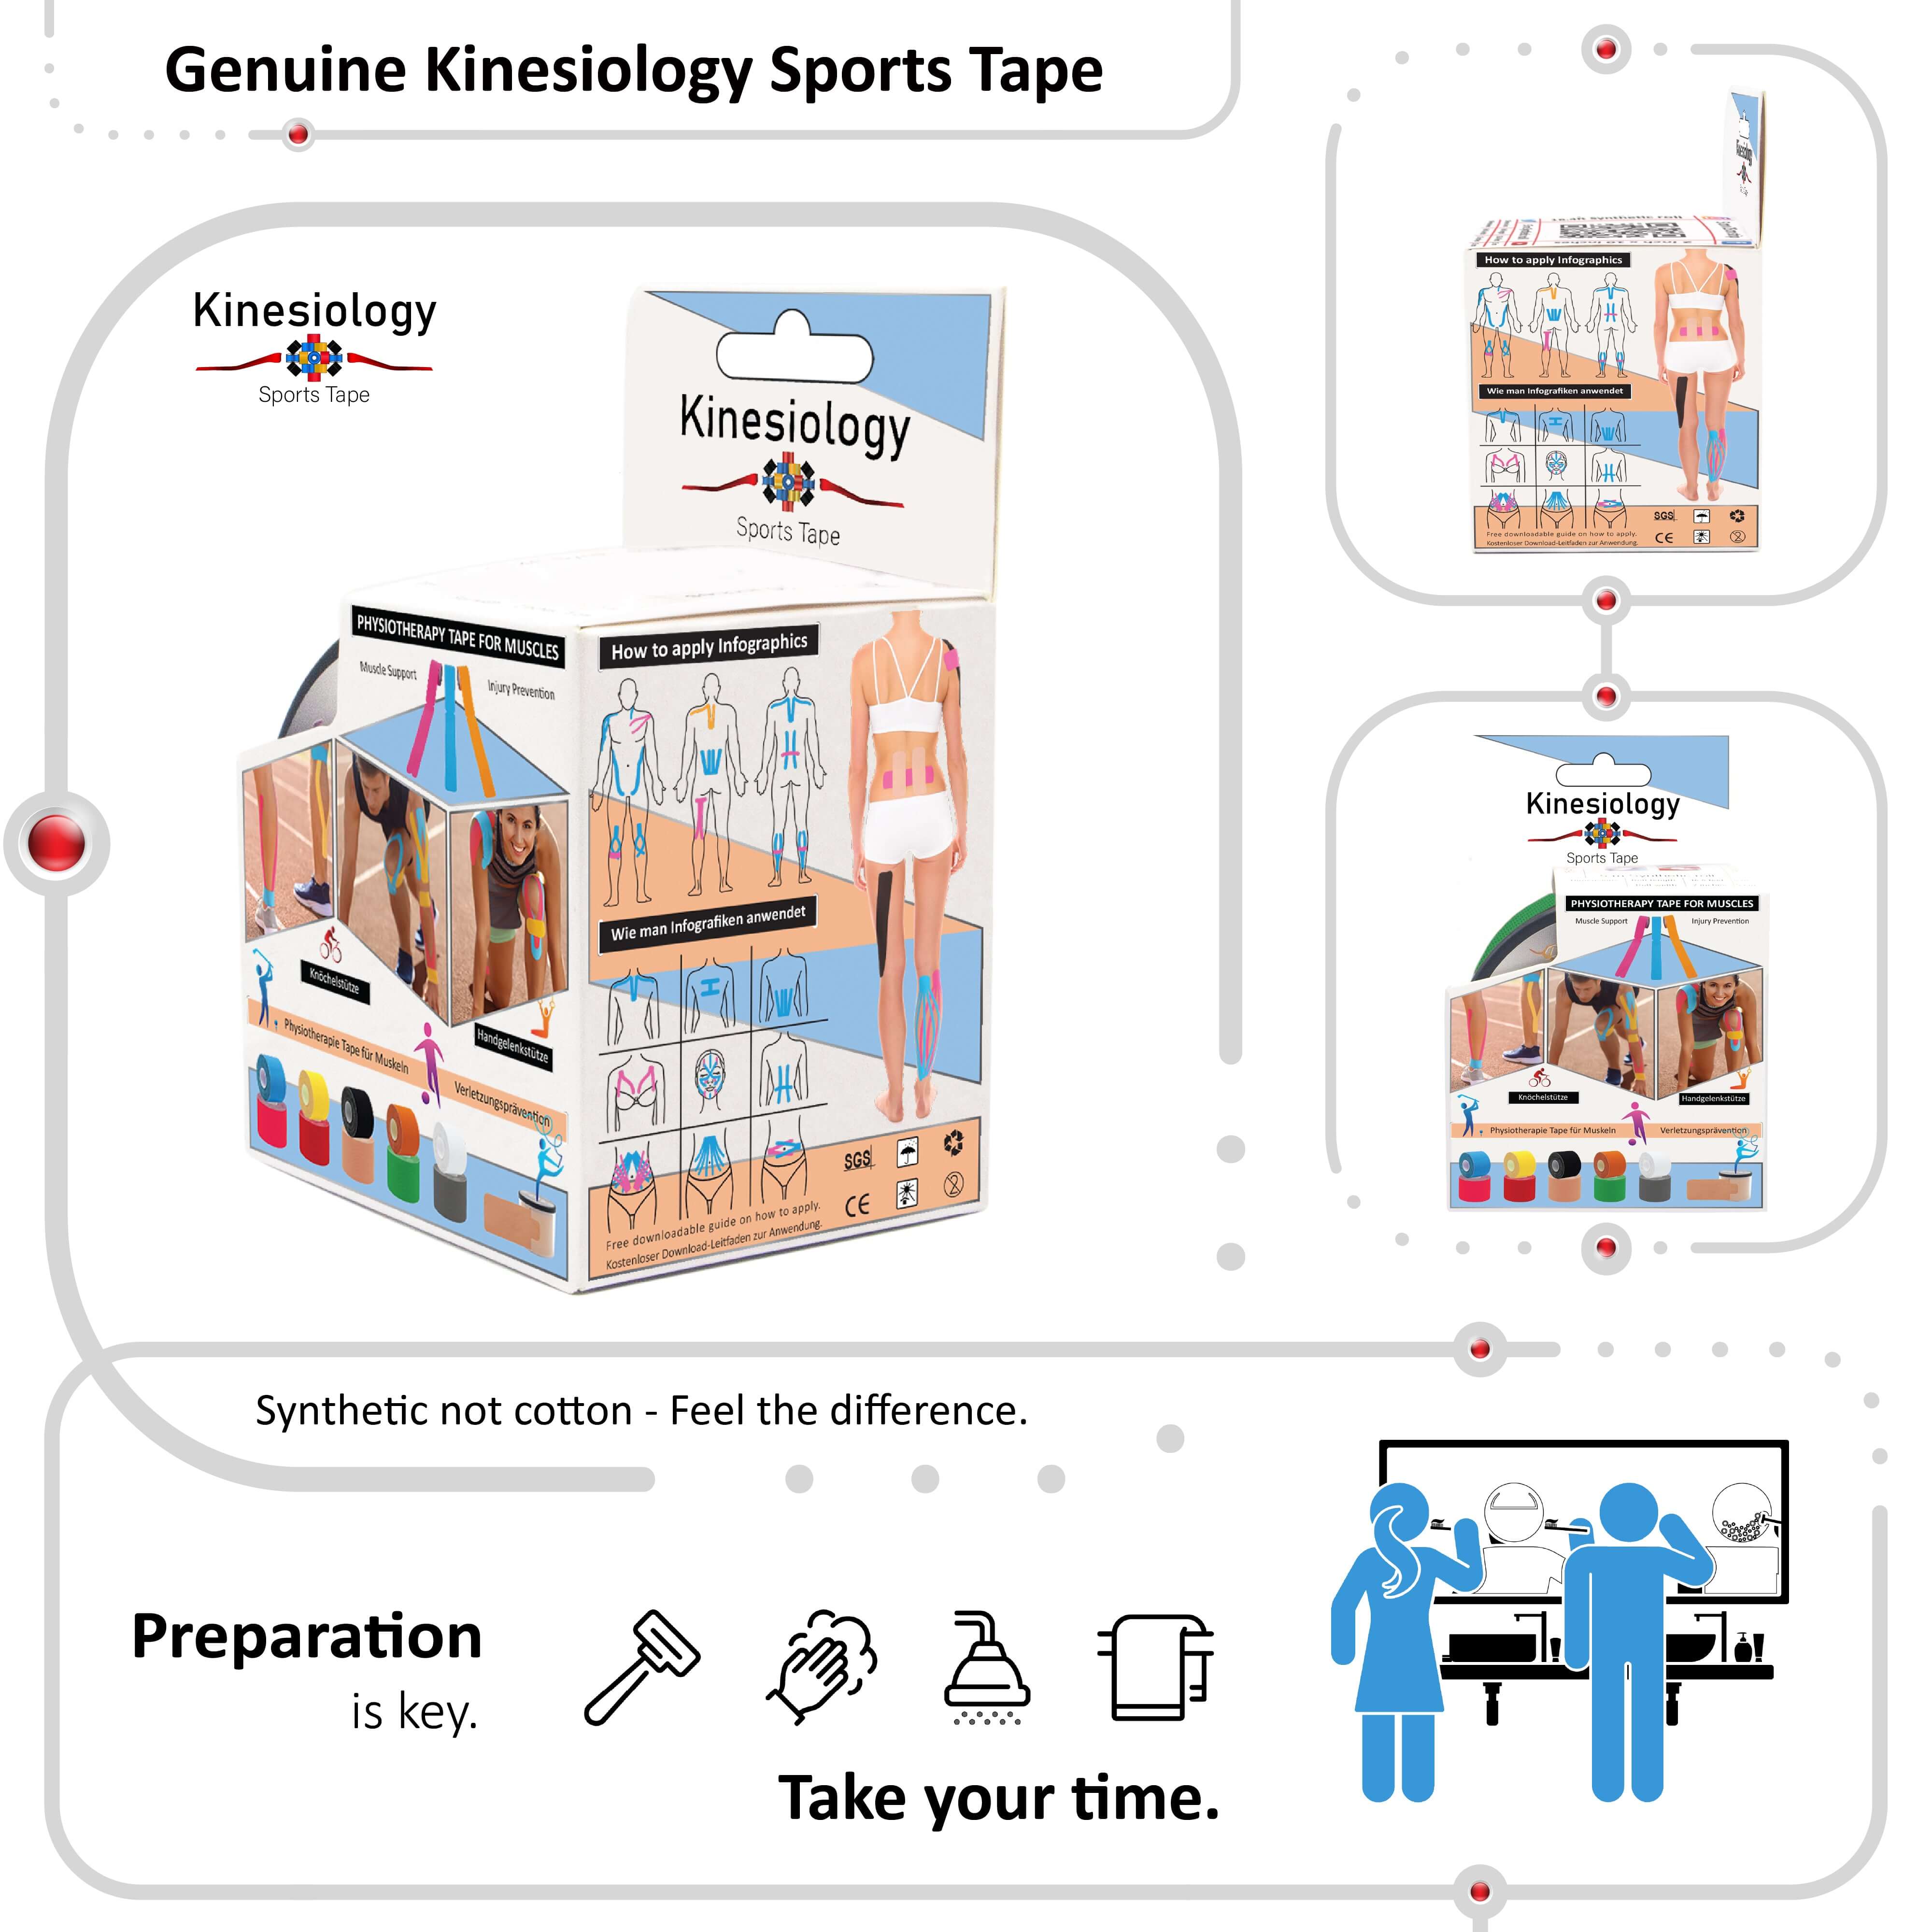
📌 General Guidelines Before You Tape
-
Always apply to clean, dry skin
-
Rub the tape after application to activate the adhesive
-
Apply 0% stretch on the anchors (first and last 2–3 cm)
-
Do not tape over broken, irritated, or sunburned skin
-
Stretch the body part, not the tape whenever possible
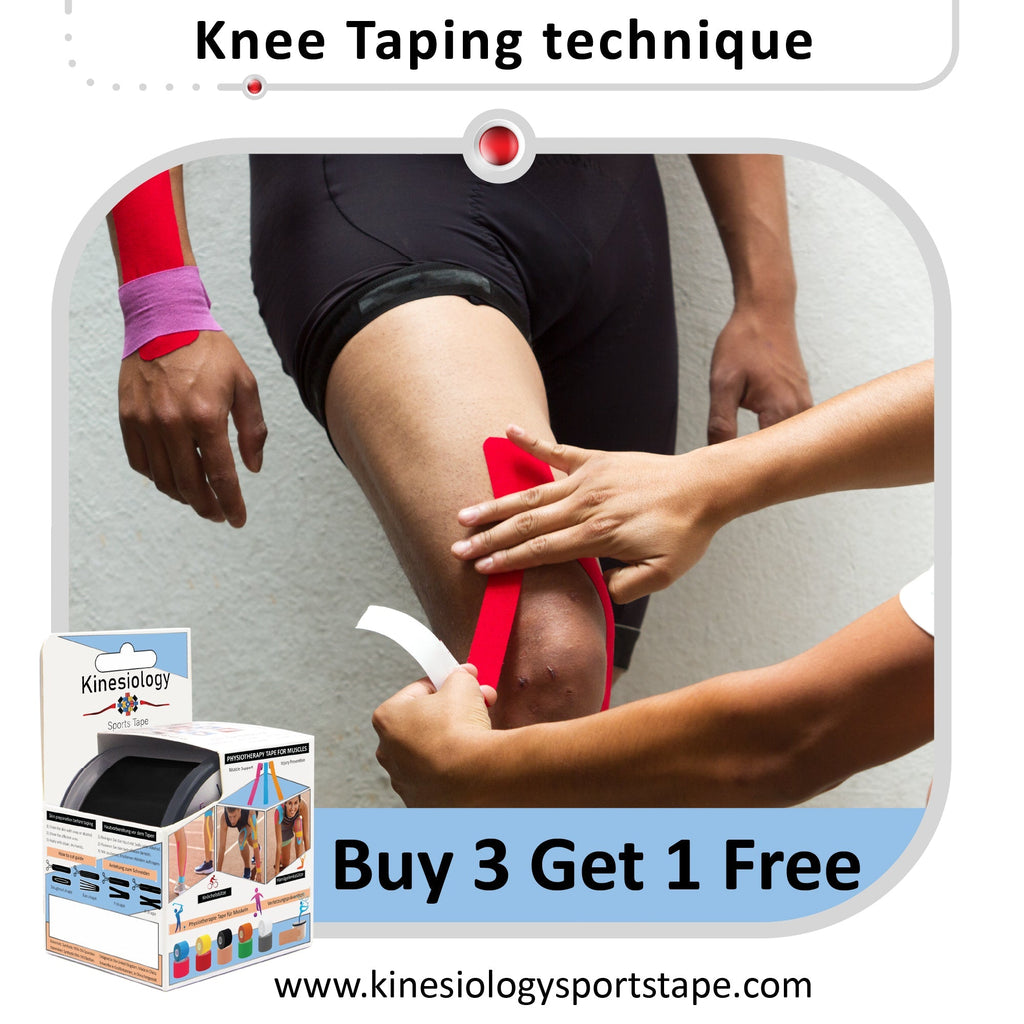
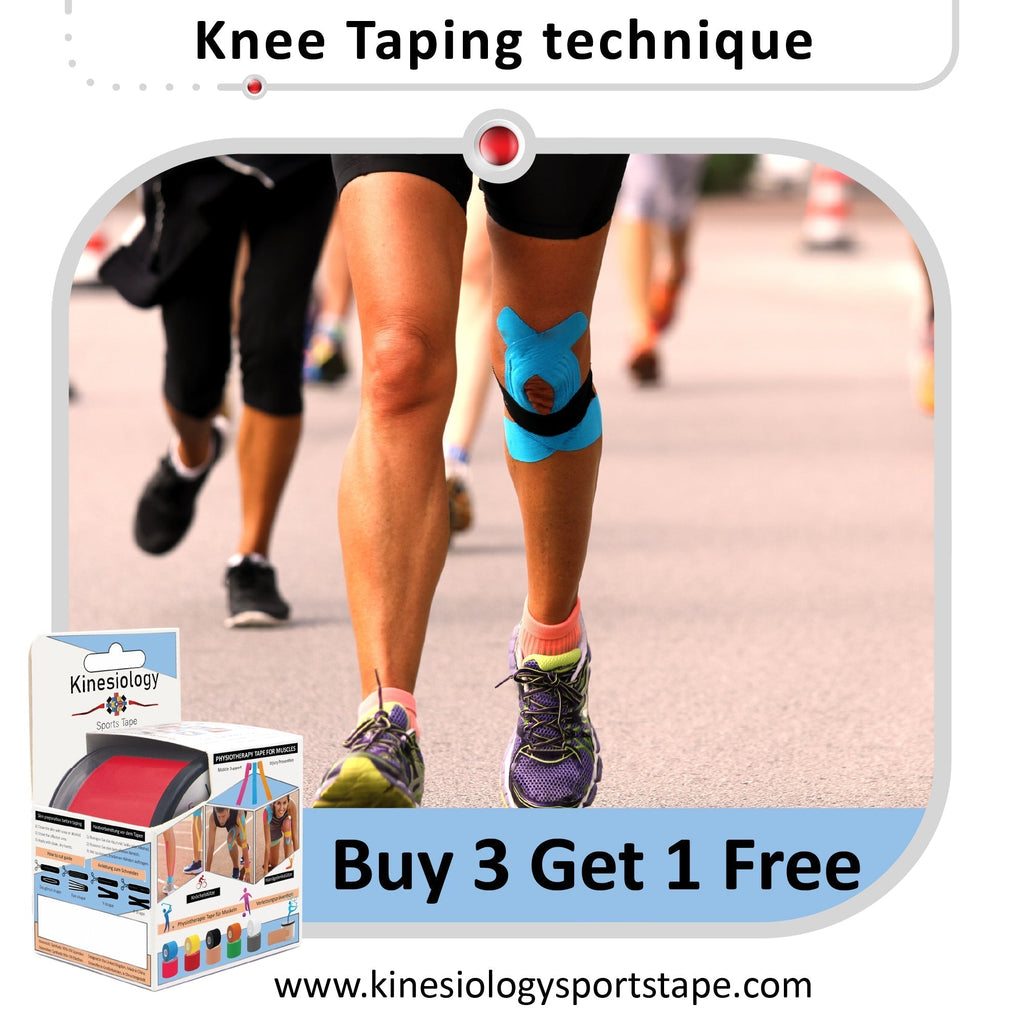
🦵 1. Knee Pain (Patellofemoral or Jumper’s Knee)
Goal: Support the kneecap and reduce anterior knee pain during activity
Technique:
-
Cut two I-strips
-
First strip: anchor just below the kneecap and pull upward along the inside edge of the patella (25–50% stretch)
-
Second strip: mirror the first on the outside edge of the patella
-
Optionally add a horizontal strip under the patella for extra stability
🦶 2. Plantar Fasciitis
Goal: Lift and support the arch, reduce stress on the plantar fascia
Technique:
-
Apply an I-strip from the ball of the foot to the heel with 25–50% stretch
-
Use a second I-strip anchored at the heel, wrapping across the foot's arch in a horseshoe pattern
-
Foot should be dorsiflexed (toes pulled up) during taping
🦿 3. Shin Splints (Medial Tibial Stress Syndrome)
Goal: Offload tibialis posterior and reduce inflammation
Technique:
-
Use a long I-strip from the inside of the arch up to mid-calf
-
Apply with 25–50% stretch over the painful area on the inside of the shin
-
Optional second strip placed vertically along the tibia for extra support
🦶 4. Ankle Instability or Sprain Support
Goal: Increase proprioception and light support post-injury
Technique:
-
Start with one I-strip anchored at the arch, pulled diagonally across the ankle joint and wrapped above the outer ankle
-
Apply a second strip in the opposite direction for cross-stabilization
-
Use light to moderate stretch (25–50%)
💪 5. Shoulder (Rotator Cuff or General Support)
Goal: Improve shoulder alignment and reduce impingement symptoms
Technique:
-
Use a Y-strip anchored at the upper arm
-
Split around the deltoid muscle (one tail over the front, one over the back)
-
Apply with 15–25% stretch while the shoulder is slightly abducted (raised to the side)
-
Optional third I-strip over the upper trapezius for postural cueing
🔙 6. Lower Back (Lumbar Support)
Goal: Relieve tension and support lumbar muscles
Technique:
-
Apply two parallel I-strips vertically from sacrum to mid-back along each side of the spine
-
Use 25% stretch through the center
-
Add a horizontal strip across the lower back if additional reinforcement is needed
🧠 7. Neck Pain (Upper Trapezius or Cervical Tension)
Goal: Relieve muscular tightness and tension headaches
Technique:
-
Cut a Y-strip and anchor it at the upper back or between the shoulder blades
-
Apply tails along either side of the neck toward the base of the skull with very light tension
-
Neck should be in slight flexion (chin tucked) during taping
🎾 8. Tennis Elbow (Lateral Epicondylitis)
Goal: Reduce forearm muscle tension and ease lateral elbow pain
Technique:
-
Cut a Y-strip and anchor just below the lateral elbow (on the outer forearm)
-
Wrap tails up toward the upper arm around the lateral elbow point with 25–50% stretch
-
Optionally apply a decompression strip directly over the painful area
⌨️ 9. Carpal Tunnel Syndrome
Goal: Improve wrist mechanics and reduce nerve irritation
Technique:
-
Anchor a small I-strip at the palm, stretching over the inner wrist and forearm
-
Use another I-strip on the back of the hand, pulling toward the forearm
-
Use minimal stretch (10–15%) to avoid excessive pressure
🏃 10. IT Band Syndrome
Goal: Reduce tension along the lateral thigh and support the knee
Technique:
-
Use a long I-strip from just below the knee to the upper thigh
-
Apply with 25% stretch along the side of the thigh
-
Add a decompression strip horizontally over the area of greatest tenderness
🚫 What to Avoid
-
Don’t overstretch the tape—more stretch ≠ better results
-
Avoid taping too tightly, especially around joints or swelling
-
Watch for signs of skin irritation itching, redness, or blistering mean it's time to remove the tape
🔄 When to Reapply
-
Replace tape every 3–5 days, or sooner if it loses adhesion
-
If using tape daily, give the skin 1–2 rest days each week to prevent irritation
-
Tape is water-resistant, but pat it dry after showers instead of rubbing
📚 Wrapping It Up
These evidence-informed kinesiology taping techniques can:
-
Support functional movement
-
Reduce pain and tension
-
Aid in swelling management
-
Boost proprioception and movement awareness
But remember: tape is just one tool. It works best when used alongside proper rehab, stretching, strengthening, and rest.
Related post
22
Mar
21
Mar
21
Mar
05
Aug