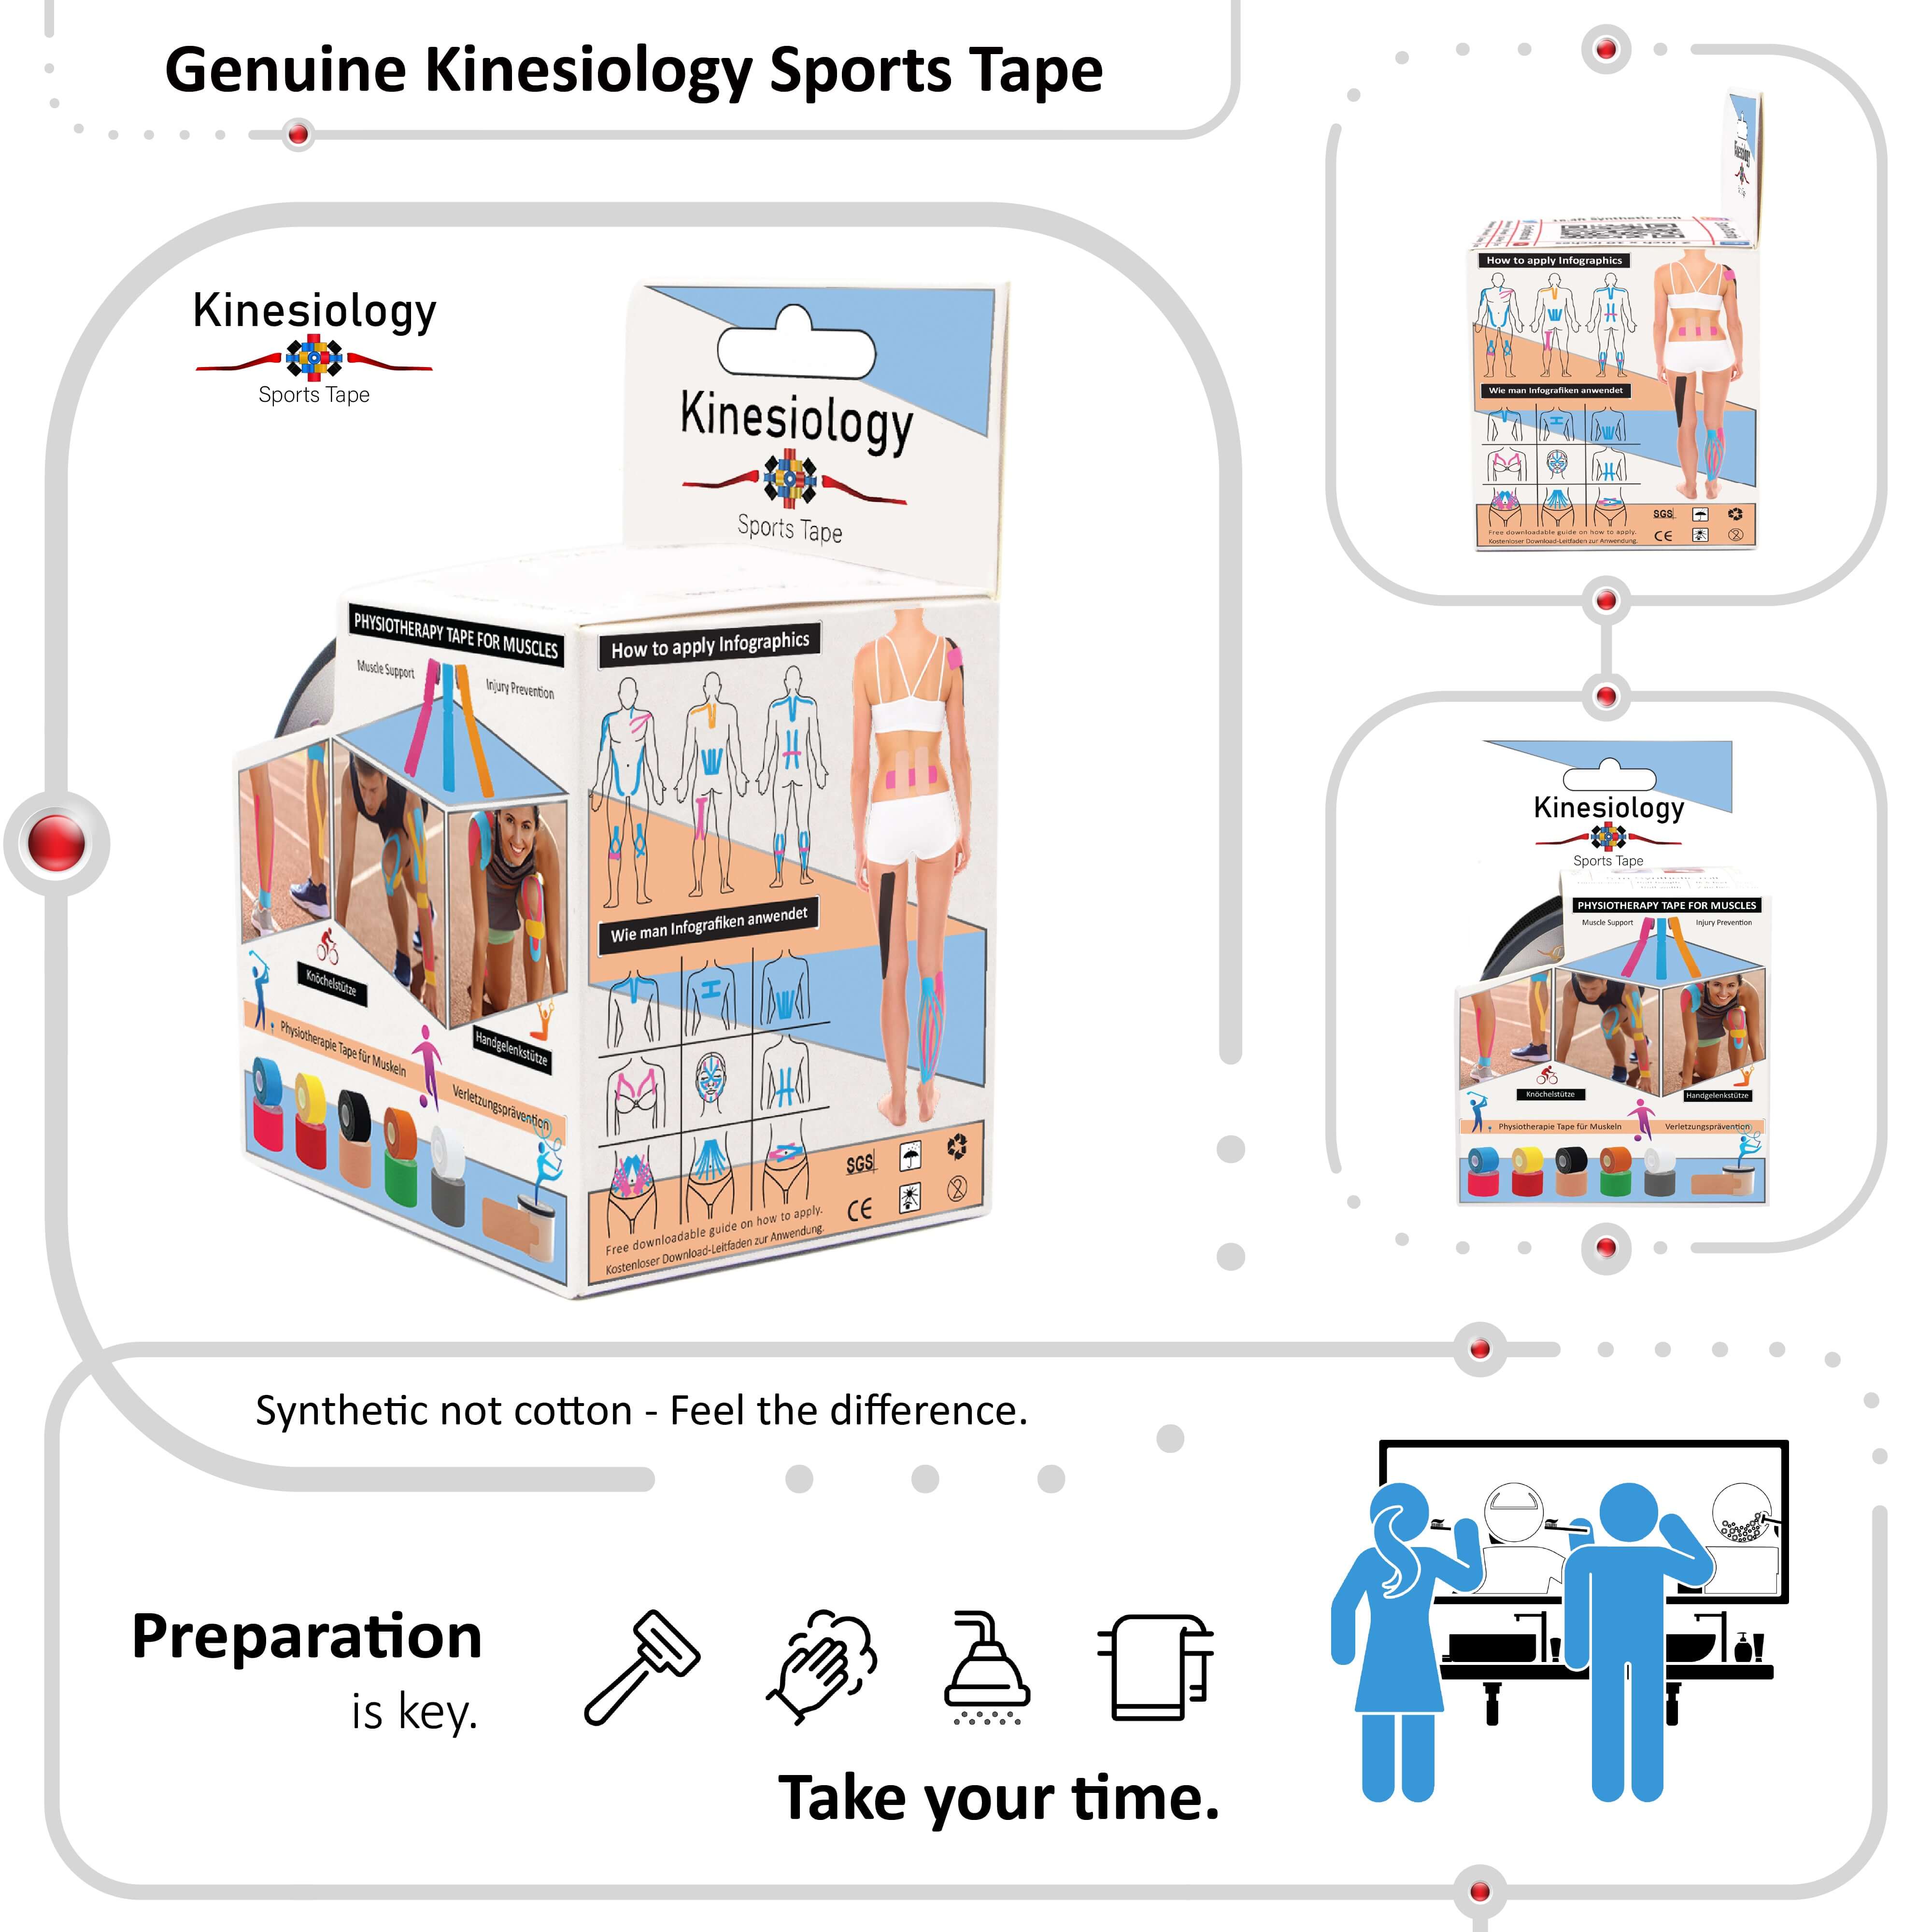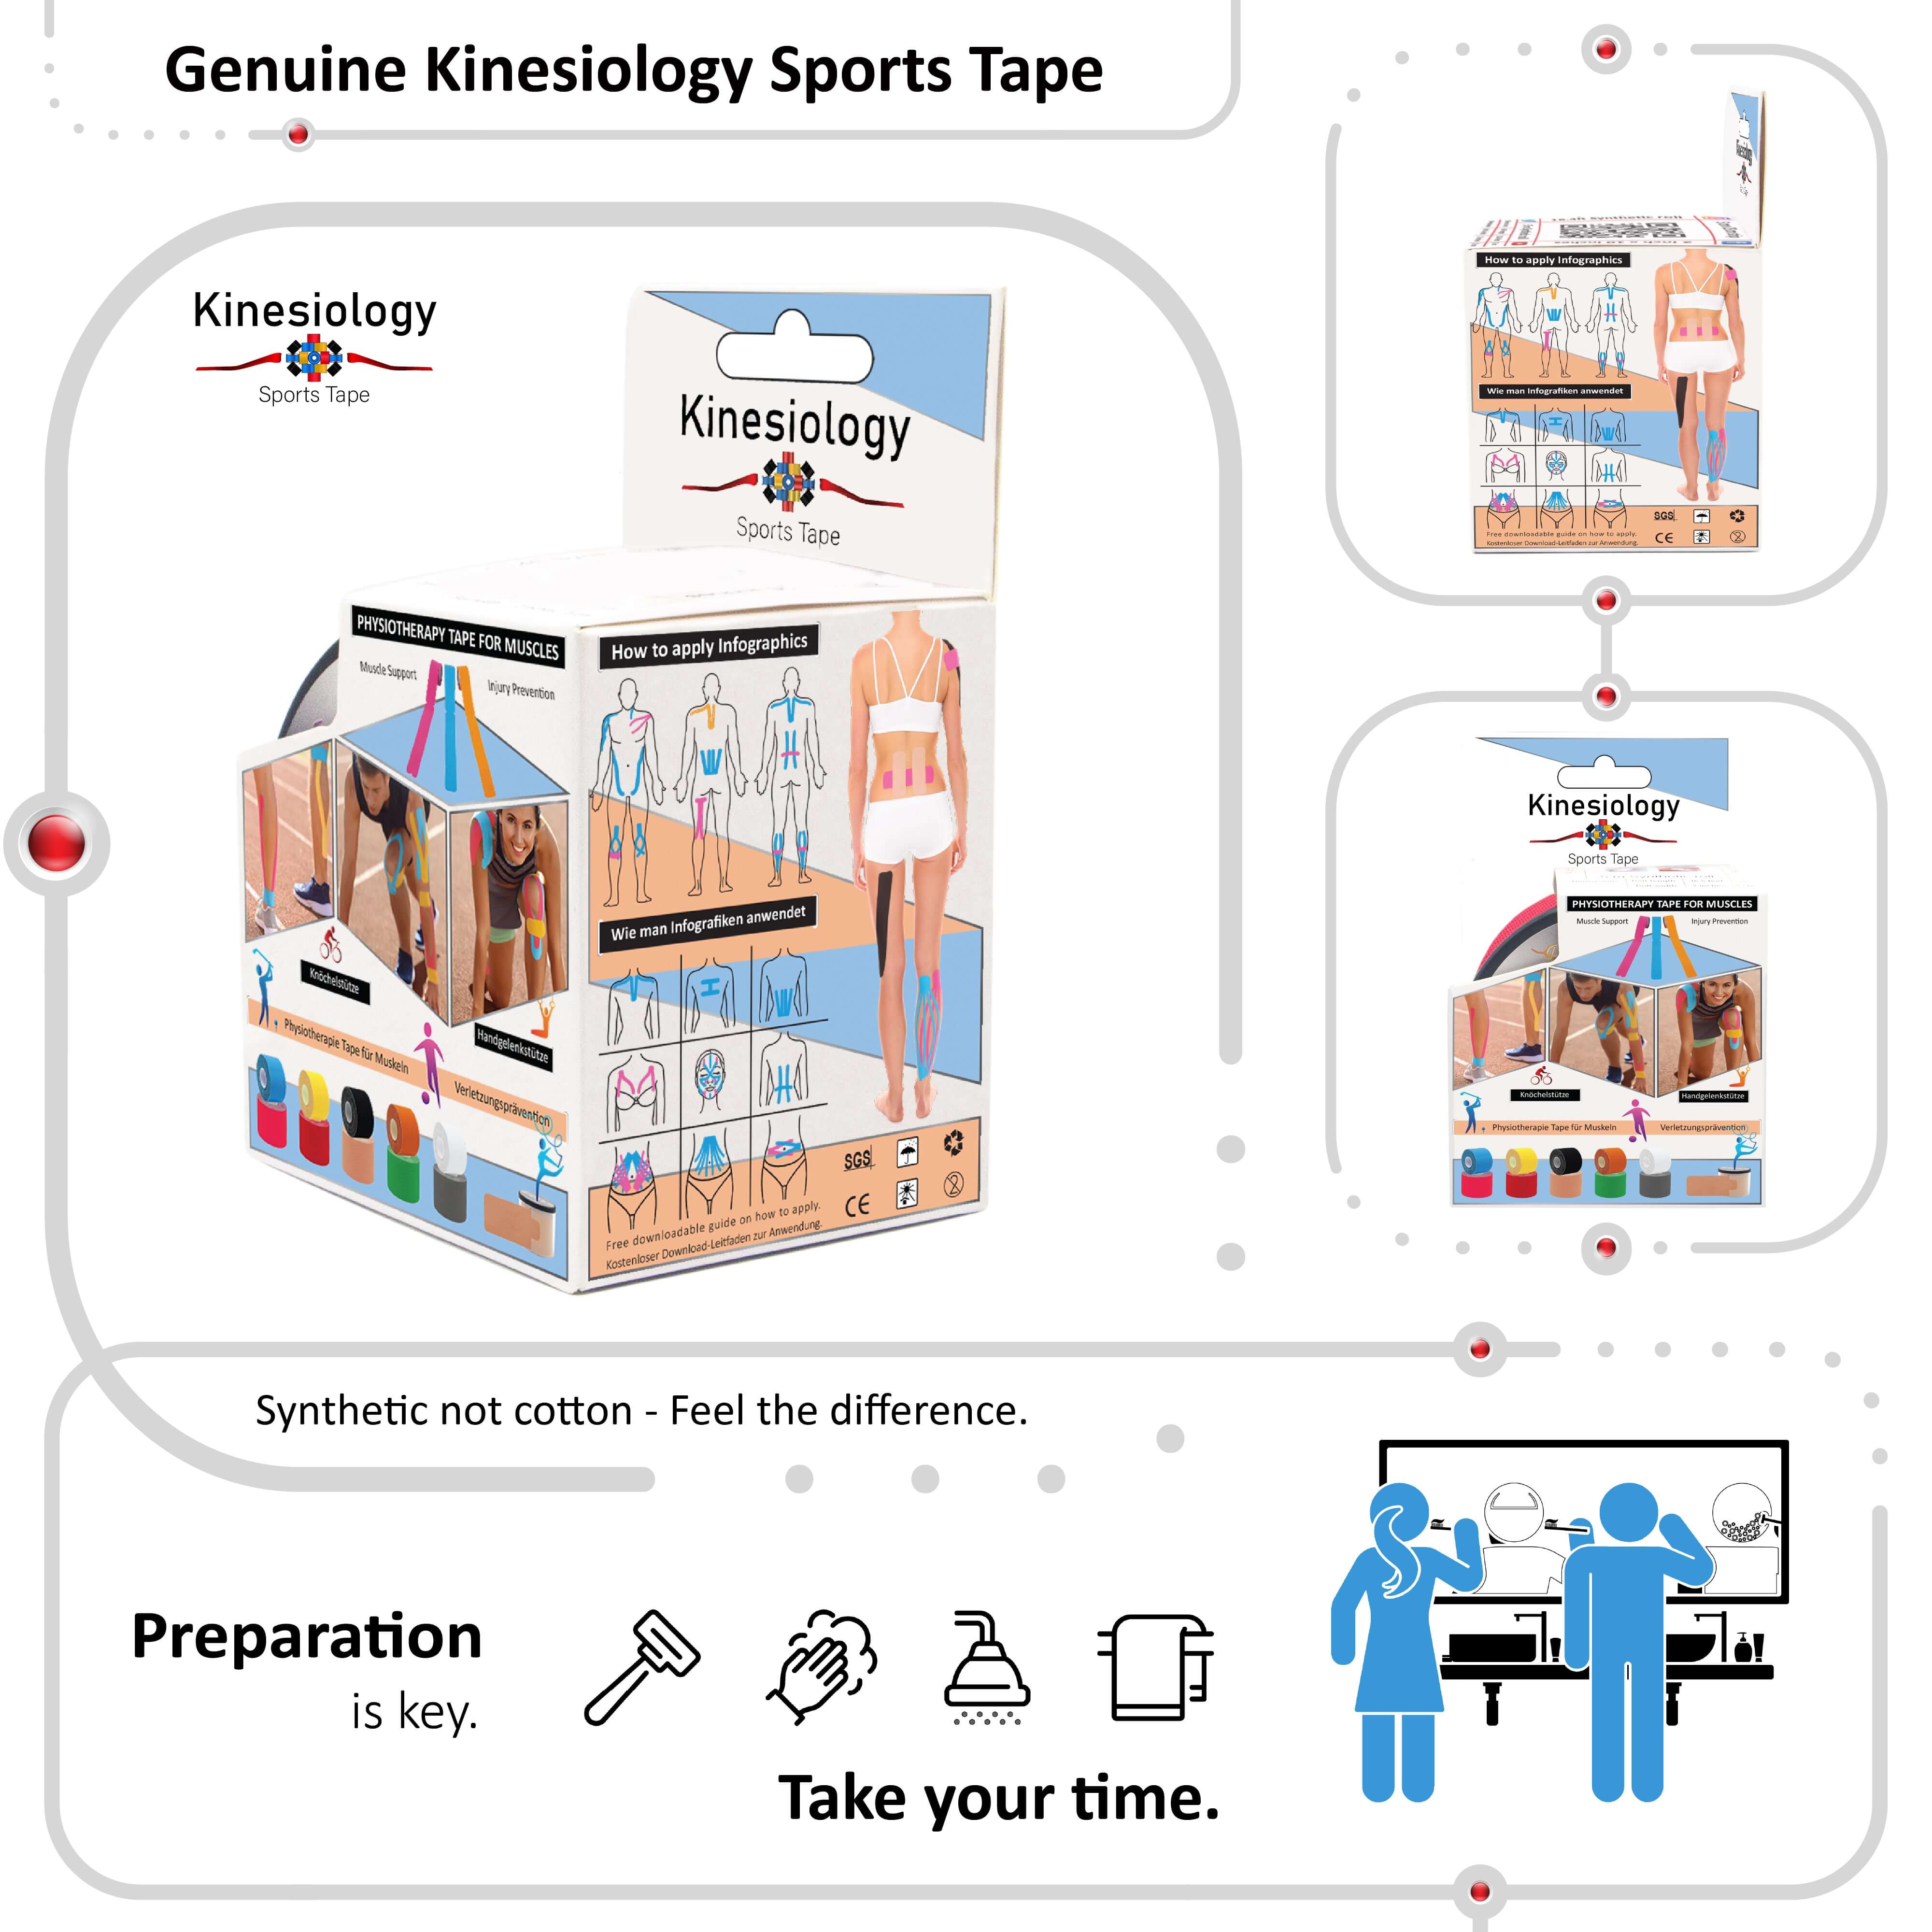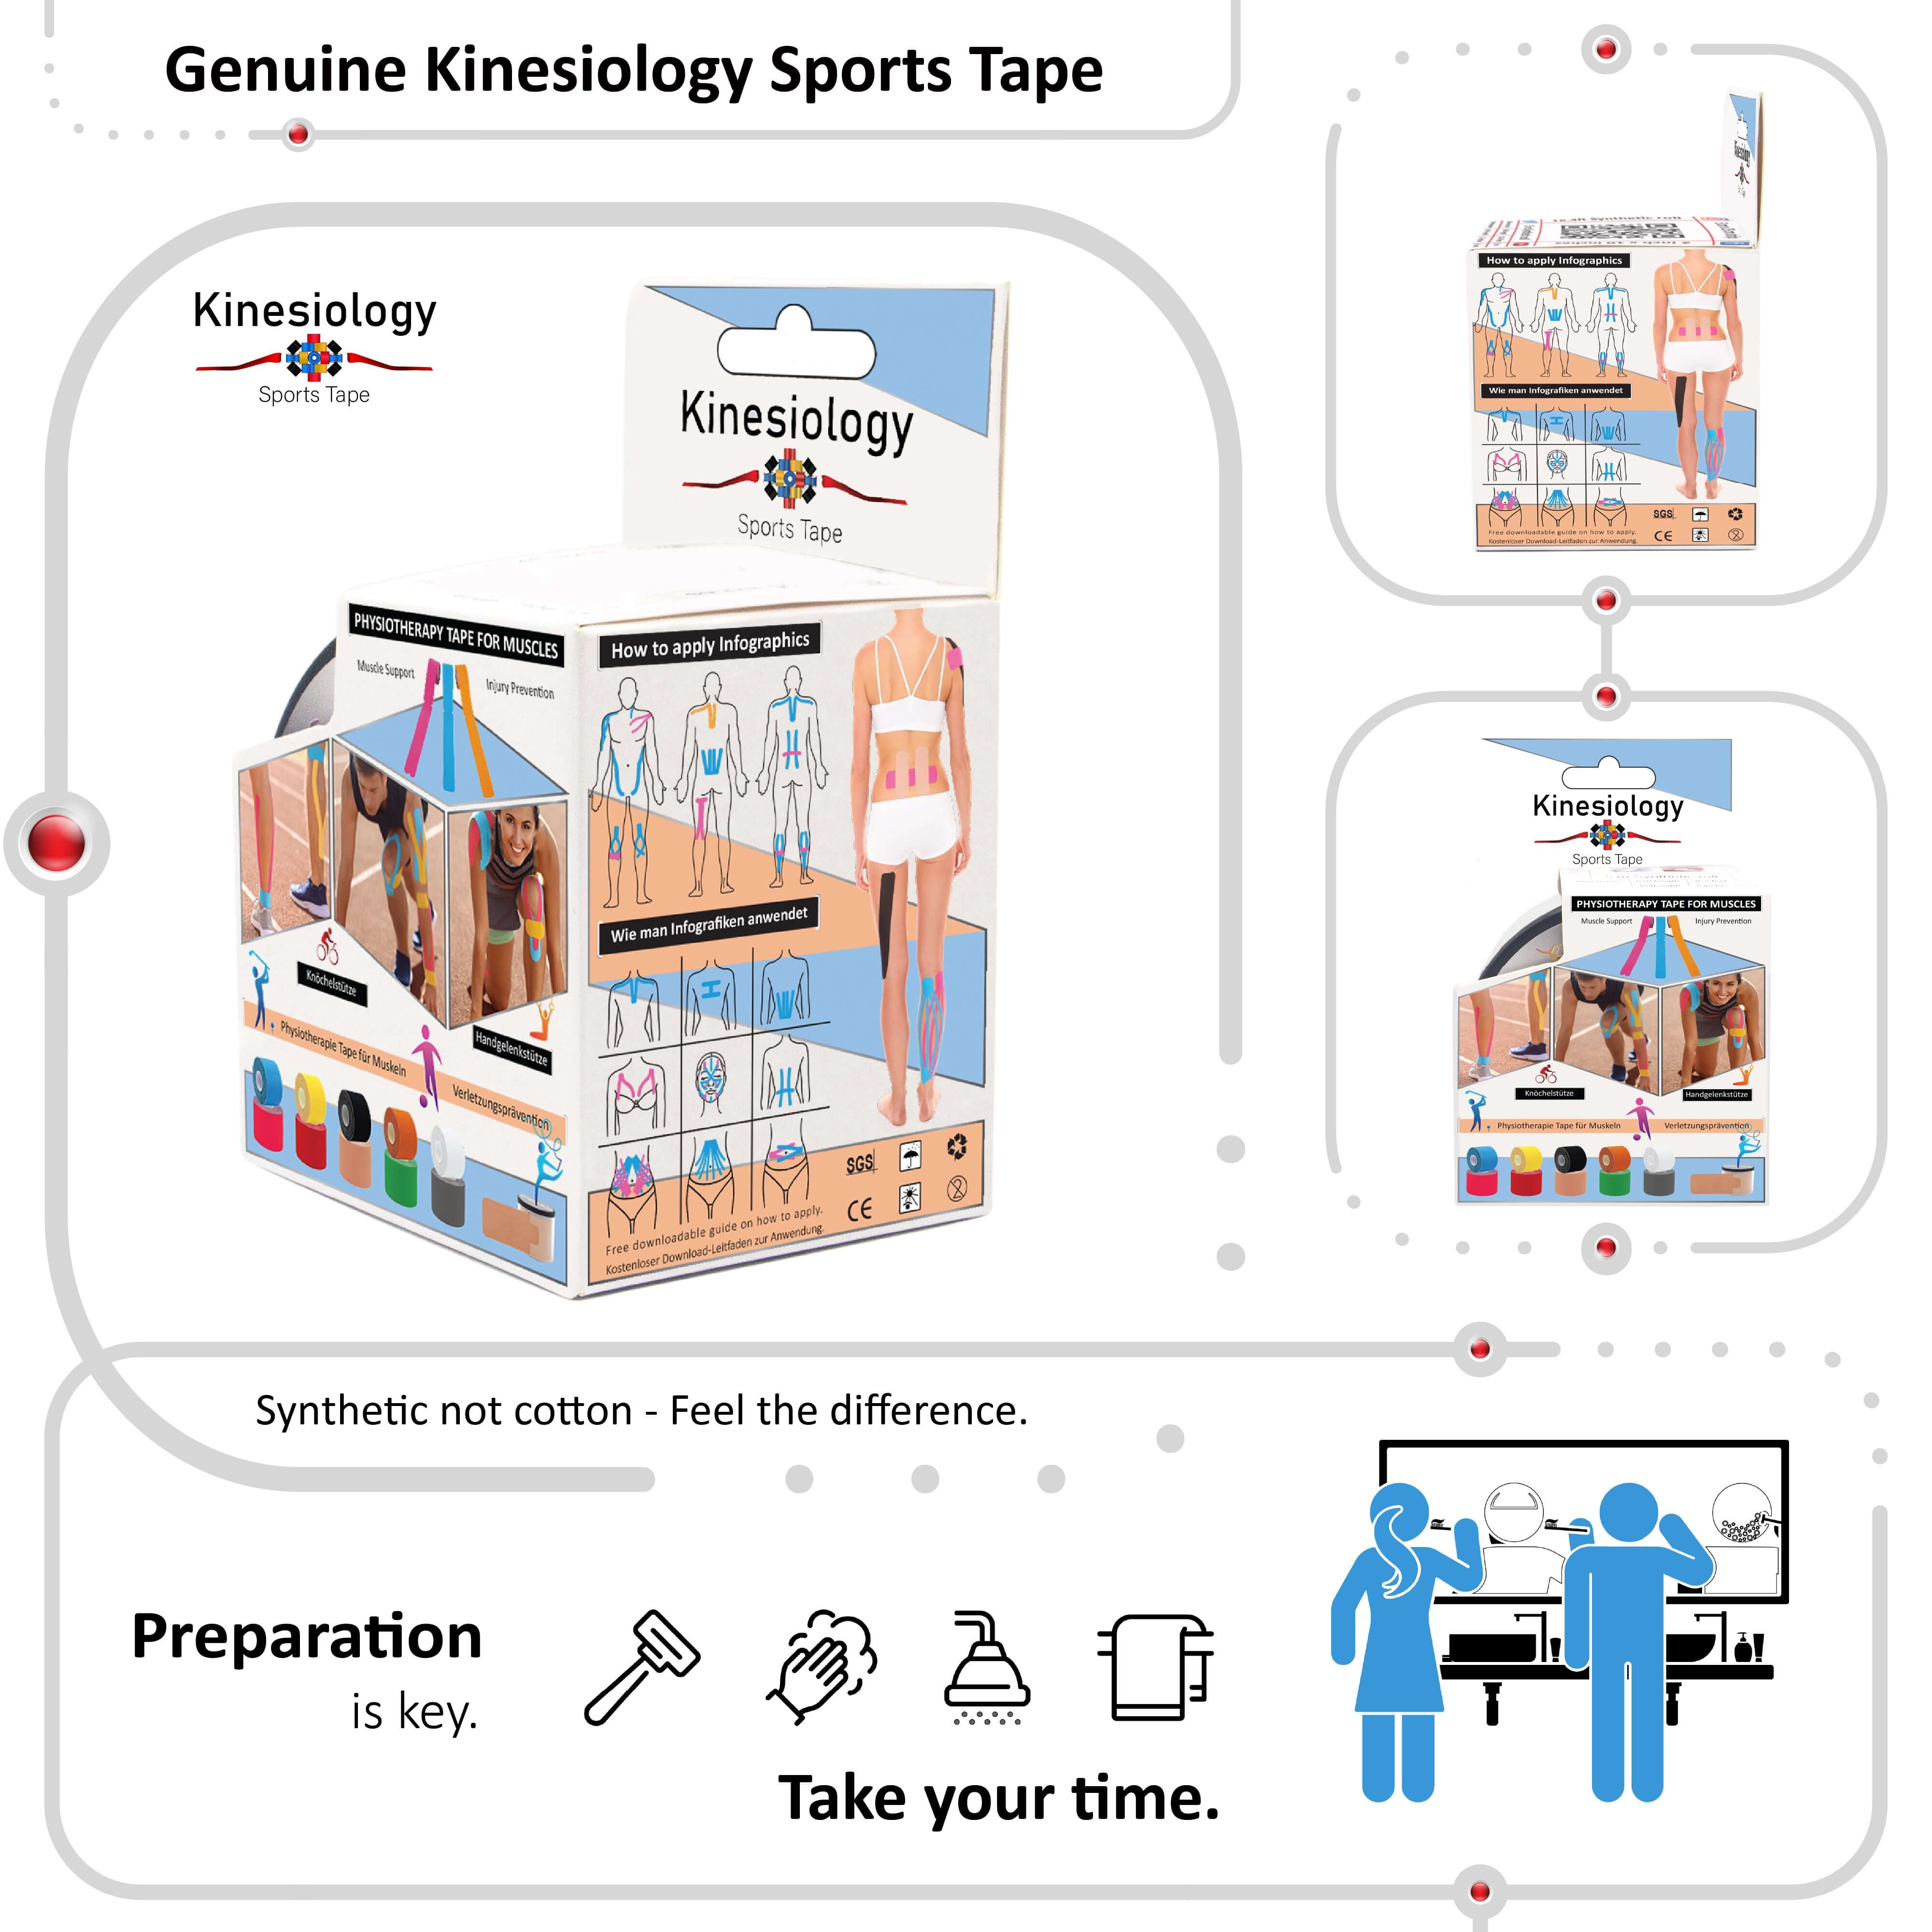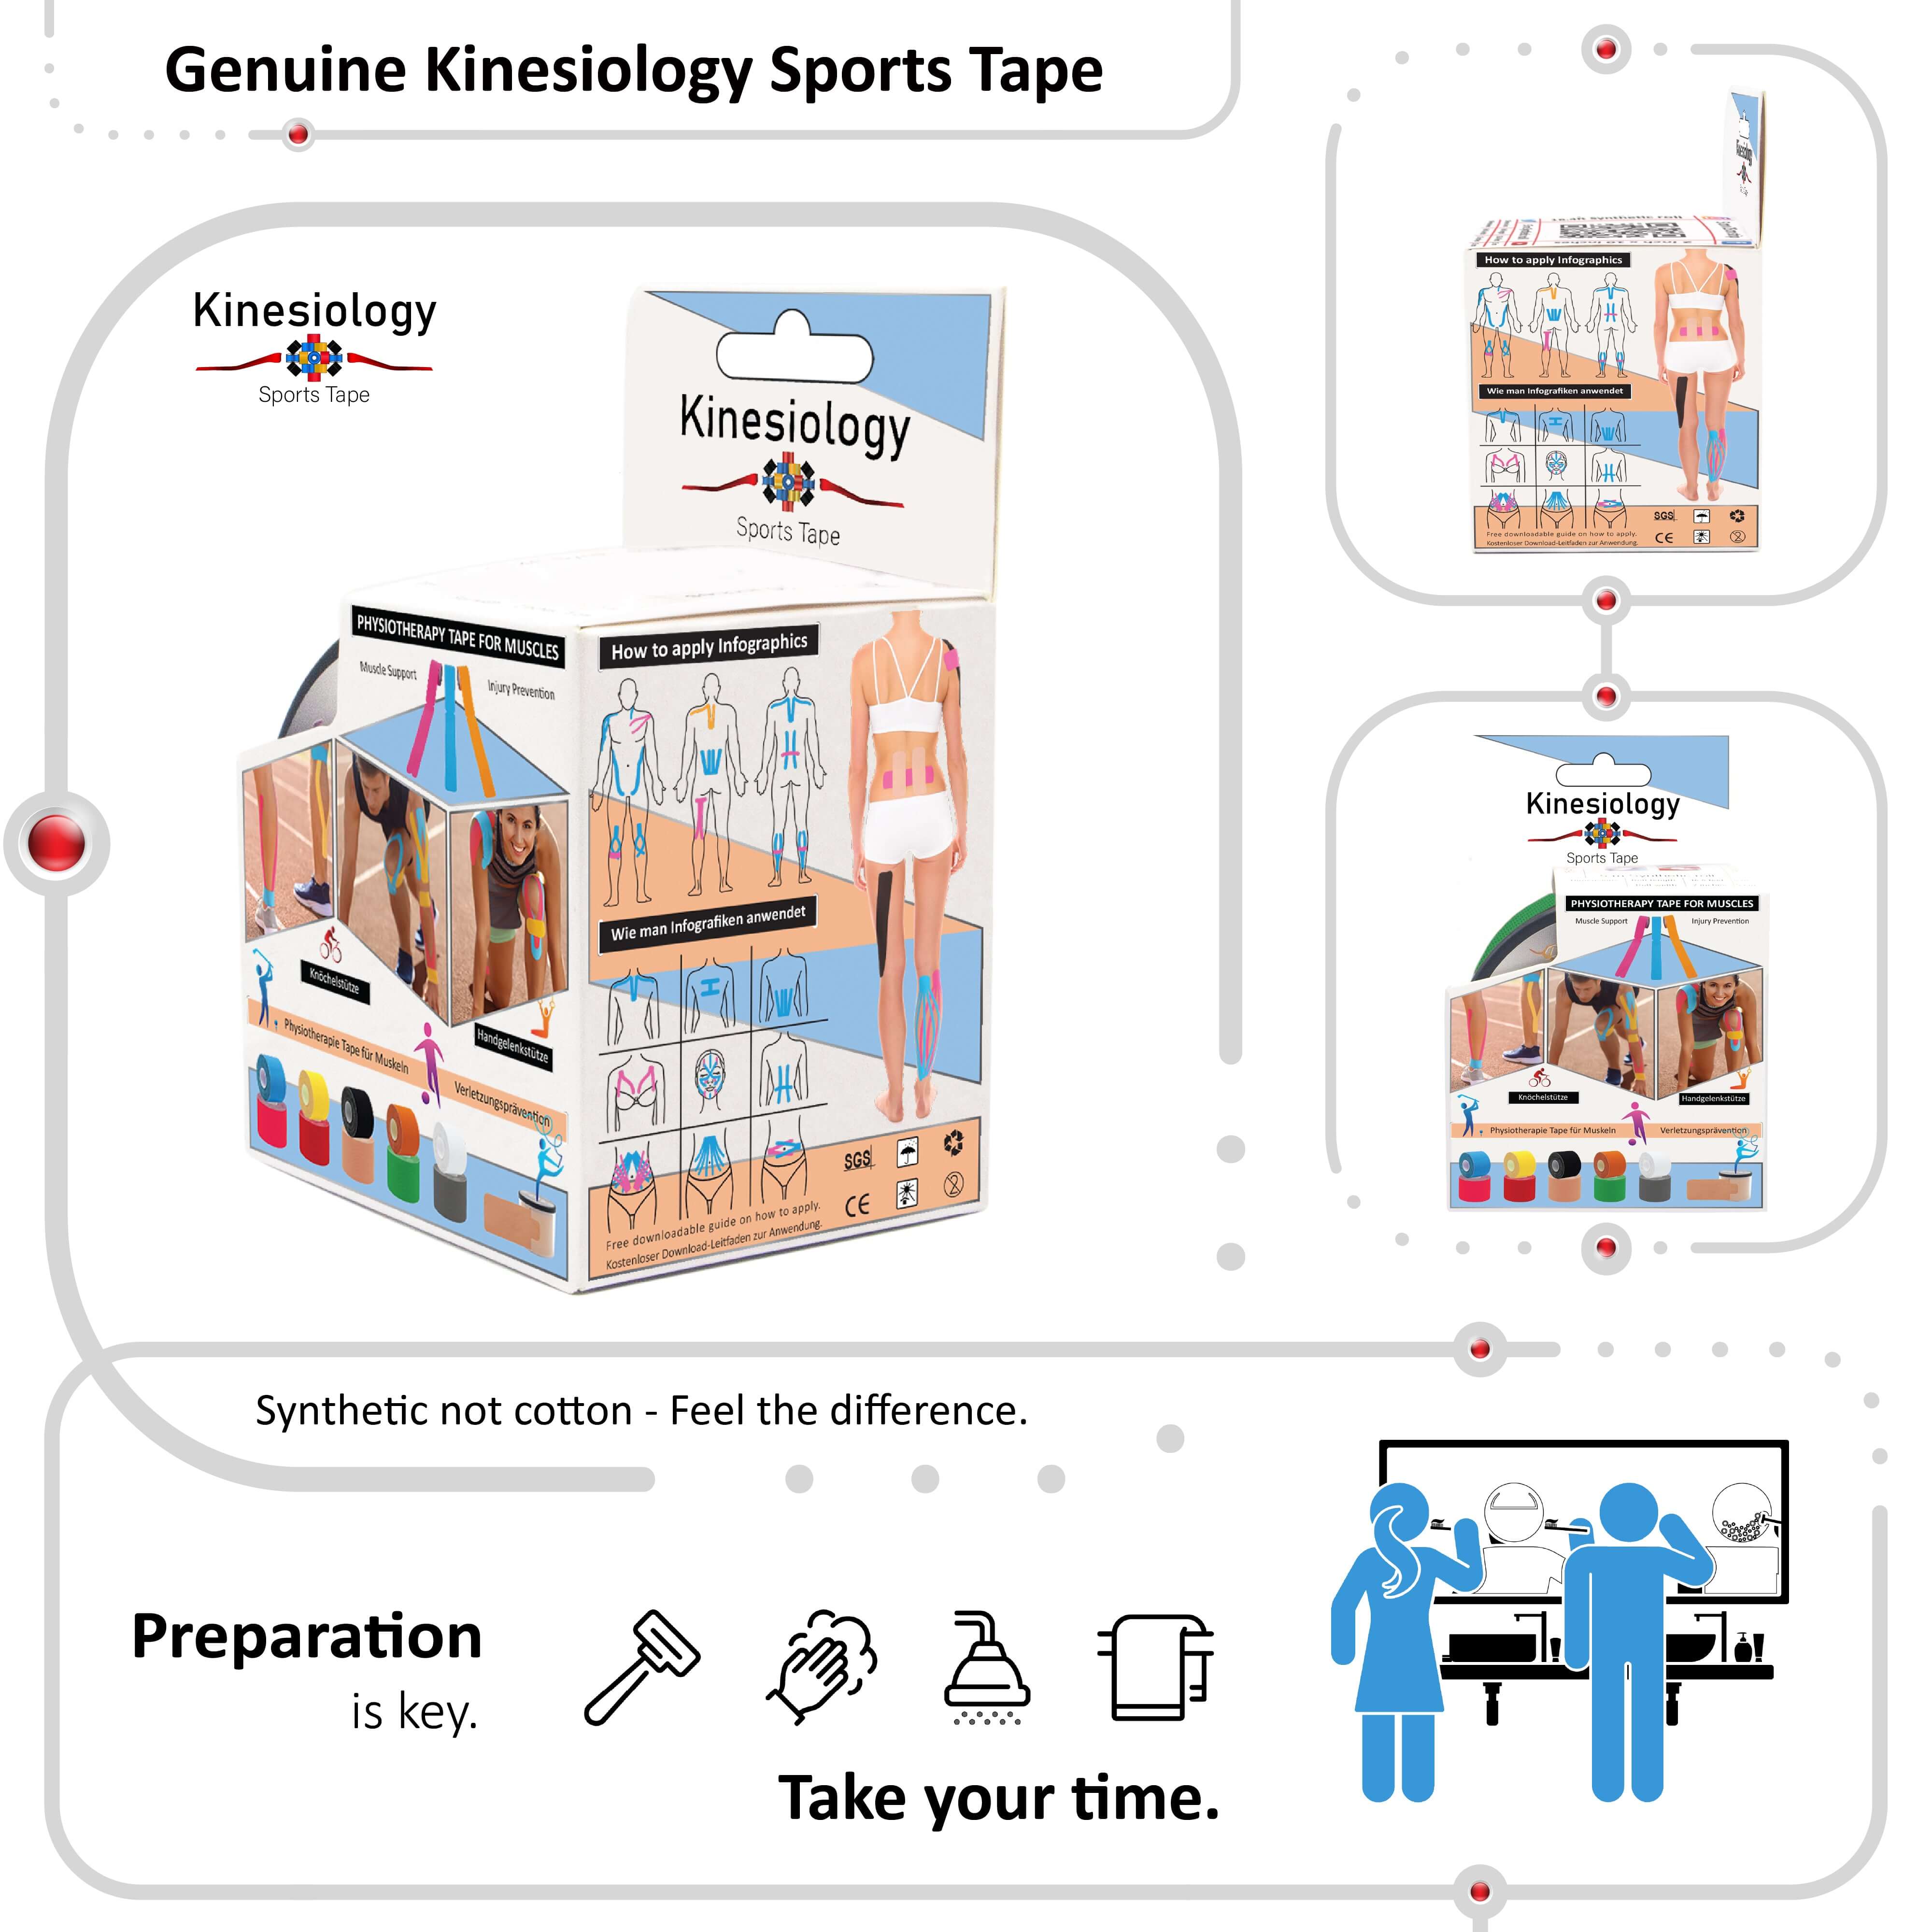
How to Apply Kinesiology Tape: The Complete Beginner's Guide to Proper Taping Techniques

Kinesiology tape has revolutionized the way athletes, physical therapists, and everyday individuals approach pain management and injury prevention. This elastic therapeutic tape, originally developed in the 1970s by Japanese chiropractor Dr. Kenzo Kase, has become an essential tool in sports medicine and rehabilitation [1]. Unlike traditional athletic tape that restricts movement, kinesiology tape is designed to work with your body's natural biomechanics, providing support while maintaining full range of motion.
The growing popularity of kinesiology tape stems from its unique ability to provide therapeutic benefits without limiting mobility. Research published in the Journal of Physical Therapy Science demonstrates that proper application of kinesiology tape can significantly reduce pain, improve circulation, and enhance muscle function [2]. However, the effectiveness of kinesiology tape largely depends on correct application techniques, making it crucial for users to understand the fundamental principles and methods of taping.
This comprehensive guide will walk you through everything you need to know about applying kinesiology tape safely and effectively. Whether you're dealing with a sports injury, chronic pain, or simply looking to enhance your athletic performance, mastering these application techniques will help you maximize the therapeutic benefits of kinesiology tape while avoiding common mistakes that can reduce its effectiveness.
Understanding Kinesiology Tape: The Science Behind the Support
Before diving into application techniques, it's essential to understand what makes kinesiology tape unique and how it works to provide therapeutic benefits. Kinesiology tape is constructed from a cotton-based fabric with an acrylic adhesive that mimics the elasticity and thickness of human skin [3]. This design allows the tape to stretch up to 140% of its original length, providing dynamic support that moves with your body rather than restricting it.
The therapeutic effects of kinesiology tape are achieved through several mechanisms. When properly applied, the tape creates microscopic lifts in the skin, which increases the space between the skin and underlying tissues [4]. This lifting effect promotes better circulation of blood and lymphatic fluids, reducing inflammation and accelerating the healing process. Additionally, the tape stimulates mechanoreceptors in the skin, which can help modulate pain signals and improve proprioception.
The wave-like adhesive pattern on kinesiology tape is specifically designed to enhance these lifting effects. Unlike traditional tape with uniform adhesive coverage, the undulating pattern allows for better air circulation and moisture management while maintaining strong adhesion to the skin [5]. This design feature enables the tape to be worn for extended periods, typically 3-5 days, without causing skin irritation or losing its therapeutic properties.
Understanding these mechanisms is crucial for proper application because it helps explain why tension, direction, and positioning are so important. The tape must be applied with the correct amount of stretch and in the proper direction to achieve the desired therapeutic effects. Too much tension can restrict circulation, while too little tension may not provide adequate support or therapeutic benefit.
Essential Preparation: Setting Yourself Up for Success
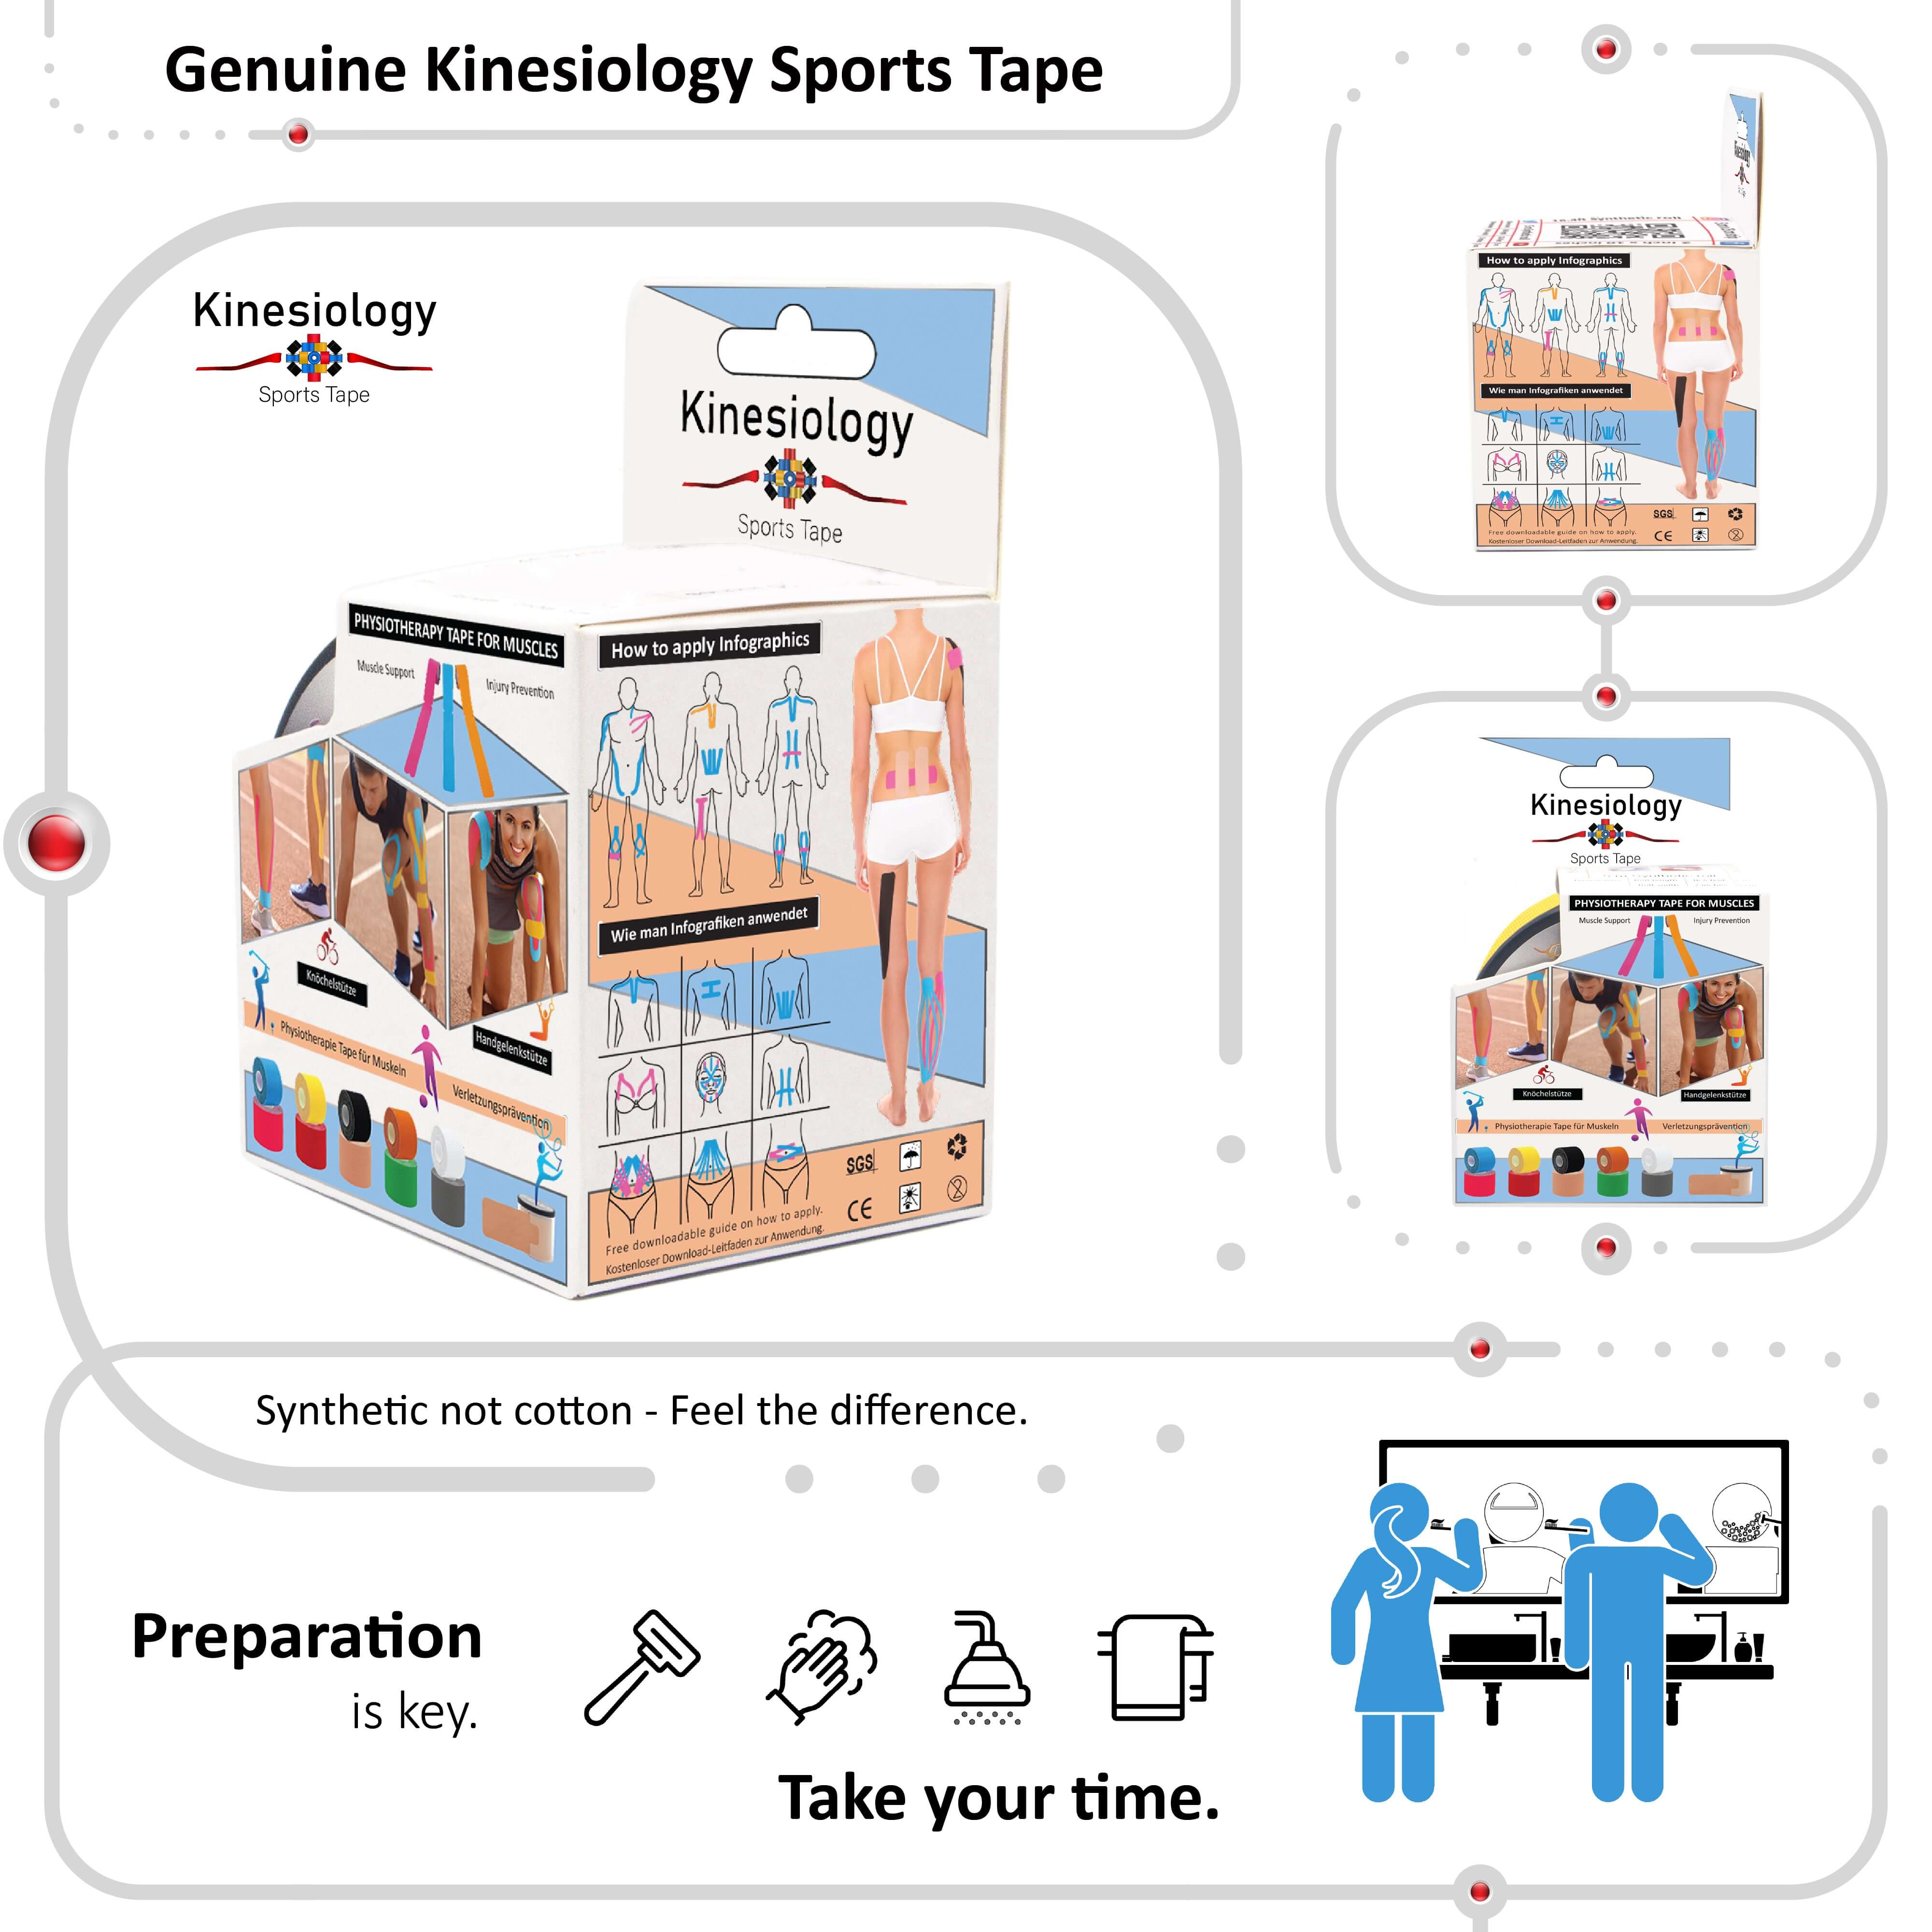
Proper preparation is the foundation of successful kinesiology tape application. The condition of your skin, the environment in which you're applying the tape, and the tools you have available all play crucial roles in determining the effectiveness and longevity of your taping job [6].
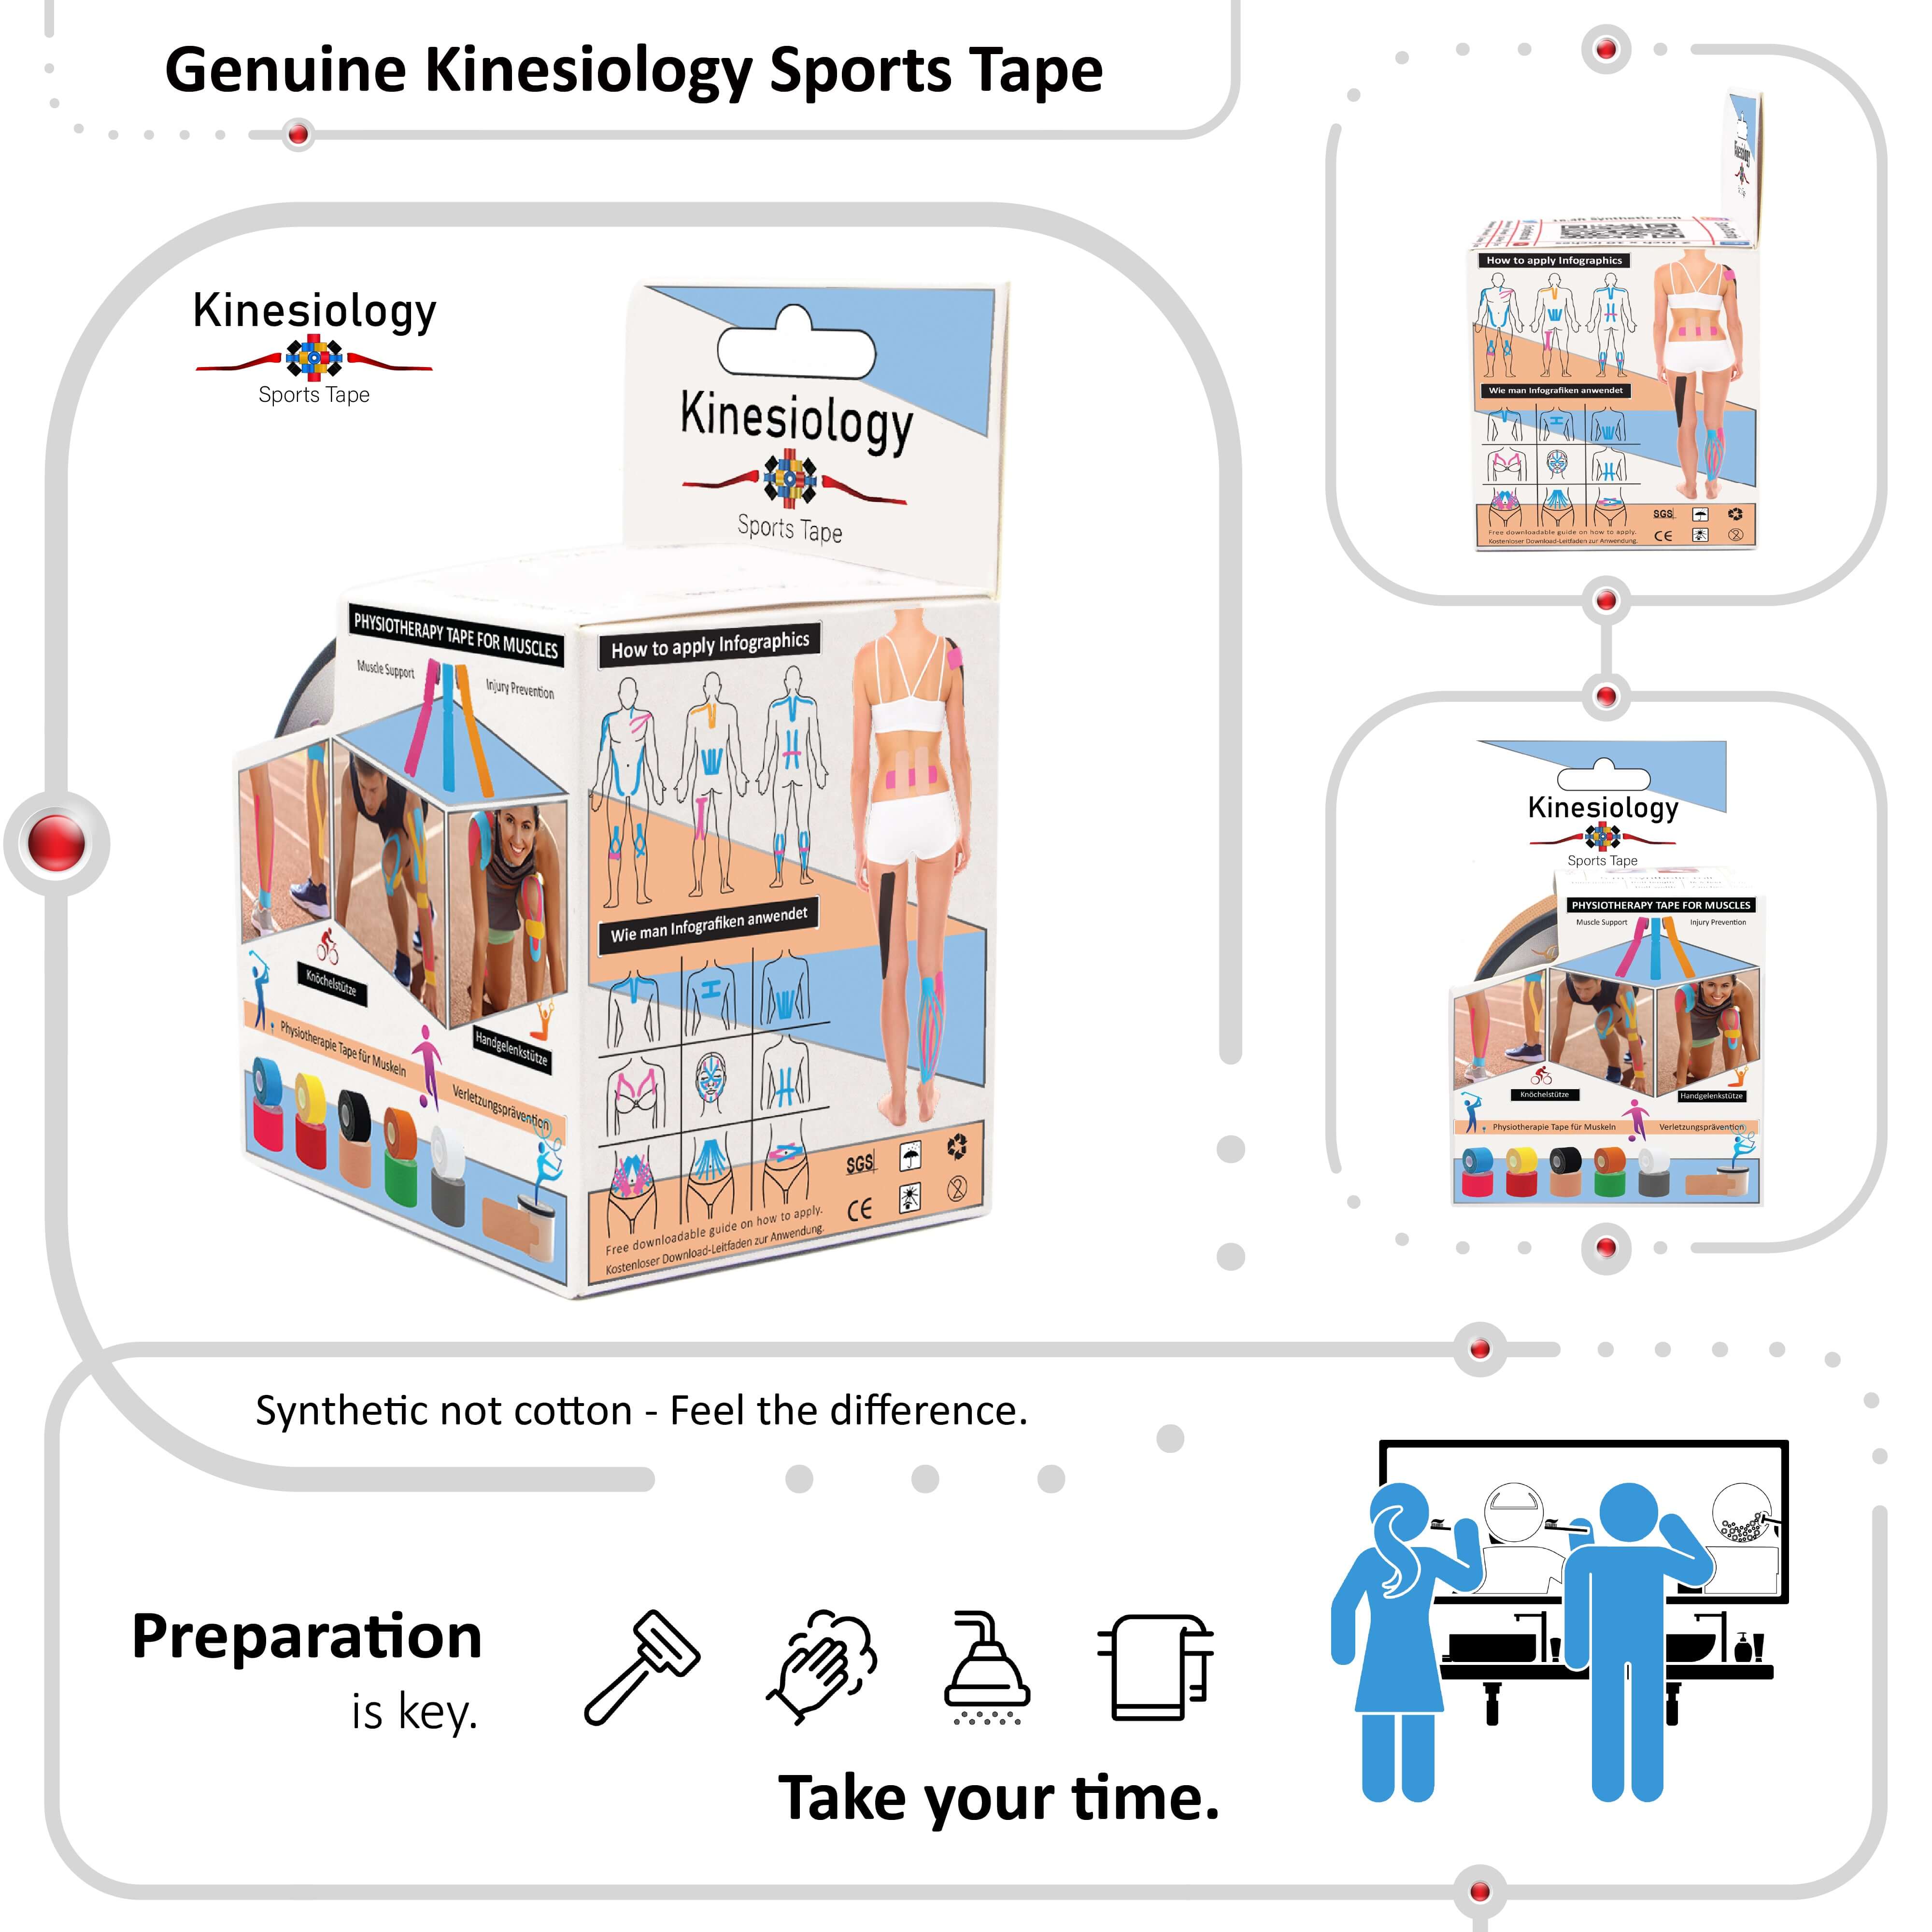
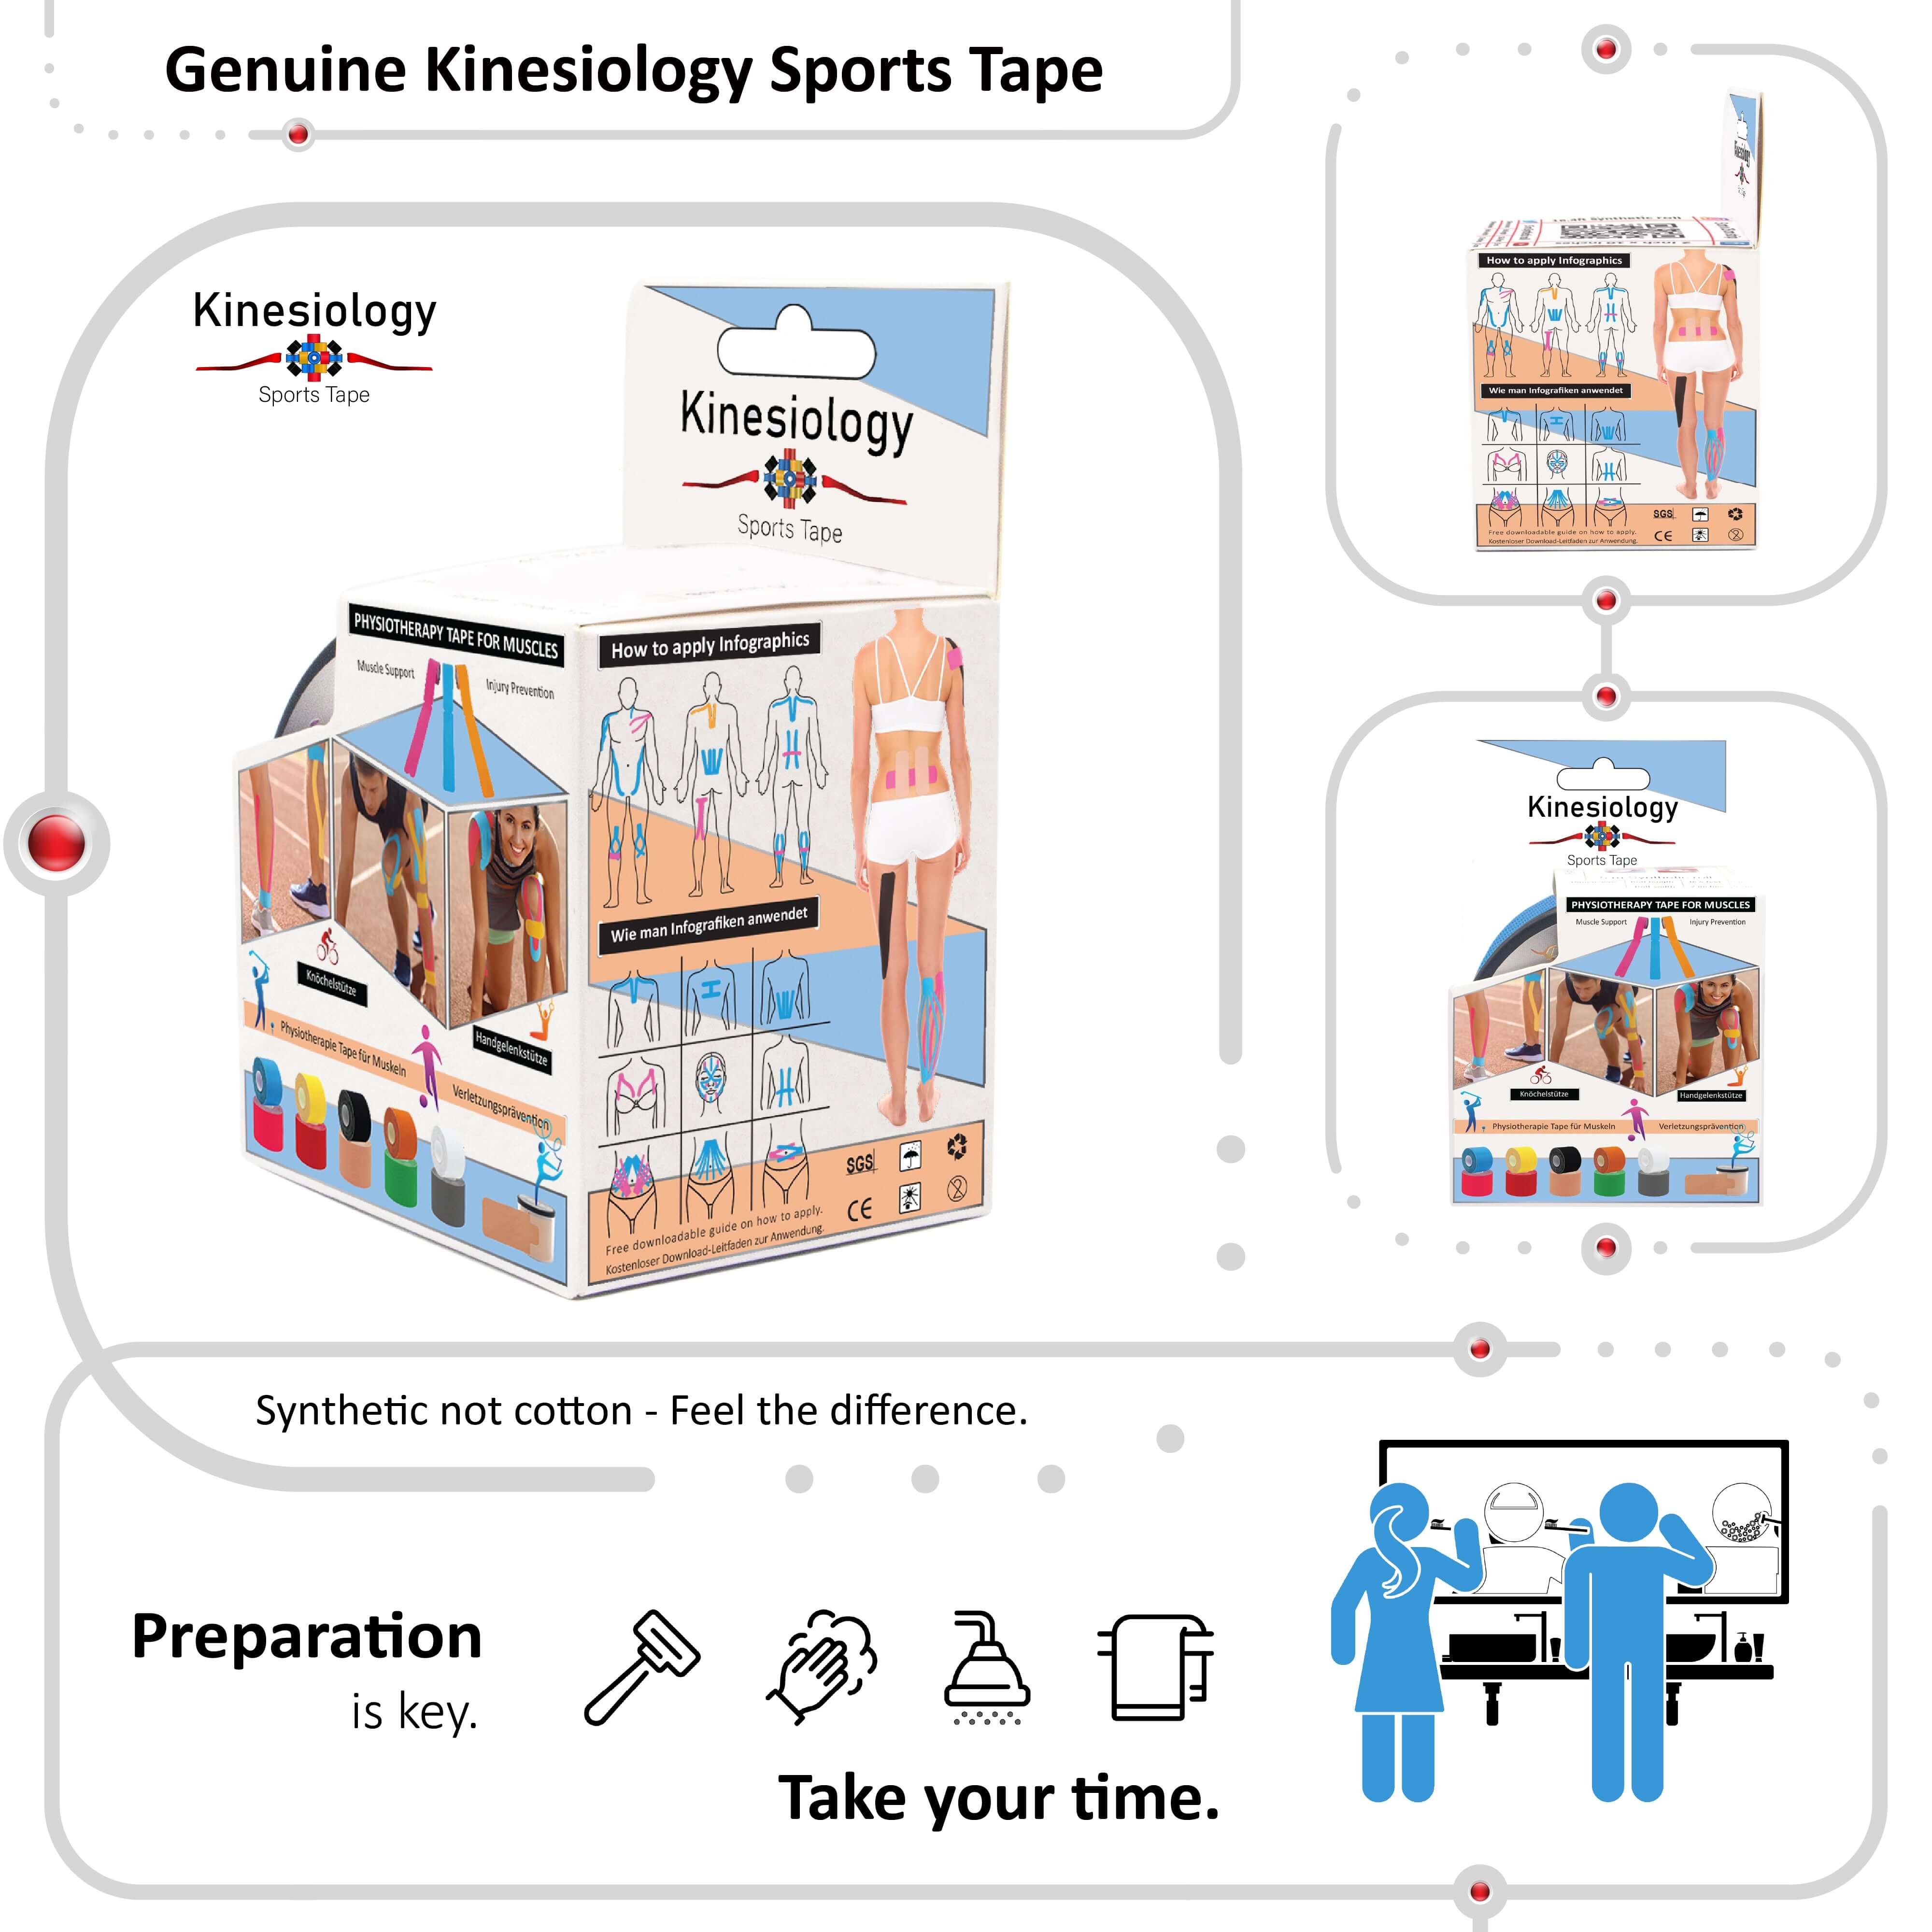
Skin preparation begins with thorough cleaning of the application area. Use soap and water or an alcohol-based cleanser to remove oils, lotions, dirt, and dead skin cells that could interfere with adhesion. Pay particular attention to areas where you naturally produce more oils, such as the back, shoulders, and joints. After cleaning, ensure the skin is completely dry before applying tape, as moisture can significantly reduce adhesive strength and tape longevity [7].
For individuals with excessive body hair, trimming or shaving the application area may be necessary to ensure proper adhesion. However, avoid shaving immediately before application, as this can create microscopic cuts that may cause irritation when the tape is applied. If possible, shave the area 24 hours before taping to allow any minor skin irritation to subside [8].
Temperature considerations are often overlooked but can significantly impact application success. Both your skin and the tape should be at room temperature for optimal adhesion. Cold tape may not conform properly to body contours, while tape that's too warm may become overly sticky and difficult to position accurately. If you've been exercising or are in a hot environment, allow your skin temperature to normalize before applying tape.
Environmental factors also matter. Choose a clean, well-lit area for application where you can comfortably reach all areas that need taping. Having a mirror available can be helpful for self-application, particularly for areas like the back or shoulders that are difficult to see directly. Ensure you have adequate space to move and position yourself as needed during the application process.
The Fundamental Application Technique: Step-by-Step Mastery
The basic application technique forms the foundation for all kinesiology tape applications, regardless of the specific body part or condition being addressed. Mastering this fundamental approach will ensure consistent, effective results across all your taping applications [9].
Begin by measuring and cutting your tape to the appropriate length. A general rule is to measure the distance from the origin to the insertion of the muscle you're targeting, then add approximately 2 inches on each end for anchor points. Use sharp scissors to create clean, rounded cuts at the ends of the tape. Rounded corners are less likely to catch on clothing and will help prevent premature peeling [10].
The anchor technique is critical for proper application. Anchors are the portions of tape applied without tension, typically the first and last 1-2 inches of each strip. These sections provide secure attachment points and help prevent the tape from pulling away from the skin during movement. Always apply anchors first, pressing them firmly to the skin with your fingers to activate the adhesive [11].
When applying the therapeutic portion of the tape between anchors, maintain consistent tension throughout the application. The amount of tension varies depending on the desired therapeutic effect, but generally ranges from 10-50% of the tape's maximum stretch. For muscle support applications, 25-50% tension is typically appropriate, while lymphatic drainage applications may require only 10-15% tension [12].
Direction of application is equally important and should follow the natural lines of the muscle or desired lymphatic flow. For muscle support, tape is generally applied from origin to insertion during muscle contraction. For pain relief applications, tape may be applied in the opposite direction to provide a decompressive effect. Understanding anatomy and the specific goals of your application will guide these directional decisions [13].
The rubbing technique used to activate the adhesive is often underestimated but plays a crucial role in tape longevity and effectiveness. After applying each section of tape, use firm pressure and brisk rubbing motions to generate heat and fully activate the acrylic adhesive. This process should continue for 30-60 seconds per section, ensuring the tape conforms completely to skin contours and achieves maximum adhesion [14].
Advanced Application Patterns and Techniques
Once you've mastered the basic application technique, understanding various taping patterns will allow you to address specific conditions and body parts more effectively. Each pattern serves different therapeutic purposes and requires slight modifications to the fundamental technique [15].
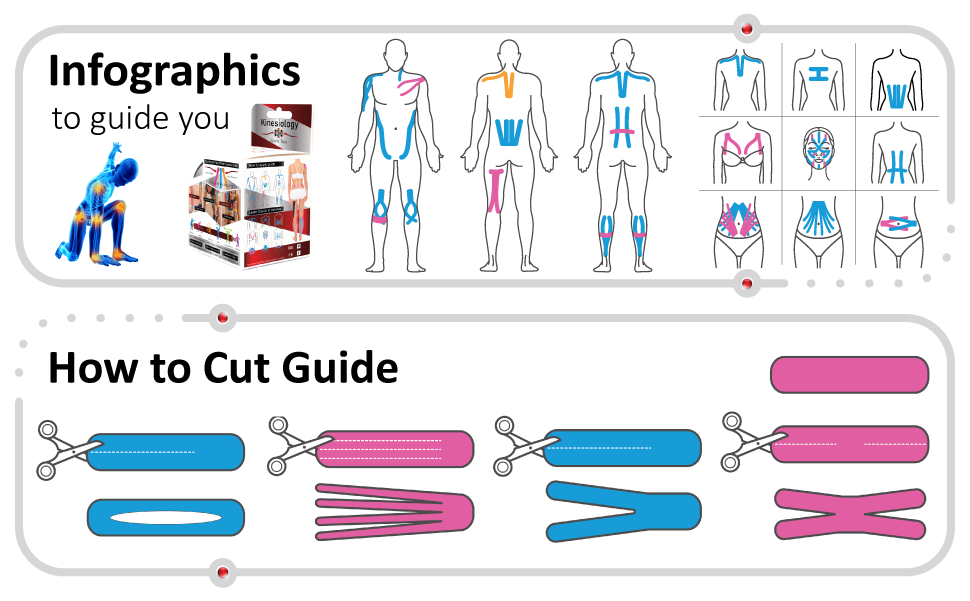
The I-strip is the most basic pattern, consisting of a single straight piece of tape applied along the length of a muscle. This pattern is ideal for providing general muscle support and is commonly used for conditions like hamstring strains or bicep injuries. The tape should be applied with the muscle in a stretched position to ensure proper tension when the muscle contracts [16].
Y-strips involve cutting the tape into a Y-shape, creating two tails that can wrap around muscles or joints. This pattern is particularly effective for areas where muscles converge or diverge, such as the deltoid muscle of the shoulder or the gastrocnemius muscle of the calf. The base of the Y should be applied as an anchor, with the tails following the muscle fibers with appropriate tension [17].
X-strips create an intersection pattern that's useful for providing multidirectional support around joints. This technique is commonly used for knee and ankle applications where stability is needed in multiple planes of movement. The intersection point should be positioned over the area requiring the most support, with each arm of the X providing directional stability [18].
Fan cuts involve creating multiple narrow strips from a single piece of tape, resembling a fan when applied. This pattern is excellent for lymphatic drainage applications and areas of swelling or bruising. The narrow strips create multiple lifting points, enhancing fluid movement and circulation. Fan cuts require minimal tension, typically 10-15% stretch, to avoid restricting lymphatic flow [19].
Web cuts combine elements of fan and Y-strip patterns, creating a web-like appearance when applied. This advanced technique is useful for complex areas like the hand or foot where multiple small muscles and joints require support. Web cuts require careful planning and precise application to ensure each strip provides appropriate support without interfering with adjacent strips [20].
Body-Specific Application Guidelines
Different body parts require specific considerations and modifications to achieve optimal results. Understanding these variations will help you adapt your technique to address the unique challenges presented by various anatomical regions [21].
Upper extremity applications, including shoulders, arms, and hands, often require consideration of the complex range of motion these areas experience. The shoulder joint, in particular, moves through multiple planes and requires taping patterns that accommodate this mobility while providing support. When taping the shoulder, position the arm in slight abduction and external rotation to ensure the tape doesn't restrict normal movement patterns [22].
For elbow applications, consider the significant stretching that occurs during flexion and extension. Tennis elbow and golfer's elbow are common conditions that respond well to kinesiology tape when applied correctly. The tape should support the affected tendons while allowing normal joint movement. Applying tape with the elbow in slight flexion helps ensure appropriate tension during both flexed and extended positions [23].
Lower extremity applications present their own unique challenges, particularly due to the weight-bearing nature of these joints and the significant forces they experience during activity. Hip applications must account for the deep location of many hip muscles and the thick fascial layers in this region. Longer strips with higher tension may be necessary to achieve therapeutic effects in the hip area [24].
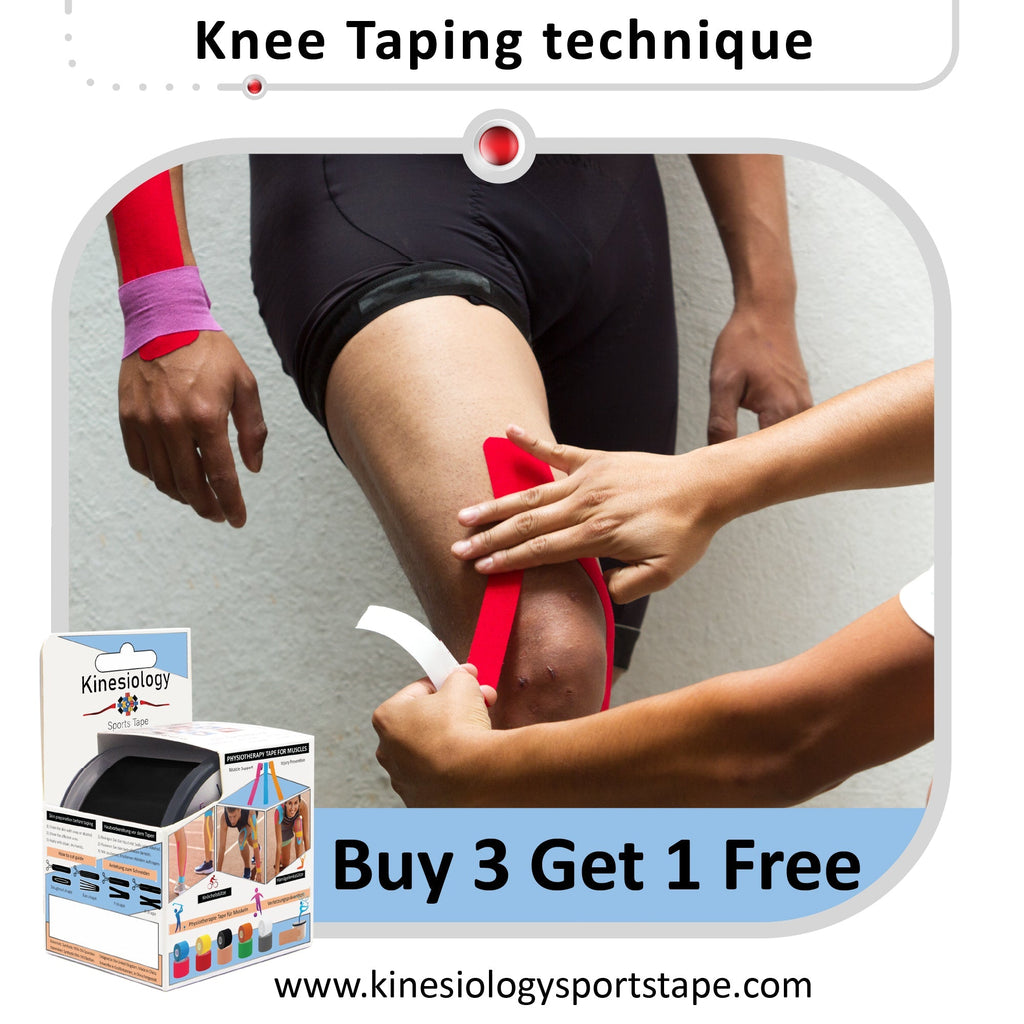
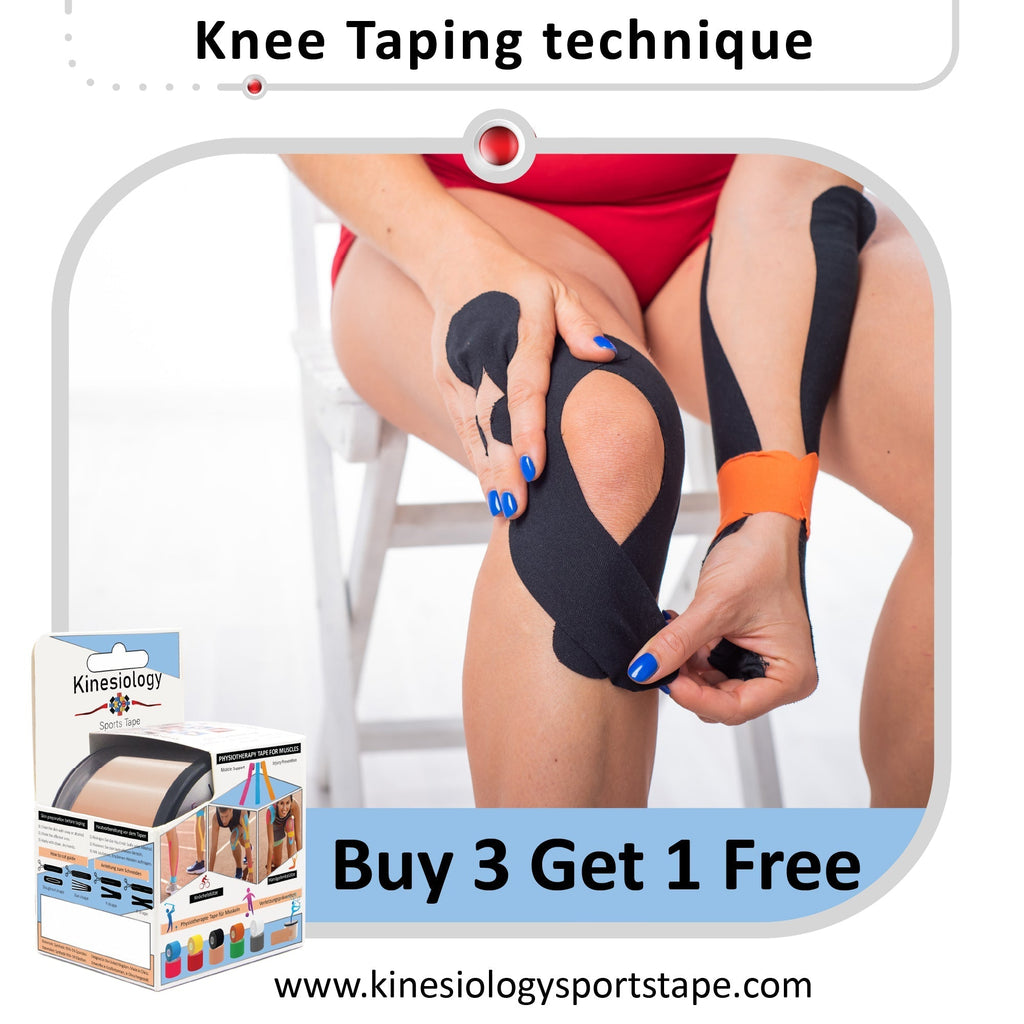
Knee applications are among the most common and require careful consideration of the complex biomechanics of this joint. The patellofemoral joint, in particular, benefits from specific taping patterns that help improve patellar tracking and reduce pain. When taping the knee, position the joint in slight flexion to ensure the tape doesn't restrict full extension or create excessive tension during movement [25].
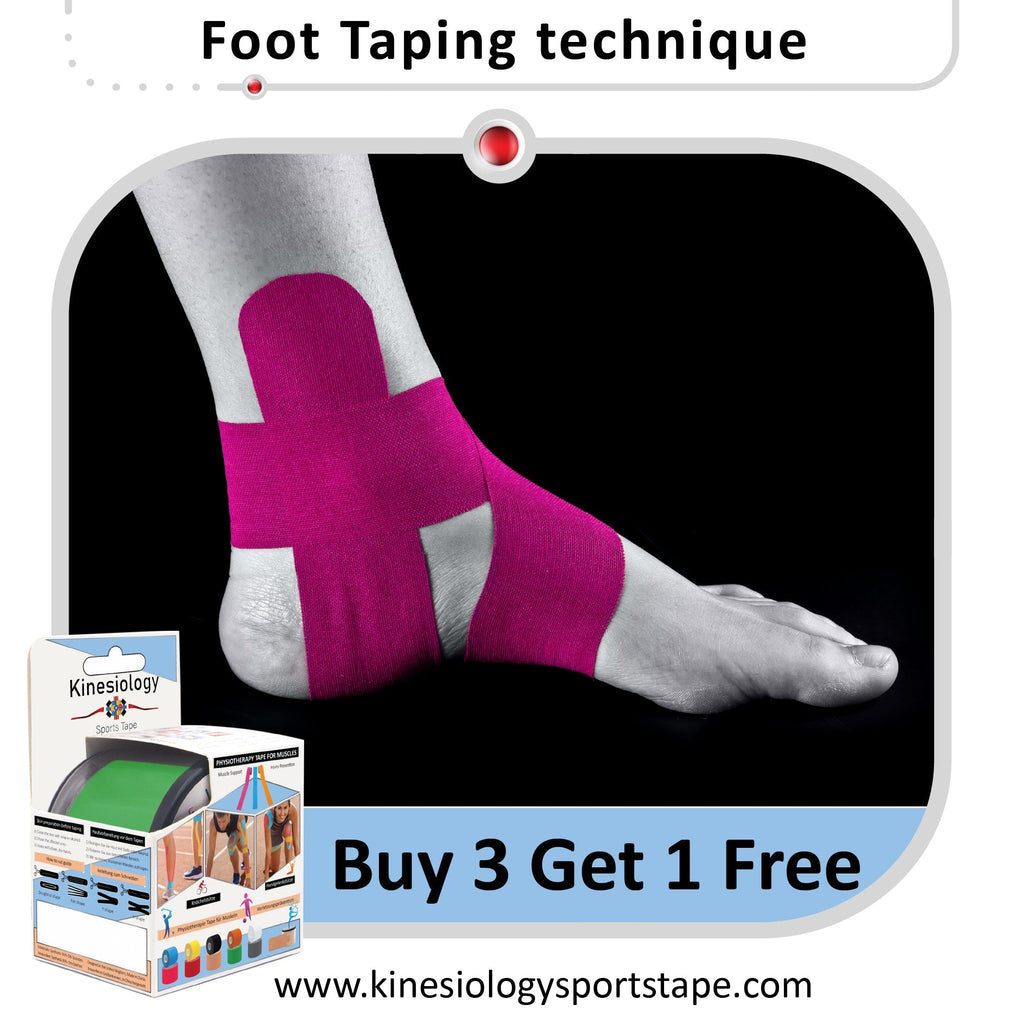
Ankle and foot applications must accommodate the significant range of motion and forces experienced during walking, running, and jumping. The three-dimensional movement of the ankle joint requires taping patterns that provide support without restricting normal biomechanics. Consider the position of the foot during application, as this will affect tape tension during different phases of gait [26].
Spinal applications, including the neck, thoracic, and lumbar regions, require special attention to posture and movement patterns. The spine's complex curvatures and the need to maintain normal range of motion make these applications particularly challenging. When taping the spine, consider the patient's typical posture and movement patterns to ensure the tape provides support without creating restrictions that could lead to compensatory movement patterns [27].
Common Mistakes and How to Avoid Them
Even experienced practitioners can fall into common application mistakes that reduce the effectiveness of kinesiology tape or potentially cause harm. Understanding these pitfalls and how to avoid them is crucial for safe and effective taping [28].
Overstretching the tape is perhaps the most common mistake made by beginners. Excessive tension can restrict circulation, cause skin irritation, and actually impede the healing process. Remember that kinesiology tape works through gentle lifting and support, not through rigid restriction. If you notice skin puckering, blanching, or discomfort after application, the tape is likely too tight and should be removed and reapplied with less tension [29].
Inadequate skin preparation is another frequent error that can lead to poor adhesion and premature tape failure. Rushing through the cleaning process or applying tape to damp skin will significantly reduce the tape's effectiveness and longevity. Take the time to properly clean and dry the application area, and consider using a pre-tape adhesive spray in challenging areas or for individuals with naturally oily skin [30].
Incorrect anchor placement can compromise the entire application. Anchors should always be applied without tension and should be positioned on stable areas of skin that don't experience significant stretching during movement. Placing anchors over highly mobile areas or applying them with tension can cause the tape to pull away from the skin prematurely [31].
Poor timing of application relative to activity can also reduce effectiveness. Kinesiology tape needs time for the adhesive to fully bond with the skin, typically requiring 30-60 minutes before engaging in vigorous activity. Applying tape immediately before exercise or competition may result in premature failure, particularly in areas subject to high stress or moisture [32].
Ignoring individual skin sensitivity is a mistake that can lead to allergic reactions or skin irritation. While kinesiology tape is generally well-tolerated, some individuals may be sensitive to the acrylic adhesive. Always test a small piece of tape on a less sensitive area before applying large amounts, and remove the tape immediately if any signs of allergic reaction develop [33].
Maximizing Tape Longevity and Performance
Proper care and maintenance of applied kinesiology tape can significantly extend its effectiveness and ensure you get the maximum benefit from each application. Understanding how to protect and maintain your tape will help you achieve the full 3-5 day wear time that quality kinesiology tape is designed to provide [34].
Water exposure requires special consideration, as moisture can affect both adhesion and the tape's therapeutic properties. While most quality kinesiology tapes are designed to be water-resistant, prolonged exposure to water or excessive moisture can cause premature failure. When showering or swimming, gently pat the taped area dry rather than rubbing vigorously. Avoid using harsh soaps or scrubbing directly over the tape [35].
Heat and humidity can also affect tape performance. In hot, humid conditions, the adhesive may become more aggressive, potentially causing skin irritation upon removal. Conversely, cold conditions may reduce adhesive effectiveness. When possible, allow the tape to acclimate to environmental conditions before application, and consider using additional fixation methods in extreme conditions [36].
Clothing choices can impact tape longevity and comfort. Tight-fitting clothing may cause the tape to roll or peel at the edges, while rough fabrics can create friction that leads to premature wear. Choose smooth, breathable fabrics when possible, and consider the interaction between your clothing and the taped area when planning your application [37].
Activity modifications may be necessary to maximize tape effectiveness and prevent premature failure. While kinesiology tape is designed to allow normal movement, extremely vigorous activities or those involving significant friction may require additional protection or more frequent tape changes. Understanding the demands of your specific activities will help you plan appropriate taping strategies [38].
Safe Removal Techniques and Aftercare
Proper removal of kinesiology tape is just as important as correct application. Improper removal can cause skin irritation, hair pulling, or even minor skin tears, particularly in sensitive individuals or those who have worn the tape for extended periods [39].
The removal process should be slow and deliberate, never rushed or forceful. Begin by lifting one corner of the tape and slowly peeling it back in the direction of hair growth. Use your free hand to support the skin ahead of the removal point, creating counter-tension that reduces stress on the skin. This technique is particularly important for individuals with sensitive skin or when removing tape that has been in place for several days [40].
Temperature can be used to facilitate easier removal. Warm water or a warm compress applied to the tape for several minutes can soften the adhesive and make removal more comfortable. Some practitioners recommend using oil-based products like baby oil or coconut oil to help dissolve the adhesive, though this should be done carefully to avoid excessive skin exposure to these products [41].
Post-removal skin care is important, particularly for individuals who use kinesiology tape regularly. Gently cleanse the area with mild soap and water to remove any adhesive residue. Moisturizing the skin can help restore its natural barrier function and prevent dryness or irritation. If any redness or irritation persists beyond a few hours after removal, discontinue use and consult with a healthcare provider [42].
For individuals who develop skin sensitivity or allergic reactions, alternative products or application methods may be necessary. Hypoallergenic tapes, barrier sprays, or pre-wrap materials can sometimes allow continued use of kinesiology tape in sensitive individuals. However, any signs of severe allergic reaction should prompt immediate discontinuation and medical evaluation [43].
Conclusion: Mastering the Art and Science of Kinesiology Tape Application
Successful kinesiology tape application combines scientific understanding with practical skill development. The techniques outlined in this guide provide a comprehensive foundation for safe and effective taping, but remember that mastery comes through practice and experience. Start with simple applications and gradually progress to more complex patterns as your skills develop [44].
The key to success lies in understanding that kinesiology tape is a tool that works with your body's natural healing processes, not against them. Proper application respects the body's biomechanics while providing the support and stimulus needed to promote healing and improve function. Whether you're an athlete looking to enhance performance, someone dealing with chronic pain, or a healthcare provider seeking to expand your treatment options, mastering these application techniques will help you harness the full therapeutic potential of kinesiology tape [45].
Remember that while kinesiology tape can be an effective adjunct to treatment and recovery, it should not replace proper medical care for serious injuries or conditions. Always consult with qualified healthcare providers for persistent pain, significant injuries, or any condition that doesn't improve with conservative treatment. When used appropriately and applied correctly, kinesiology tape can be a valuable tool in your journey toward better health and improved function [46].
References
[1] https://www.hss.edu/health-library/move-better/kinesiology-tape [2] https://pmc.ncbi.nlm.nih.gov/articles/PMC8169012/ [3] https://www.performancehealth.com/articles/kinesiology-tape-101-everything-you-need-to-know [4] https://www.verywellhealth.com/kinesiology-tape-in-physical-therapy-2696435 [5] https://kinesiotape.com/ [6] https://www.kttape.com/pages/how-to-apply-kt-tape [7] https://pmc.ncbi.nlm.nih.gov/articles/PMC7349891/ [8] https://www.healthandcare.co.uk/blog/ultimate-guide-how-to-apply-kinesiology-tape.html [9] https://www.performancehealthacademy.com/how-to-use-kinesiology-tape-to-reduce-swelling.html [10] https://www.kttape.com/blogs/how-to-apply/general-shoulder [11] https://www.thysol.us/how-to-tape/knee-pain/ [12] https://sporttape.co.uk/pages/kinesiology-taping-shoulder [13] https://www.physio-pedia.com/Knee_Taping [14] https://www.tsaog.com/blog/2024/10/21/how-to-tape-a-knee-for-stability-and-pain/ [15] https://www.healthline.com/health/how-to-tape-a-knee [16] https://www.nike.com/a/how-to-tape-an-ankle [17] https://www.performancehealthacademy.com/ankle-sprain-kinesiology-taping-technique-tapetuesday.html [18] https://www.healthline.com/health/how-to-tape-an-ankle [19] https://www.thysol.us/how-to-tape/lymphatic-taping-lymphedema/ [20] https://kinesiotaping.com/kinesio-taping-of-superficial-lower-extremity-lymphatic-pathways/ [21] https://www.thysol.com.au/kinesiology-tape-applications/ [22] https://www.thysol.us/how-to-tape/shoulder-pain-instability/ [23] https://www.verywellhealth.com/support-your-shoulder-with-kinesiology-tape-2696040 [24] https://www.kttape.com/blogs/how-to-apply/middle-back [25] https://www.kttape.com/blogs/how-to-apply/full-knee-support [26] https://www.kttape.com/blogs/how-to-apply/ankle-stability [27] https://www.performancehealthacademy.com/star-pattern-kinesiology-taping-technique-for-lumbar-pain.html [28] https://www.healthcentral.com/condition/back-pain/can-you-kt-tape-your-back-pain-away [29] https://www.ptlinktherapy.com/kinesio-taping-vs-athletic-taping [30] https://www.physixgear.com/blogs/sport-and-wellness/kinesiology-tape-vs-athletic-tape-which-one-is-right-for-me [31] https://www.hinklerpodiatry.com.au/k-tape-vs-sports-tape/ [32] https://goodhealthphysicaltherapy.com/what-is-the-difference-between-kinesiotape-and-athletic-tape/ [33] https://setptusa.com/blog/physical-therapy/kt-tape-kinesio-tape/ [34] https://www.thysol.com.au/sportstape/ [35] https://www.orthopedicsri.com/blog-items/kinesiology-tape-fake-fad-functional/ [36] https://www.ladybirdpt.com/post/taping-a-pregnant-belly [37] https://adatewithbaby.com/how-to-kinesio-tape-pregnant-belly/ [38] https://pmc.ncbi.nlm.nih.gov/articles/PMC5751726/ [39] https://pmc.ncbi.nlm.nih.gov/articles/PMC4837927/ [40] https://kinesiologysportstape.com/en-us/pages/pregnancy-taping [41] https://pmc.ncbi.nlm.nih.gov/articles/PMC9224659/ [42] https://pmc.ncbi.nlm.nih.gov/articles/PMC4520333/ [43] https://www.kttape.com/products/course-3-applied-kinesiology-taping-for-lymphatic-assist [44] https://pubmed.ncbi.nlm.nih.gov/38243921/ [45] https://www.mdpi.com/2075-1729/14/2/249 [46]

