RECENT POSTS


22.March.2026
Kinesiology Tape for Knee Pain: Complete Relief Guide for Athletes and Active Individual
0 Comments
21.March.2026
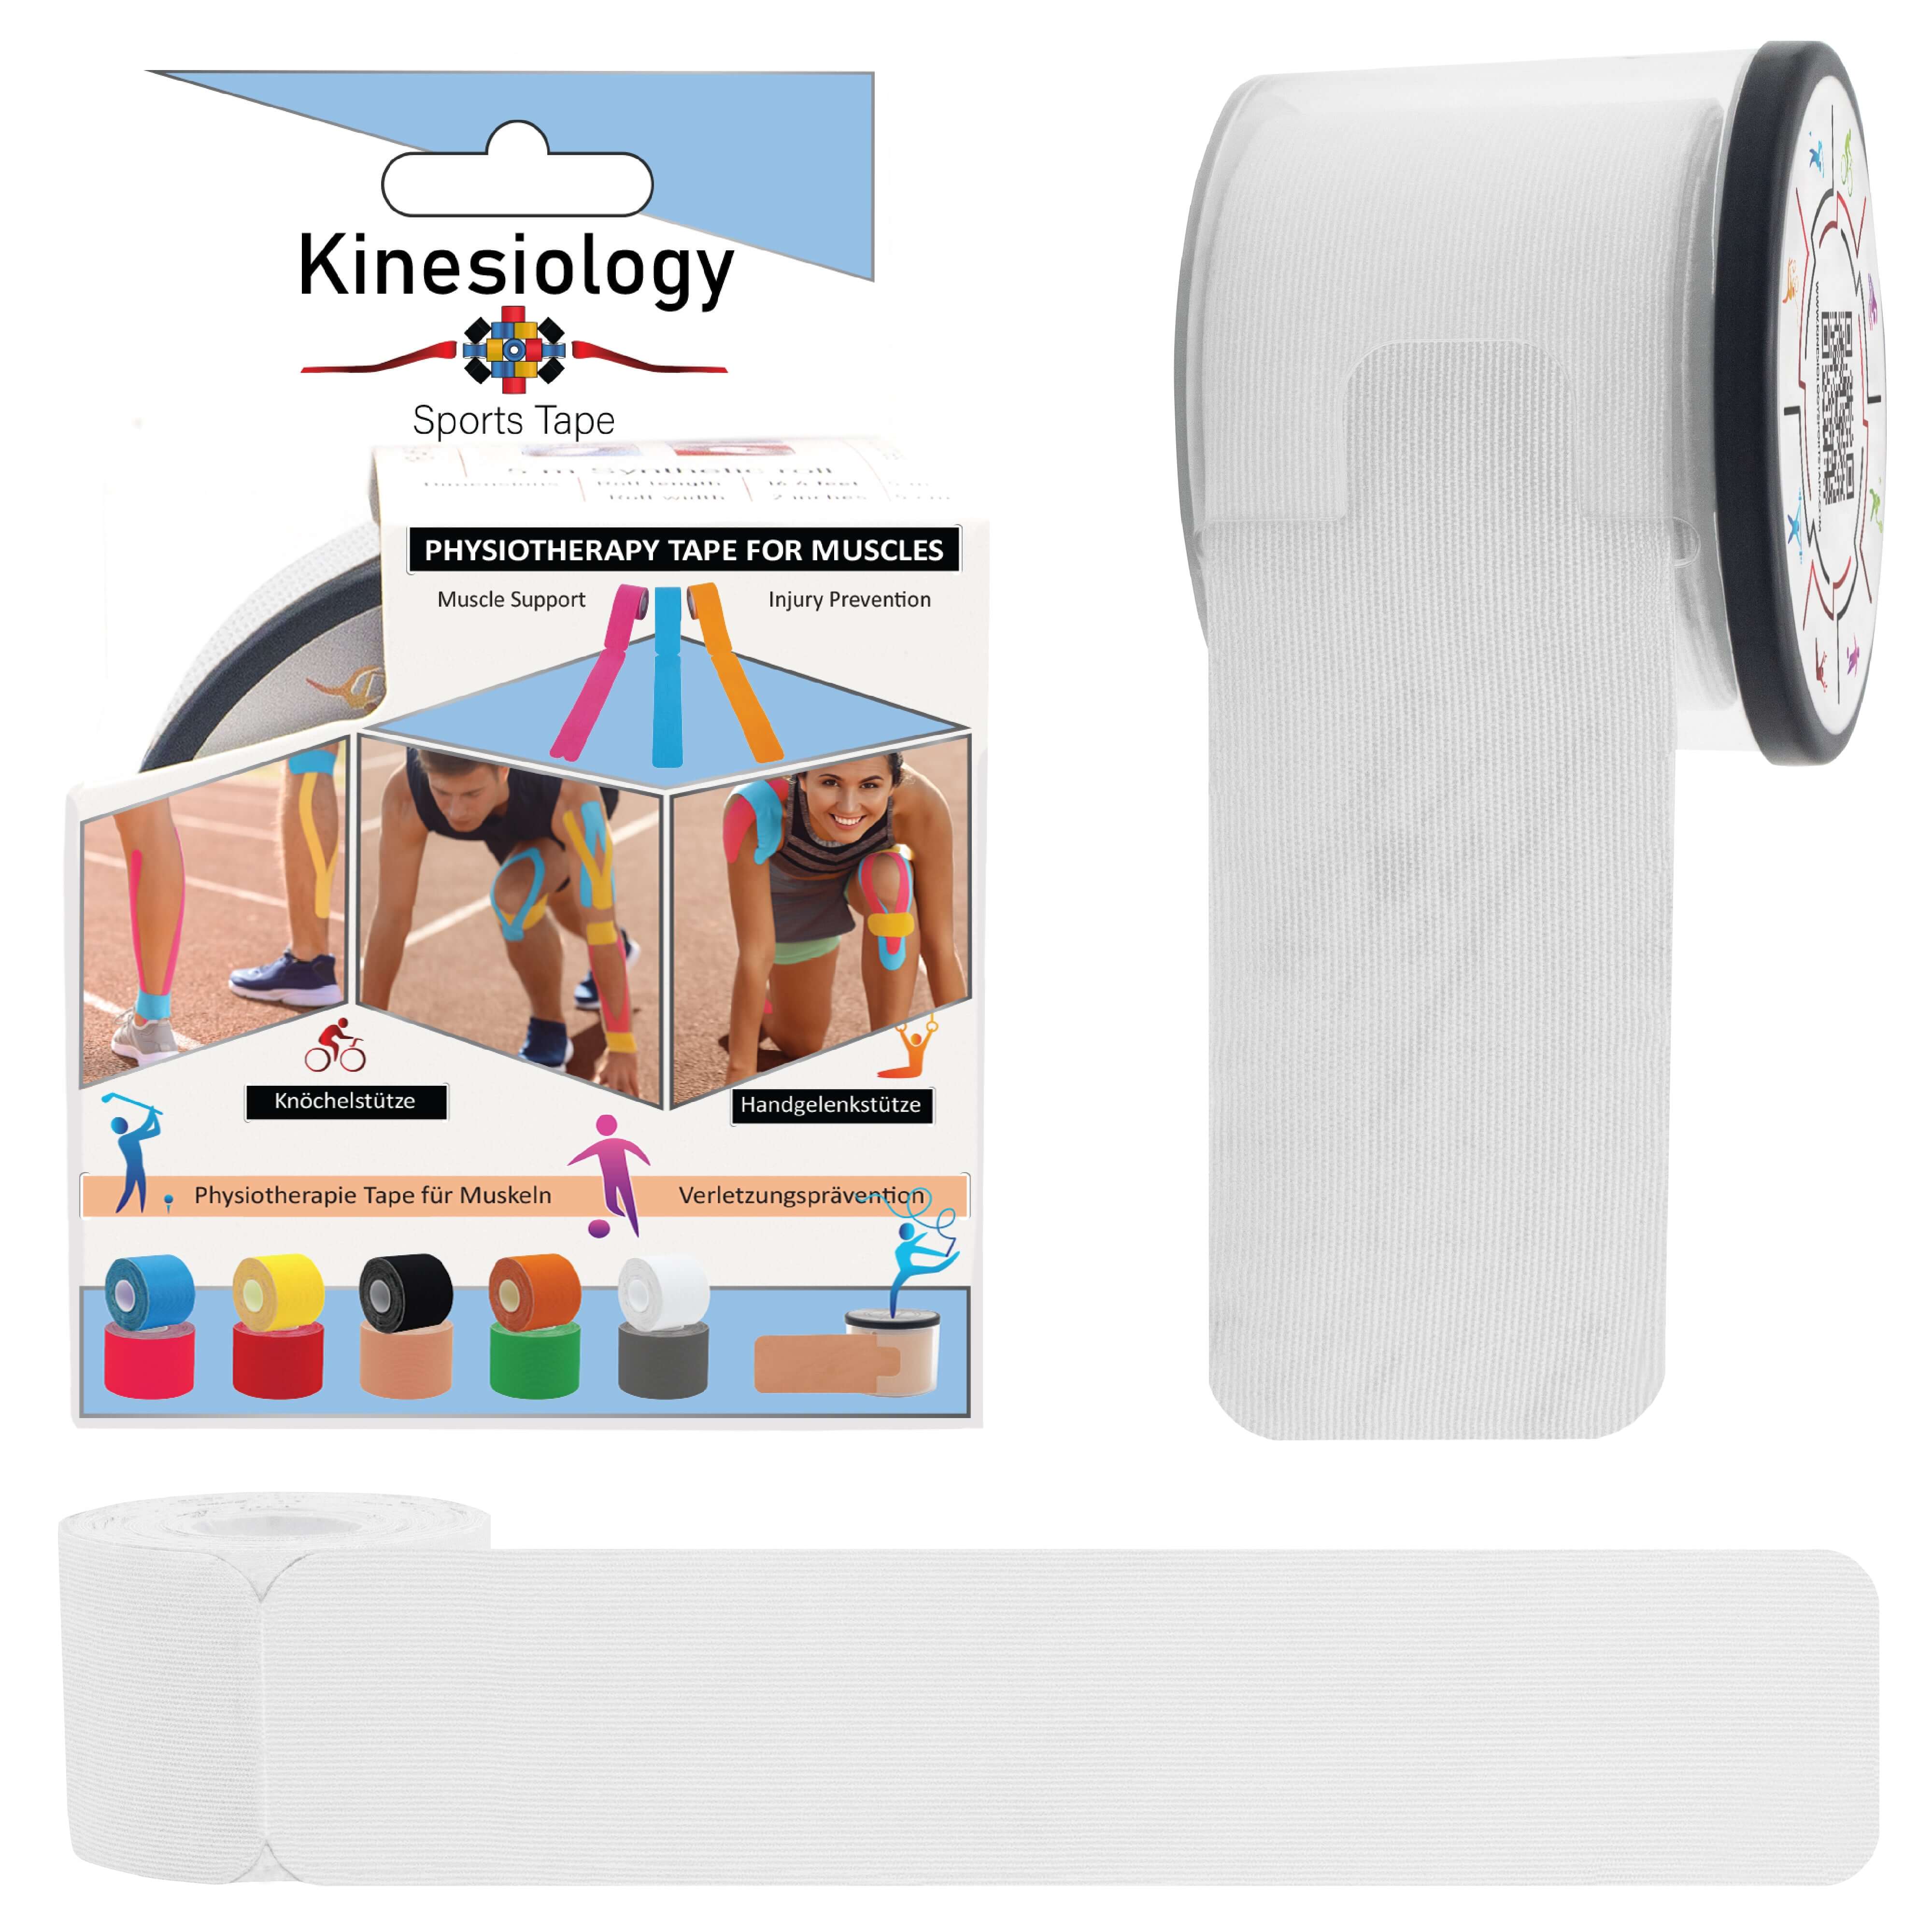
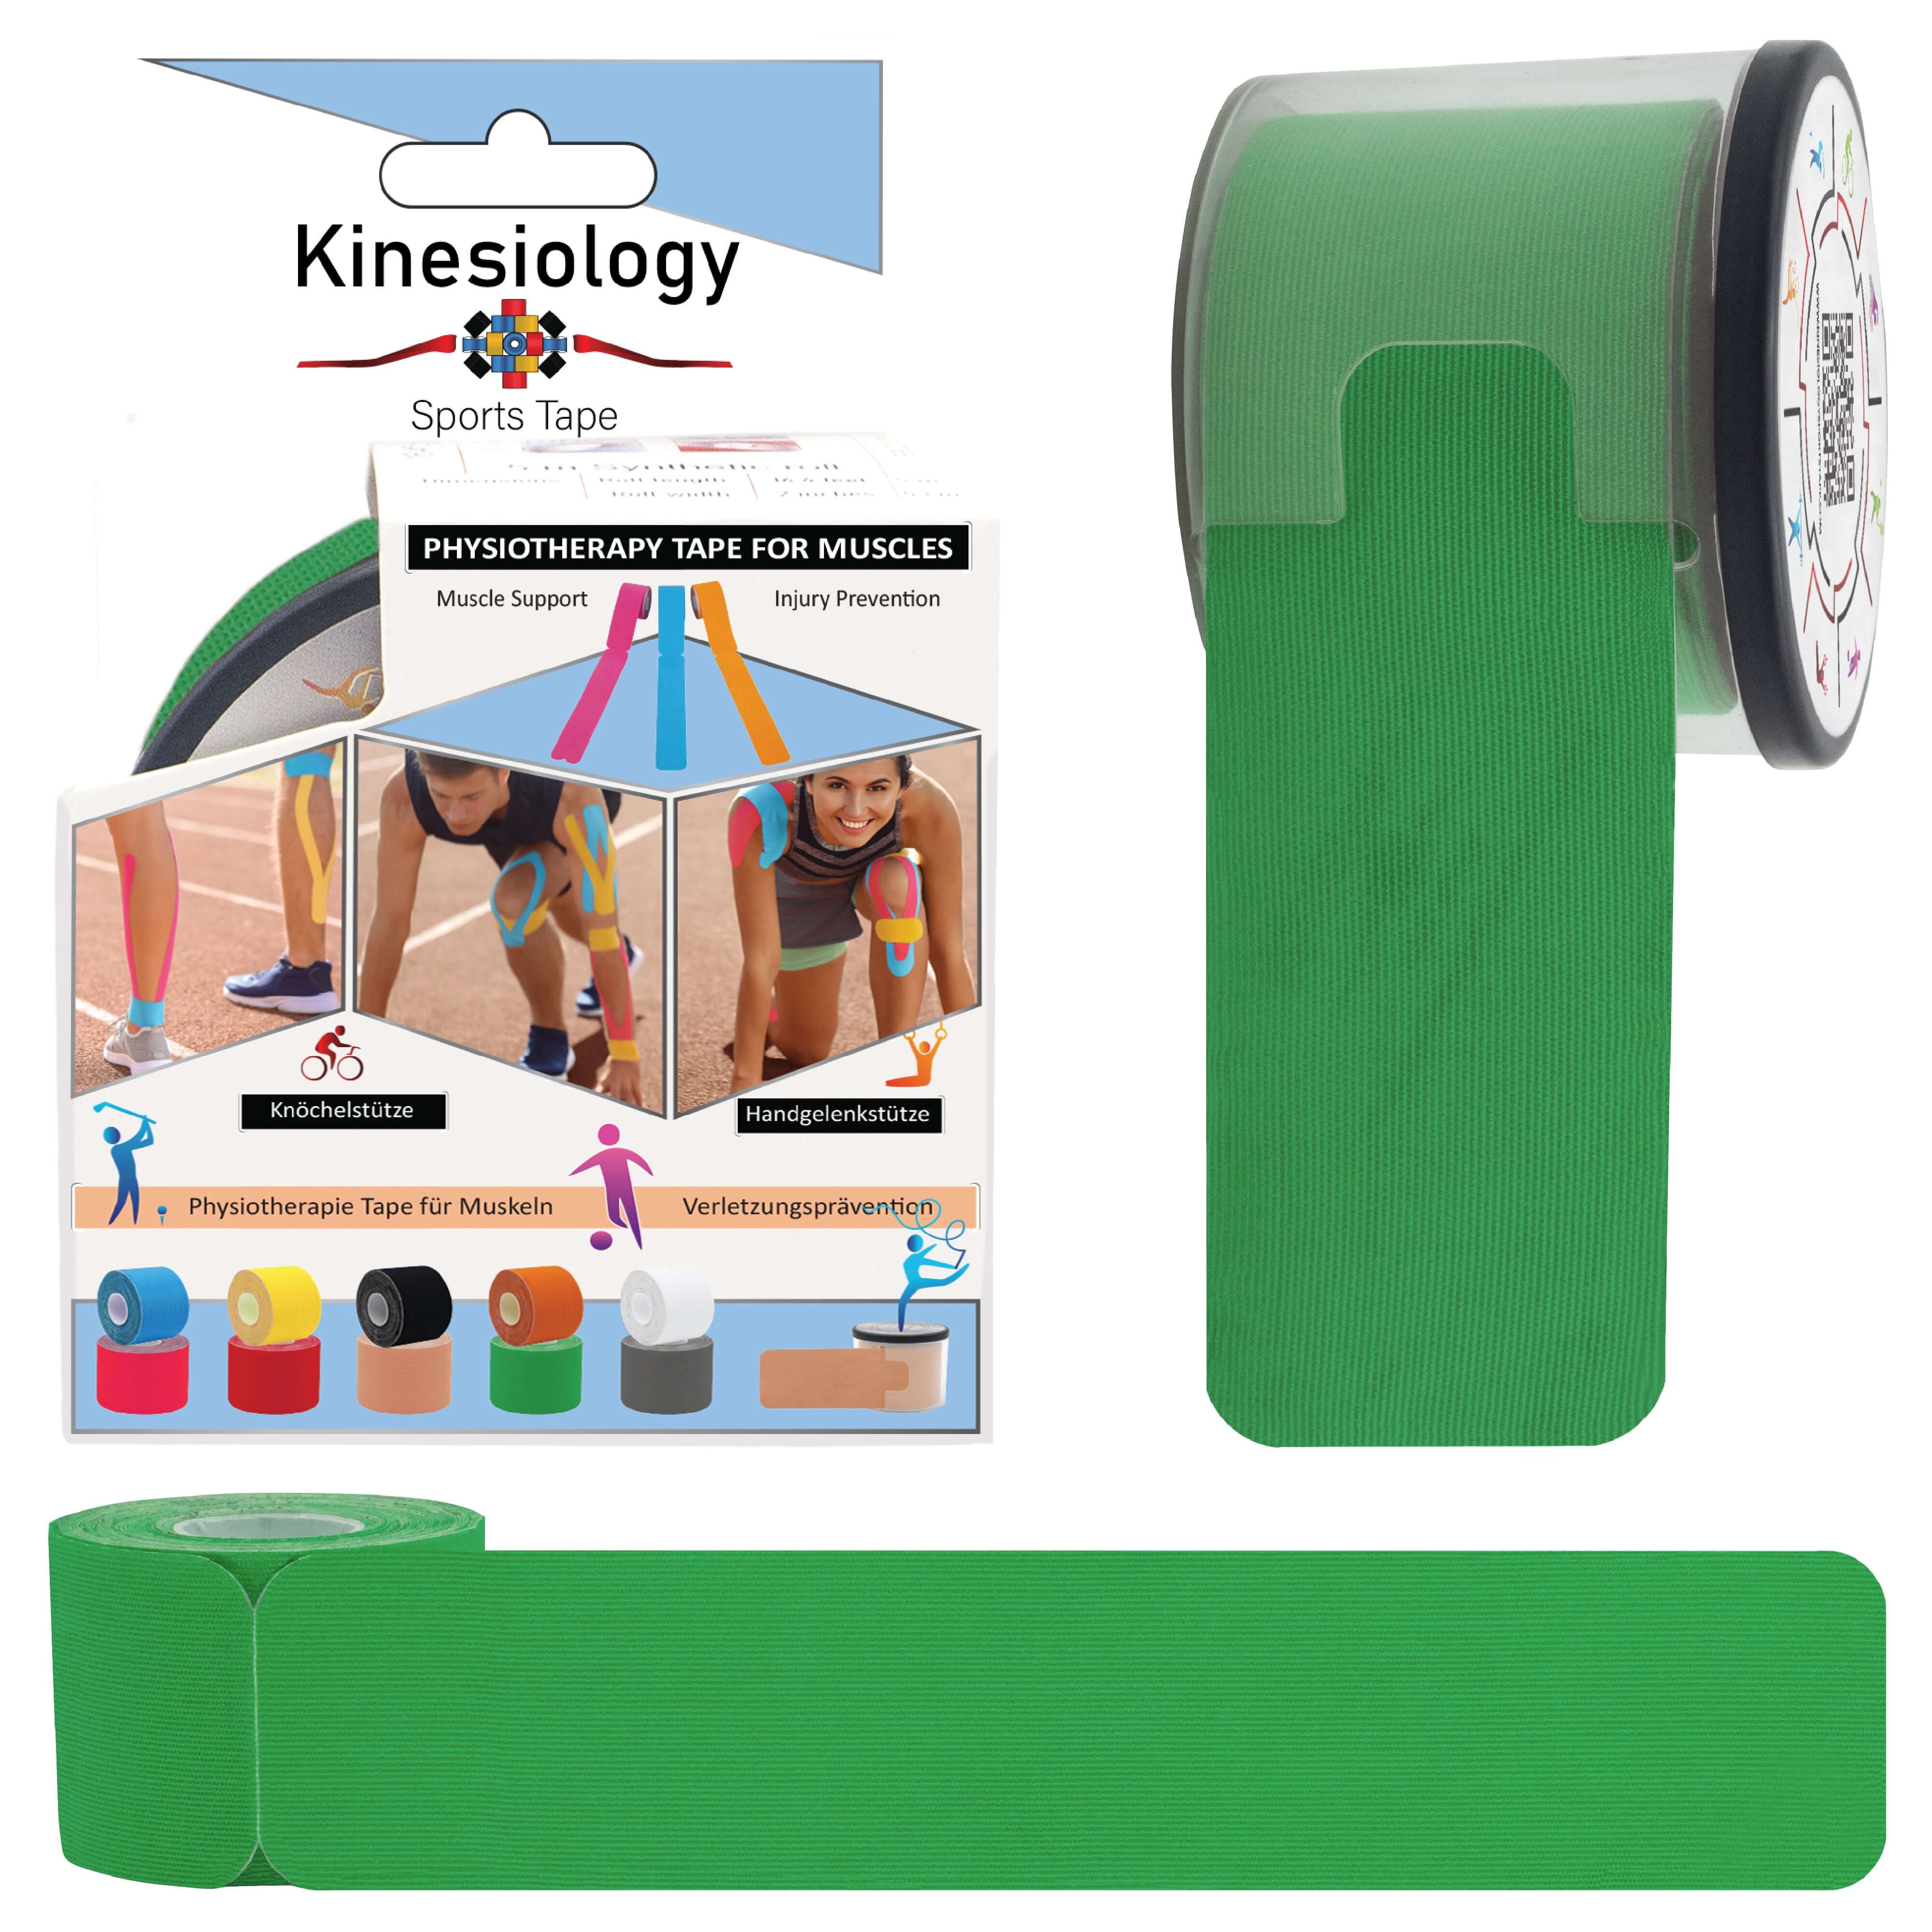
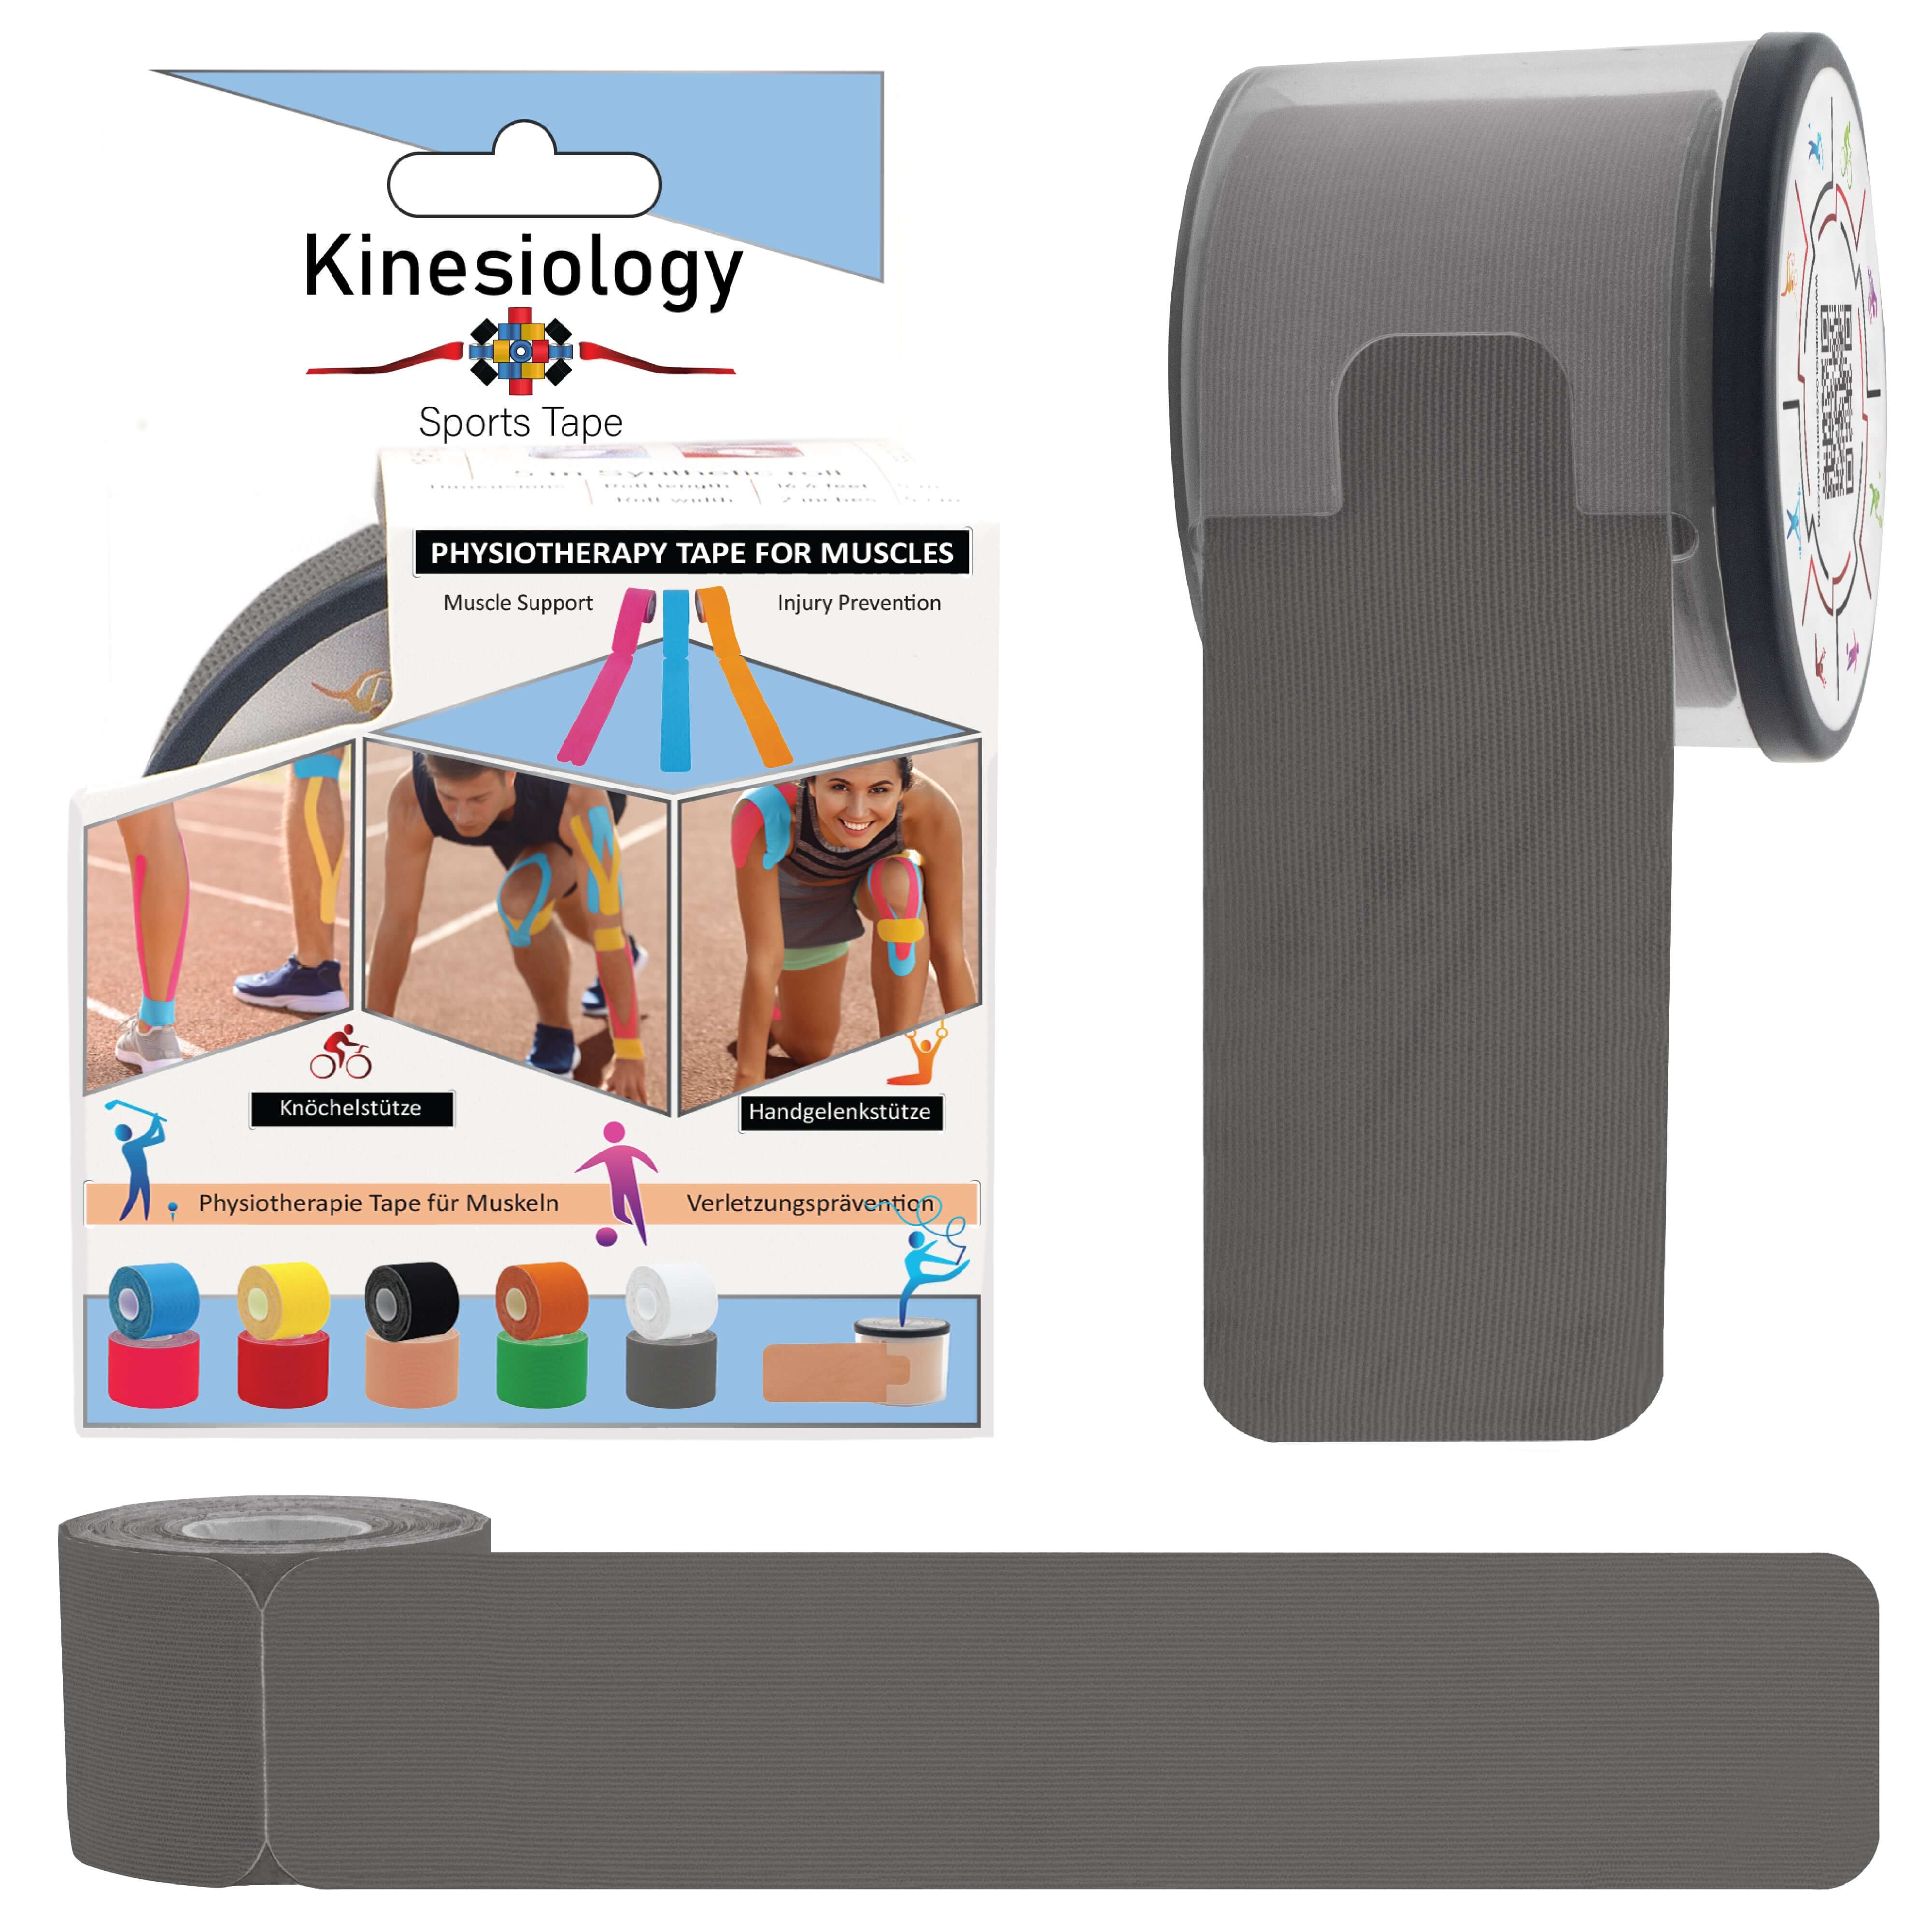
Kinesiology Tape for Knee Pain: Complete Relief Guide for Athletes and Active Individuals
0 CommentsHow to Apply Kinesiology Tape: Complete Step-by-Step Guide for Beginners and Professionals
How to Apply Kinesiology Tape: Complete Step-by-Step Guide for Beginners and ProfessionalsKinesiology tape has revolutionized the world of sports medicine, physical therapy, and pain management by providing a non-invasive, drug-free method for supporting muscles, reducing pain, and enhancing athletic performance [1]. Unlike traditional athletic tape that restricts movement, kinesiology tape is designed to work with your body's natural biomechanics, allowing full range of motion while providing therapeutic benefits. This comprehensive guide will teach you everything you need to know about applying kinesiology tape correctly, from basic principles to advanced techniques used by healthcare professionals.The proper application of kinesiology tape is crucial for achieving optimal therapeutic results and ensuring the tape remains effective throughout its intended wear time [2]. When applied correctly, kinesiology tape can provide support for up to seven days, even through showers, exercise, and daily activities. However, improper application can lead to reduced effectiveness, skin irritation, or even counterproductive results. Understanding the fundamental principles of kinesiology taping will enable you to harness its full potential for pain relief, injury prevention, and performance enhancement.The science behind kinesiology tape lies in its unique elastic properties and the way it interacts with your skin, muscles, and nervous system [3]. The tape's elasticity mimics that of human skin, allowing it to stretch and recoil with your body's movements. When applied with the correct tension and direction, it creates a lifting effect on the skin that can improve circulation, reduce inflammation, and provide sensory feedback to help retrain movement patterns. This neurological component is particularly important, as the tape stimulates mechanoreceptors in the skin that send signals to the brain about body position and movement.Learning to apply kinesiology tape effectively requires understanding not only the technical aspects of application but also the underlying anatomy and physiology involved [4]. Different body areas require different taping techniques, and the specific condition being treated will influence factors such as tape tension, direction of application, and the pattern used. Whether you're an athlete looking to prevent injury, someone dealing with chronic pain, or a healthcare professional seeking to expand your treatment options, mastering kinesiology tape application can provide significant benefits.This guide will take you through every aspect of kinesiology tape application, from selecting the right tape and preparing your skin to advanced techniques for specific conditions and troubleshooting common problems. By the end of this comprehensive tutorial, you'll have the knowledge and confidence to apply kinesiology tape safely and effectively for a wide range of applications.Understanding Kinesiology Tape FundamentalsBefore diving into application techniques, it's essential to understand what makes kinesiology tape unique and how it differs from traditional athletic tape [5]. Kinesiology tape is made from a cotton or synthetic blend with an acrylic adhesive that's designed to be gentle on the skin while providing strong, long-lasting adhesion. The tape's elasticity allows it to stretch up to 140% of its original length, closely matching the elastic properties of human skin and muscle tissue.The therapeutic effects of kinesiology tape are achieved through several mechanisms that work together to provide pain relief and functional support [6]. The primary mechanism is the creation of space between the skin and underlying tissues, which can improve lymphatic drainage and reduce pressure on pain receptors. This lifting effect is achieved through the tape's elasticity and the way it's applied to the skin. When the tape recoils after being stretched during application, it gently pulls the skin upward, creating microscopic spaces that can enhance circulation and reduce inflammation.The neurological effects of kinesiology tape are equally important and often overlooked by those new to taping [7]. The tape provides continuous sensory input to the nervous system through mechanoreceptors in the skin, which can help improve proprioception (body awareness) and motor control. This sensory feedback can be particularly beneficial for individuals recovering from injury or those looking to improve movement patterns. The tape essentially acts as an external reminder to the nervous system about proper positioning and movement.Understanding the different types of cuts and application patterns is crucial for effective taping [8]. The most common cuts include I-strips (straight strips), Y-strips (strips with one end split), X-strips (two Y-strips overlapping), and fan cuts (multiple splits creating a fan-like pattern). Each cut serves different purposes and is suited to different anatomical areas and therapeutic goals. I-strips are typically used for linear muscle support, Y-strips for areas where the muscle splits or for joint support, X-strips for complex muscle groups, and fan cuts for lymphatic drainage or broad area support.The direction of tape application is another critical factor that determines the therapeutic effect [9]. Taping from origin to insertion (the direction of muscle fiber orientation) typically provides facilitation or strengthening effects, while taping from insertion to origin can provide inhibition or relaxation effects. For joint support, the tape is usually applied perpendicular to the joint line, while for muscle support, it follows the muscle's natural direction. Understanding these principles allows you to customize your taping approach based on your specific goals and needs.Essential Preparation Steps for Successful ApplicationProper preparation is the foundation of successful kinesiology tape application and can mean the difference between tape that stays on for days versus tape that fails within hours [10]. The preparation process begins with selecting the right tape for your specific needs and ensuring you have all necessary tools and supplies ready before beginning the application process.Skin preparation is perhaps the most critical aspect of the preparation process and directly impacts both the effectiveness and longevity of your tape application [11]. The skin must be clean, dry, and free from any lotions, oils, or topical treatments that could interfere with adhesion. Begin by washing the area with soap and water, then thoroughly dry with a clean towel. If you've recently applied sunscreen, moisturizer, or any topical medications, you may need to use rubbing alcohol to remove any residual oils that soap and water might miss.Hair removal is often necessary for optimal tape adhesion, particularly in areas with dense hair growth [12]. While it's not always necessary to shave completely, trimming hair to a length of 2-3mm or less will significantly improve adhesion and reduce discomfort during removal. Use clean scissors or clippers to trim hair, and avoid shaving immediately before application as this can cause skin irritation. If you must shave, do so at least 12 hours before taping to allow any minor skin irritation to subside.Environmental factors also play a role in successful tape application [13]. The ideal environment for taping is at room temperature with low humidity. Extremely hot or cold conditions can affect the tape's adhesive properties, while high humidity can interfere with proper adhesion. If you're taping in less than ideal conditions, take extra care with skin preparation and consider using a skin adherent spray to improve initial adhesion.Positioning is crucial for effective tape application and requires careful consideration of the body part being taped and the intended therapeutic effect [14]. The muscle or joint should be positioned in a way that places the target tissue in a lengthened or neutral position during application. This positioning allows the tape to provide the desired support or facilitation when the body part moves into its functional range. For example, when taping the hamstring, the hip should be flexed and the knee extended to lengthen the muscle during application.Having the right tools and supplies ready before beginning application will ensure a smooth and efficient process [15]. Essential items include the kinesiology tape itself, scissors for cutting custom lengths, alcohol wipes for final skin cleaning, and potentially a skin adherent spray for challenging applications. Some practitioners also find it helpful to have a marker for marking anatomical landmarks and a measuring tape for ensuring consistent strip lengths.Step-by-Step Application TechniquesThe actual application of kinesiology tape follows a systematic approach that ensures optimal adhesion, therapeutic effect, and longevity [16]. While specific techniques may vary depending on the body part and therapeutic goals, certain fundamental principles apply to all applications and should be followed consistently for best results.The first step in any tape application is measuring and cutting the appropriate length of tape [17]. As a general rule, the tape should be long enough to extend 2-3 inches beyond the target area on each end, allowing for proper anchoring. When measuring, position the body part in its functional position rather than the lengthened position used during application. This ensures that the tape won't be too short when the body part moves through its full range of motion.Creating proper anchors is essential for tape longevity and effectiveness [18]. Anchors are the portions of tape at each end that are applied without tension and serve to secure the tape to the skin. These anchor points should be at least 2 inches long and applied to stable, relatively flat areas of skin when possible. The anchors should never be stretched, as this can cause the tape to pull away from the skin prematurely and may create uncomfortable tension points.The tension applied during tape application is perhaps the most critical factor in determining the therapeutic effect [19]. Different applications require different levels of tension, typically ranging from 0% (no stretch) to 75% of the tape's maximum stretch capacity. For most applications, 25-50% tension is appropriate, but this can vary based on the specific technique and therapeutic goals. To gauge tension accurately, stretch the tape to its maximum length, then back off to the desired percentage. It's better to err on the side of less tension rather than more, as excessive tension can cause skin irritation and reduce the tape's effectiveness.The direction of application should follow the predetermined plan based on your therapeutic goals [20]. Apply the tape smoothly and consistently, avoiding wrinkles or air bubbles that can reduce adhesion and effectiveness. Use firm pressure to ensure good contact between the tape and skin, but avoid excessive rubbing that could cause skin irritation. The tape should conform to the body's contours naturally without creating tension points or areas where the tape pulls away from the skin.Activation of the adhesive is the final step in the application process and is crucial for achieving maximum adhesion [21]. After applying the tape, rub the entire surface firmly for 30-60 seconds to activate the heat-sensitive adhesive. This friction generates heat that helps the adhesive bond more effectively with the skin. Pay particular attention to the edges and anchor points, as these areas are most prone to lifting. The tape should feel securely attached and should not lift or move when you gently test the edges.Advanced Techniques for Specific Body AreasDifferent body areas present unique challenges and require specialized techniques to achieve optimal results [22]. Understanding these area-specific considerations will help you adapt your basic application skills to address the diverse needs of different anatomical regions and functional requirements.Spinal applications require special attention to the complex anatomy and movement patterns of the back [23]. When taping the lumbar spine, consider the natural lordotic curve and the need to accommodate flexion, extension, and rotation movements. The tape should be applied with the spine in a neutral position, and multiple strips may be necessary to provide comprehensive support. For upper back applications, consider the scapular movement patterns and ensure that the tape doesn't restrict normal shoulder blade motion.Extremity taping presents challenges related to joint movement and the varying contours of arms and legs [24]. When taping around joints, it's important to consider the range of motion requirements and ensure that the tape enhances rather than restricts functional movement. For areas like the knee or elbow, multiple strips applied in different directions may be necessary to provide comprehensive support while maintaining mobility.Facial and neck applications require extra sensitivity due to the delicate nature of the skin in these areas [25]. Use lighter tension and consider using tape specifically designed for sensitive skin. The complex anatomy of the neck and face also requires careful consideration of lymphatic drainage patterns and the need to avoid restricting important structures like blood vessels or airways.Hand and foot applications present unique challenges due to the high mobility requirements and frequent contact with surfaces [26]. These areas may require more frequent tape changes due to increased wear and tear. Consider using additional protective measures like toe caps or gloves when appropriate to extend tape life in these challenging areas.Troubleshooting Common Application ProblemsEven experienced practitioners encounter challenges with kinesiology tape application, and knowing how to identify and address common problems can save time and improve outcomes [27]. Understanding these issues and their solutions will help you achieve more consistent results and avoid frustration.Poor adhesion is one of the most common problems and can result from several factors [28]. Inadequate skin preparation is the most frequent cause, but environmental factors, expired tape, or improper application technique can also contribute. If you notice the tape lifting or not adhering well during application, stop and reassess your preparation process. It may be necessary to clean the skin again or address environmental factors before proceeding.Skin irritation can occur even with proper application and may be related to individual sensitivity, excessive tension, or prolonged wear [29]. If irritation develops, remove the tape immediately and assess the cause. Future applications may require hypoallergenic tape, reduced tension, or shorter wear times. Never ignore skin irritation, as it can lead to more serious complications if left untreated.Tape failure during wear can be frustrating but is often preventable with proper technique [30]. Common causes include inadequate anchoring, excessive tension, poor skin preparation, or exposure to conditions that compromise adhesion. If tape consistently fails in certain areas, consider modifying your technique or using additional support measures.Ineffective therapeutic results may indicate problems with tape selection, application technique, or unrealistic expectations [31]. Kinesiology tape is not a cure-all and works best as part of a comprehensive treatment approach. If you're not seeing the expected results, consider consulting with a healthcare professional who specializes in kinesiology taping for guidance on technique refinement or alternative approaches.Safety Considerations and ContraindicationsWhile kinesiology tape is generally safe for most people, there are important safety considerations and contraindications that must be understood before application [32]. Being aware of these factors will help you use kinesiology tape safely and avoid potential complications.Absolute contraindications include open wounds, active infections, or areas of compromised skin integrity [33]. Never apply tape over broken skin, rashes, or areas showing signs of infection. If you're unsure about the condition of the skin, consult with a healthcare professional before proceeding with tape application.Relative contraindications require careful consideration and may include certain medical conditions, medications, or individual factors that increase the risk of complications [34]. These might include diabetes with poor circulation, certain autoimmune conditions, or the use of blood-thinning medications. When in doubt, seek professional guidance before using kinesiology tape.Allergic reactions, while rare, can occur with any adhesive product [35]. If you have a history of adhesive allergies or sensitive skin, consider doing a patch test before full application. Apply a small piece of tape to an inconspicuous area and leave it for 24 hours to check for any adverse reactions.Proper removal technique is as important as proper application for maintaining skin health [36]. Never rip tape off quickly, as this can damage the skin. Instead, remove tape slowly while supporting the skin with your other hand. Use oil or adhesive remover if necessary to ease removal, particularly if the tape has been on for several days.Frequently Asked Questions About Kinesiology Tape ApplicationQ: How long should I leave kinesiology tape on?A: Kinesiology tape can typically be worn for 3-7 days, depending on the application area, activity level, and individual skin sensitivity. Most people find that 3-5 days provides optimal benefits while minimizing the risk of skin irritation. Areas with high movement or friction may require more frequent changes, while stable areas may tolerate longer wear times [37].Q: Can I shower or swim with kinesiology tape on?A: Yes, quality kinesiology tape is designed to be water-resistant and can withstand showering, swimming, and sweating. After getting wet, gently pat the tape dry with a towel rather than rubbing vigorously. The tape may take longer to dry completely, but this shouldn't affect its adhesion or effectiveness [38].Q: How much tension should I apply when putting on kinesiology tape?A: For most applications, 25-50% of the tape's maximum stretch is appropriate. To gauge this, stretch the tape to its full length, then back off to about half that stretch. The anchor points (first and last 2 inches) should always be applied with no tension. Excessive tension can cause skin irritation and reduce effectiveness [39].Q: Why does my kinesiology tape keep falling off?A: Poor adhesion is usually due to inadequate skin preparation, environmental factors, or improper application technique. Ensure the skin is completely clean and dry, remove excess hair, avoid lotions or oils, and activate the adhesive by rubbing the tape firmly after application. Also, check that you're not applying too much tension, which can cause the tape to pull away from the skin [40].Q: Can I cut kinesiology tape to fit my needs?A: Absolutely! Cutting tape to the appropriate length and shape is an essential part of proper application. Use sharp scissors and round the corners of cut pieces to prevent premature lifting. Many practitioners prefer to cut tape before removing the backing to ensure clean, precise cuts [41].Q: Is it normal for kinesiology tape to itch?A: Mild itching can be normal, especially during the first few hours of wear as your skin adjusts to the tape. However, persistent or severe itching, along with redness or swelling, may indicate an allergic reaction or skin irritation. If symptoms persist or worsen, remove the tape immediately and consult a healthcare professional if necessary [42].Q: Can I apply kinesiology tape over other tape or bandages?A: It's generally not recommended to apply kinesiology tape over other adhesive products, as this can reduce effectiveness and increase the risk of skin irritation. If you need multiple types of support, consult with a healthcare professional about the best approach for your specific situation [43].Q: How do I know if I'm applying the tape in the right direction?A: The direction depends on your therapeutic goals. For muscle facilitation (strengthening), apply from the muscle's origin to insertion. For muscle inhibition (relaxation), apply from insertion to origin. For joint support, apply perpendicular to the joint line. When in doubt, consult application guides or seek professional instruction [44].Q: Can children use kinesiology tape?A: Kinesiology tape can be safe for children when applied properly, but extra care should be taken due to their more sensitive skin. Use gentler tension, shorter wear times, and monitor closely for any signs of irritation. Always consult with a pediatric healthcare provider before using kinesiology tape on children [45].Q: What should I do if the tape causes skin irritation?A: Remove the tape immediately if you experience significant irritation, redness, or allergic reactions. Clean the area gently and allow the skin to recover completely before considering reapplication. Future applications may require hypoallergenic tape, reduced tension, or shorter wear times. Seek medical attention if irritation persists or worsens [46].Q: Can I exercise immediately after applying kinesiology tape?A: Yes, one of the advantages of kinesiology tape is that it allows for immediate return to activity. However, it's recommended to wait 30-60 minutes after application to allow the adhesive to fully activate. Start with lighter activities and gradually increase intensity to ensure the tape remains secure [47].Q: How do I remove kinesiology tape safely?A: Remove tape slowly and carefully, pulling in the direction of hair growth when possible. Support the skin with your free hand to prevent stretching. If the tape is difficult to remove, use oil, adhesive remover, or warm water to help loosen the adhesive. Never rip tape off quickly, as this can damage the skin [48].References[1] https://www.healthline.com/health/kinesiology-tape
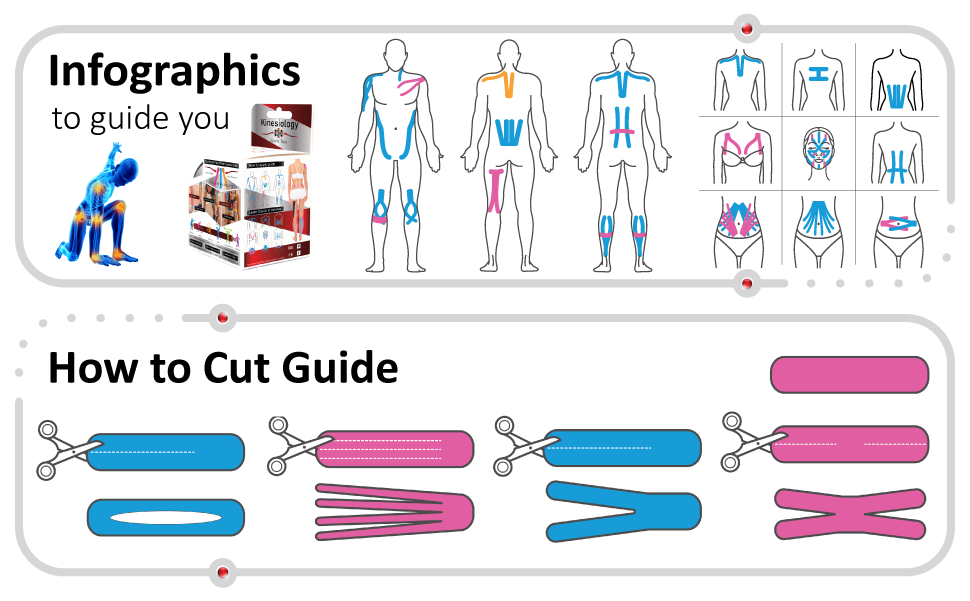
[2] https://www.kttape.com/pages/how-to-apply-kt-tape
[3] https://www.hss.edu/health-library/move-better/kinesiology-tape
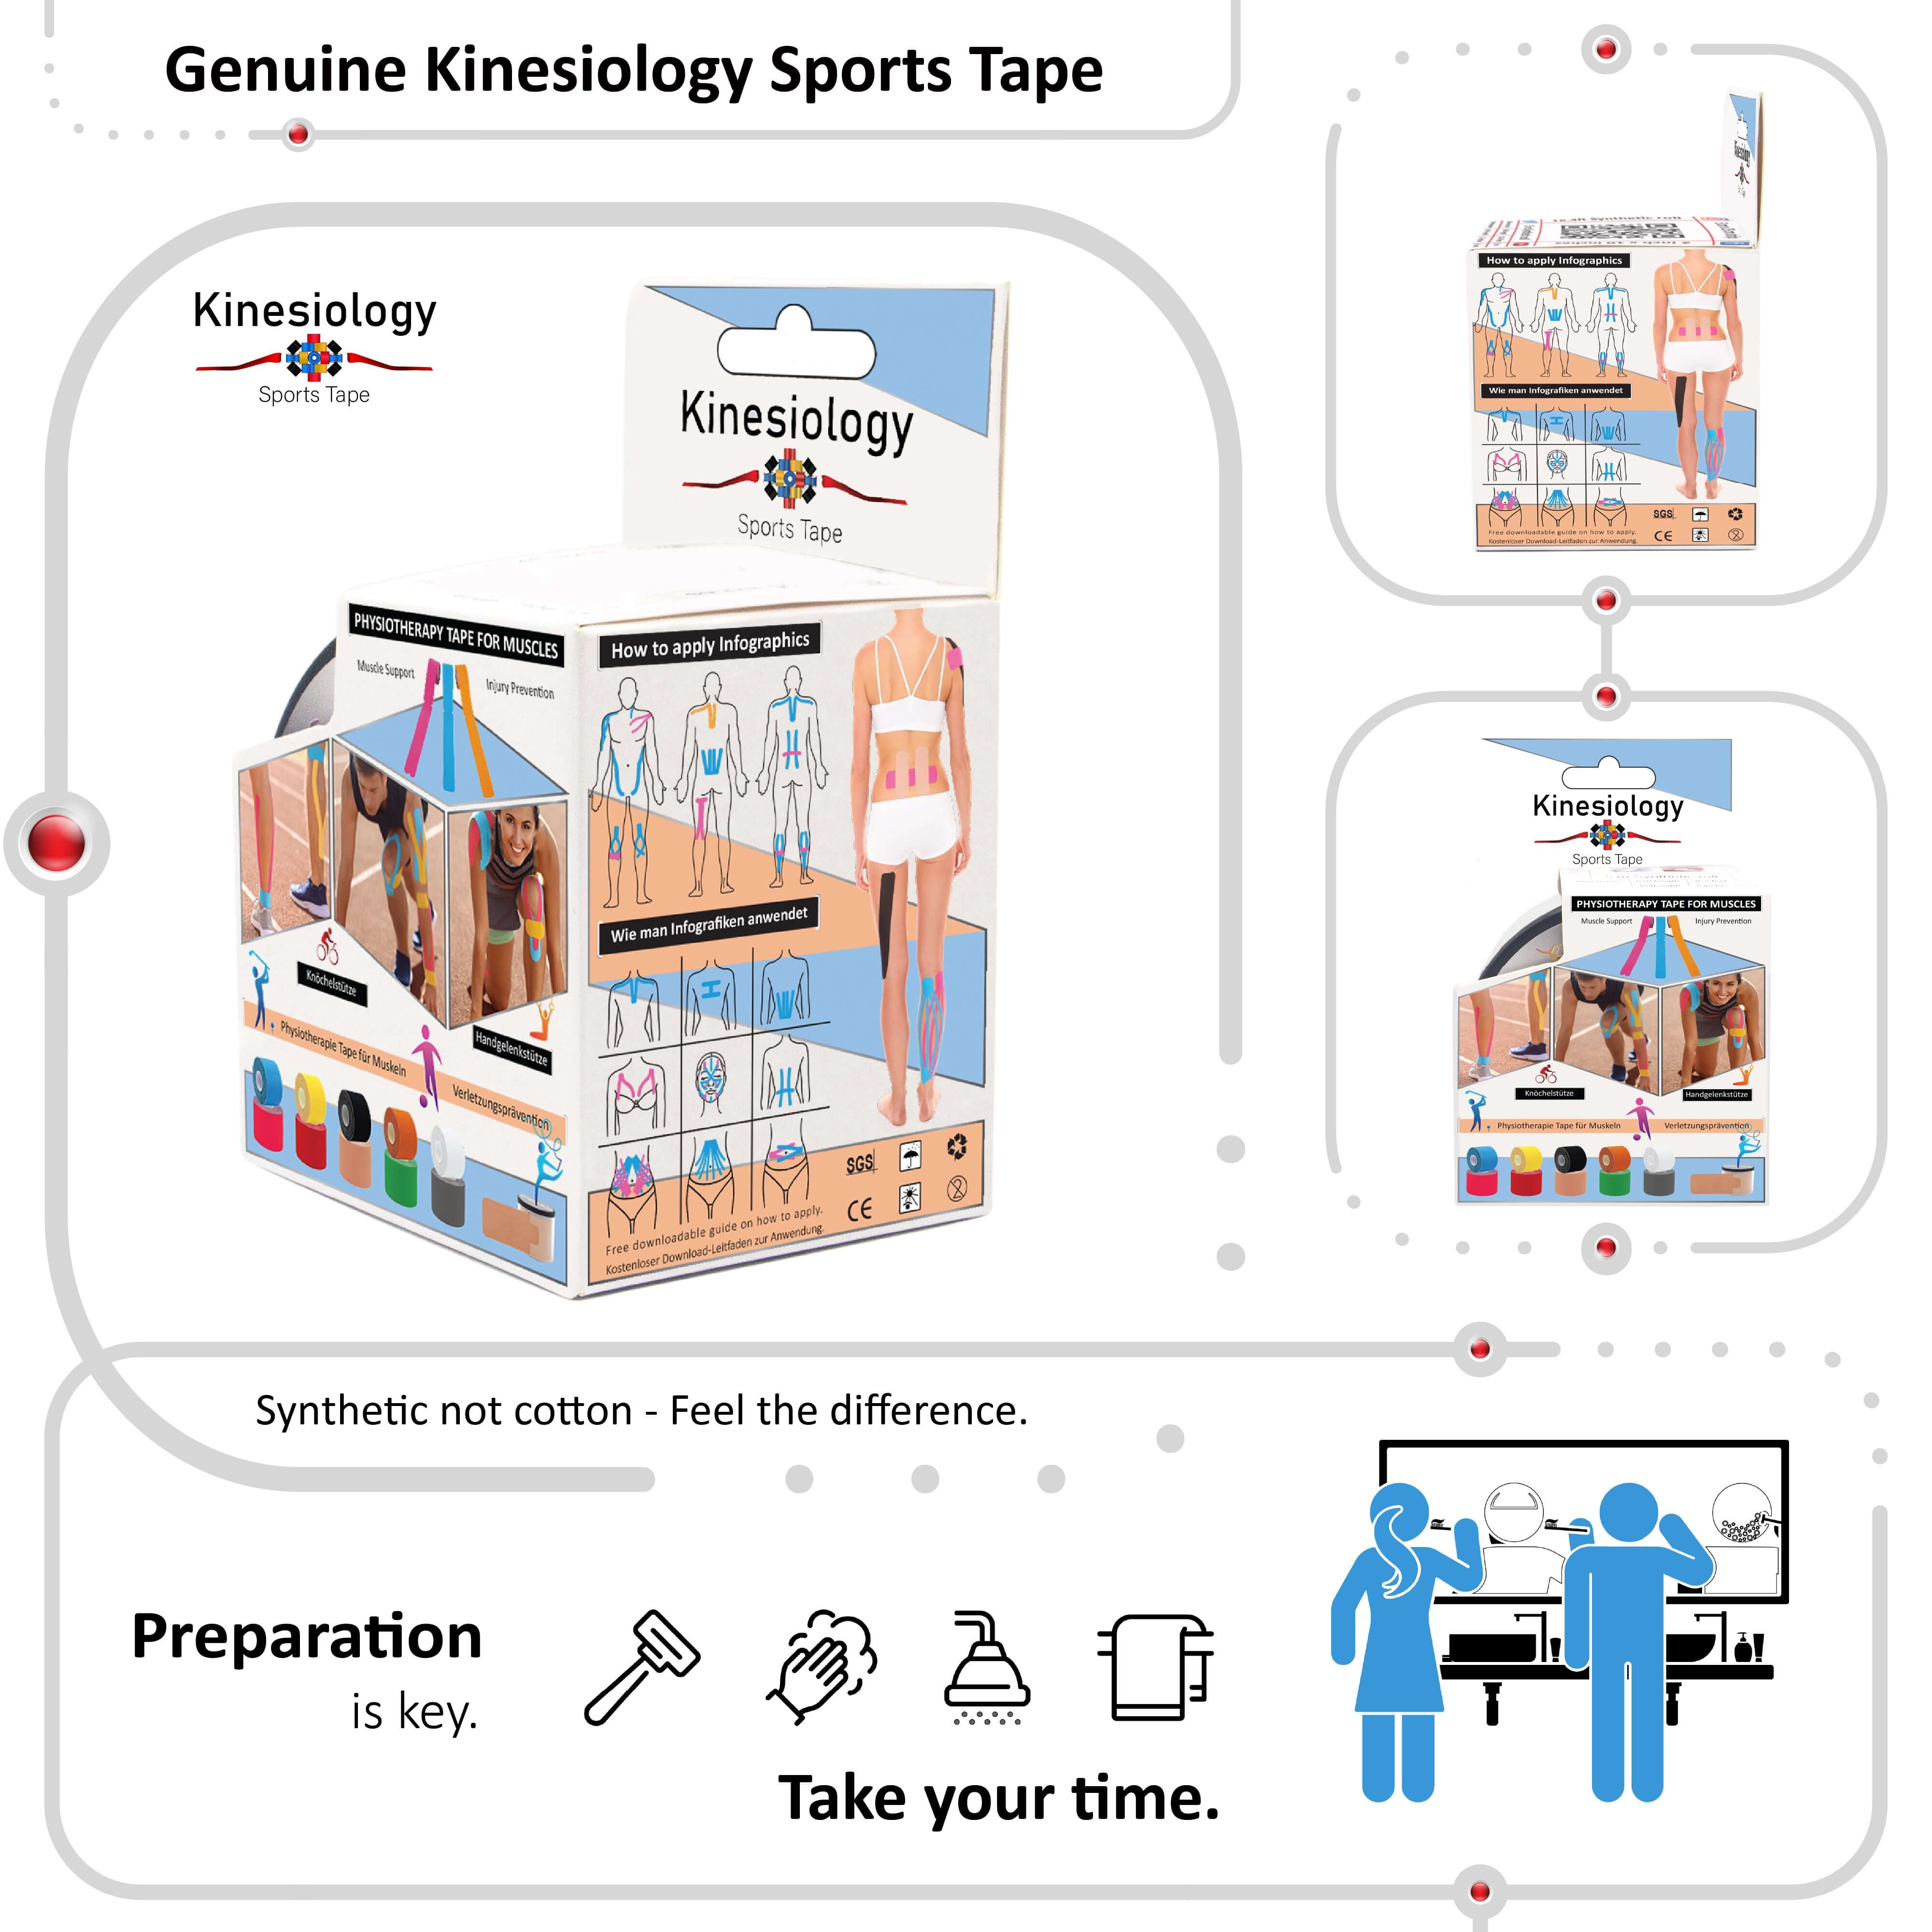
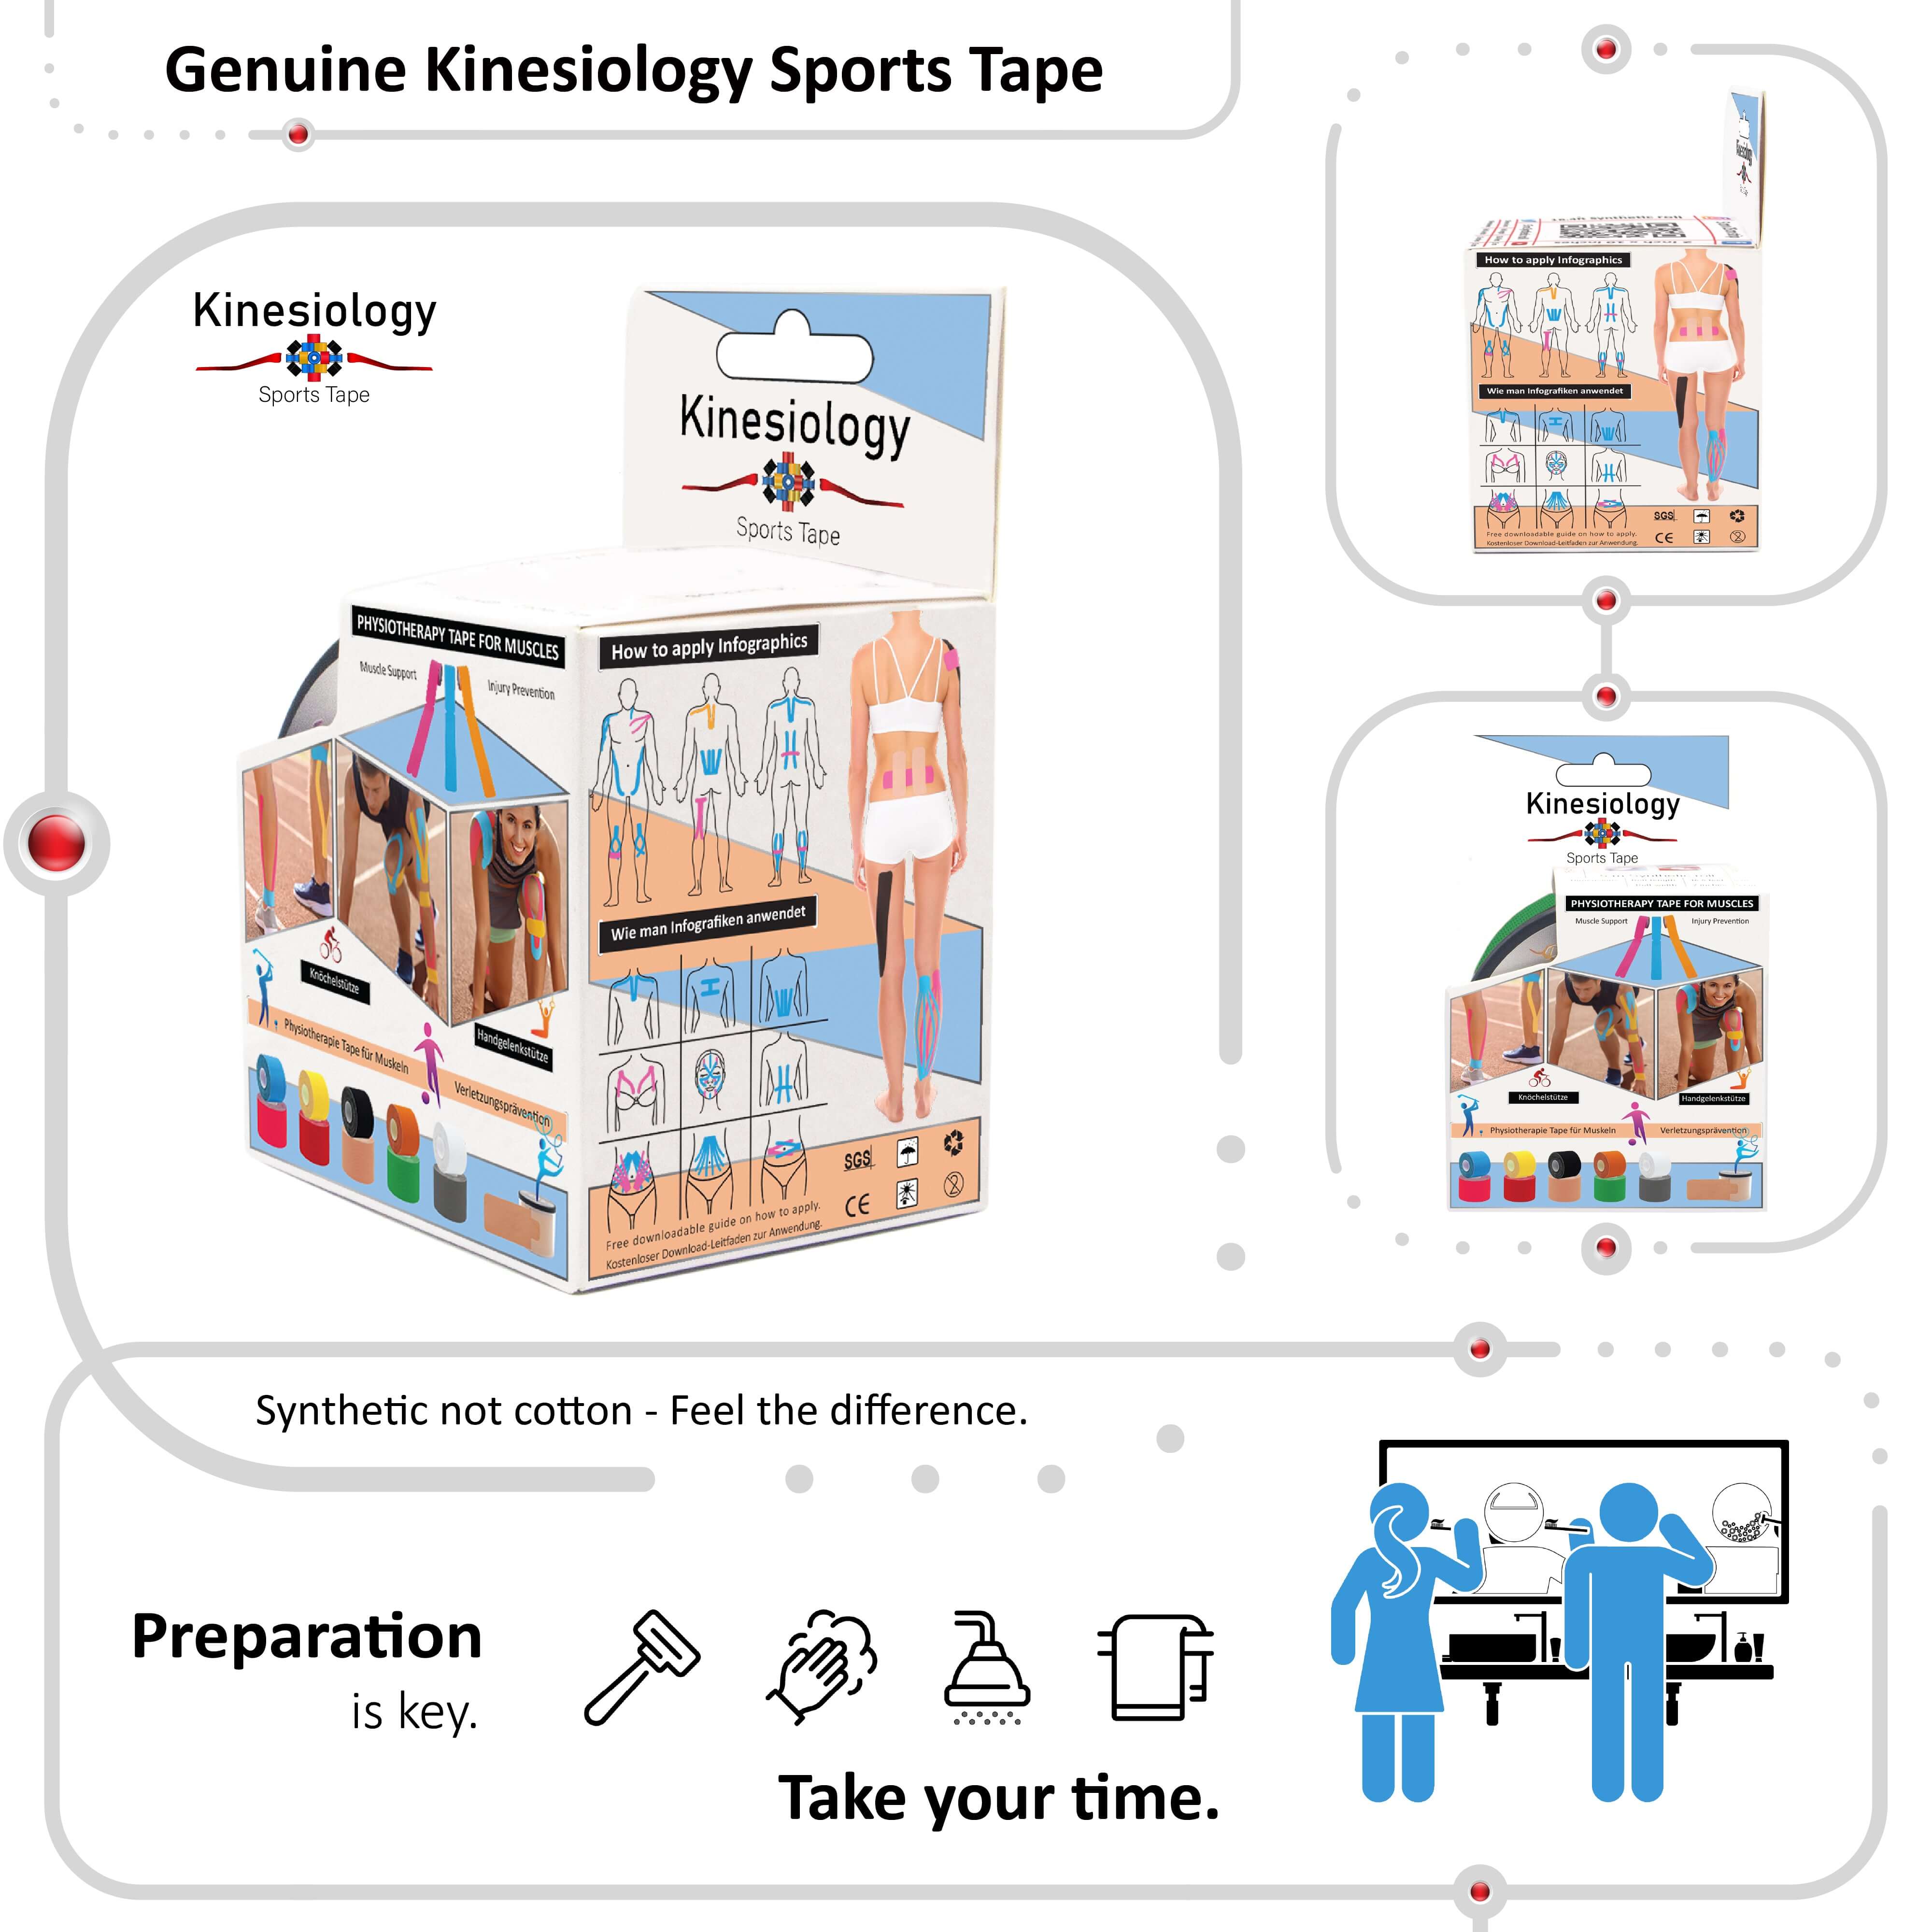
[4] https://www.physio-pedia.com/Kinesio_Taping
[5] https://www.performancehealth.com/articles/kinesiology-tape-101-everything-you-need-to-know
[6] https://pmc.ncbi.nlm.nih.gov/articles/PMC8169012/
[7] https://www.verywellhealth.com/kinesiology-tape-in-physical-therapy-2696435
[8] https://www.therabandktape.com/videos/applications.html
[9] https://pmc.ncbi.nlm.nih.gov/articles/PMC7349891/
[10] https://www.thysol.com.au/kinesiology-tape-applications/
[11] https://kinesiotaping.com/
[12] https://www.handtherapyacademy.com/treatments/all-about-kinesiology-taping-for-upper-extremity-injuries-and-conditions/
[13] https://www.performancehealthacademy.com/plantar-fasciitis-kinesiology-taping-technique-tapetuesday.html
[14] https://www.youtube.com/watch?v=Yqr4fM7GJ7Y
[15] https://www.healthandcare.co.uk/blog/ultimate-guide-how-to-apply-kinesiology-tape.html
[16] https://www.shape.com/fitness/tips/how-to-apply-kt-tape-instructions
[17] https://www.nike.com/a/how-to-tape-an-ankle
[18] https://www.kttape.com/pages/arms-hands
[19] https://www.youtube.com/watch?v=KesPHFirD7Q
[20] https://tapegeeks.com/blogs/news/how-to-tape-different-areas-of-the-body
[21] https://www.performancehealthacademy.com/how-to-apply-kinesiology-tape-to-the-achilles-tendon.html
[22] https://www.thysol.us/how-to-tape/knee-pain/
[23] https://www.thysol.us/how-to-tape/lower-back-pain/
[24] https://www.thysol.us/how-to-tape/shoulder-pain-instability/
[25] https://www.youtube.com/watch?v=Z5gwXH3iUZo
[26] https://www.thysol.us/how-to-tape/ankle-stability/
[27] https://www.goodrx.com/well-being/movement-exercise/what-is-kinesiology-tape
[28] https://www.physixgear.com/blogs/sport-and-wellness/kinesiology-tape-vs-athletic-tape-which-one-is-right-for-me
[29] https://www.verywellhealth.com/treat-your-plantar-fasciitis-with-kinesiology-tape-2696033
[30] https://sporttape.co.uk/blogs/news/can-kinesiology-tape-relieve-knee-pain
[31] https://www.henryford.com/blog/2019/01/kinesiology-tape-help-hype
[32] https://www.nuhs.edu/how-the-benefits-of-kinesio-taping-apply-to-more-than-just-athletes/
[33] https://www.orthopaedicsri.com/blog-items/kinesiology-tape-fake-fad-functional/
[34] https://www.premierhealth.com/your-health/articles/women-wisdom-wellness-/how-tape-heals-the-secret-behind-kinesiology-tape
[35] https://therapypartnersgroup.com/7-conditions-that-kinesio-tape-can-benefit-from/
[36] https://tapegeeks.com/blogs/news/benefits-of-kinesiology-tape
[37] https://coastalorthopedics.com/blog/benefits-of-kinesio-tape/
[38] https://oaidocs.com/2018/09/14/benefits-of-kinesiology-tape/
[39] https://www.ptlinktherapy.com/kinesio-taping-vs-athletic-taping
[40] https://www.hinklerpodiatry.com.au/k-tape-vs-sports-tape/
[41] https://goodhealthphysicaltherapy.com/what-is-the-difference-between-kinesiotape-and-athletic-tape/
[42] https://qubecore.com/the-power-of-taping-athletic-vs-kinesio/
[43] https://pmc.ncbi.nlm.nih.gov/articles/PMC3325641/
[44] https://www.ladybirdpt.com/post/taping-a-pregnant-belly
[45] https://pmc.ncbi.nlm.nih.gov/articles/PMC5751726/
[46] https://adatewithbaby.com/how-to-kinesio-tape-pregnant-belly/
[47] https://kinesiologysportstape.com/en-us/pages/pregnancy-taping
[48] https://www.thysol.us/how-to-tape/lymphatic-taping-lymphedema/
Related post
22
Mar
21
Mar