RECENT POSTS


22.March.2026
Kinesiology Tape for Knee Pain: Complete Relief Guide for Athletes and Active Individual
0 Comments
21.March.2026
Kinesiology Tape for Knee Pain: Complete Relief Guide for Athletes and Active Individuals
0 CommentsHow to Apply Kinesiology Tape: Step-by-Step Guide with Tips
Applying kinesiology tape might look easy—but correct technique is crucial to getting the benefits. Whether you're looking to reduce pain, support muscles, or improve posture, the way you apply the tape can determine whether it helps… or does nothing at all.
In this blog, we’ll break down:
-
How to apply kinesiology tape correctly
-
What to do before you tape
-
Taping techniques for common areas (shoulders, knees, lower back, and more)
-
Common mistakes to avoid
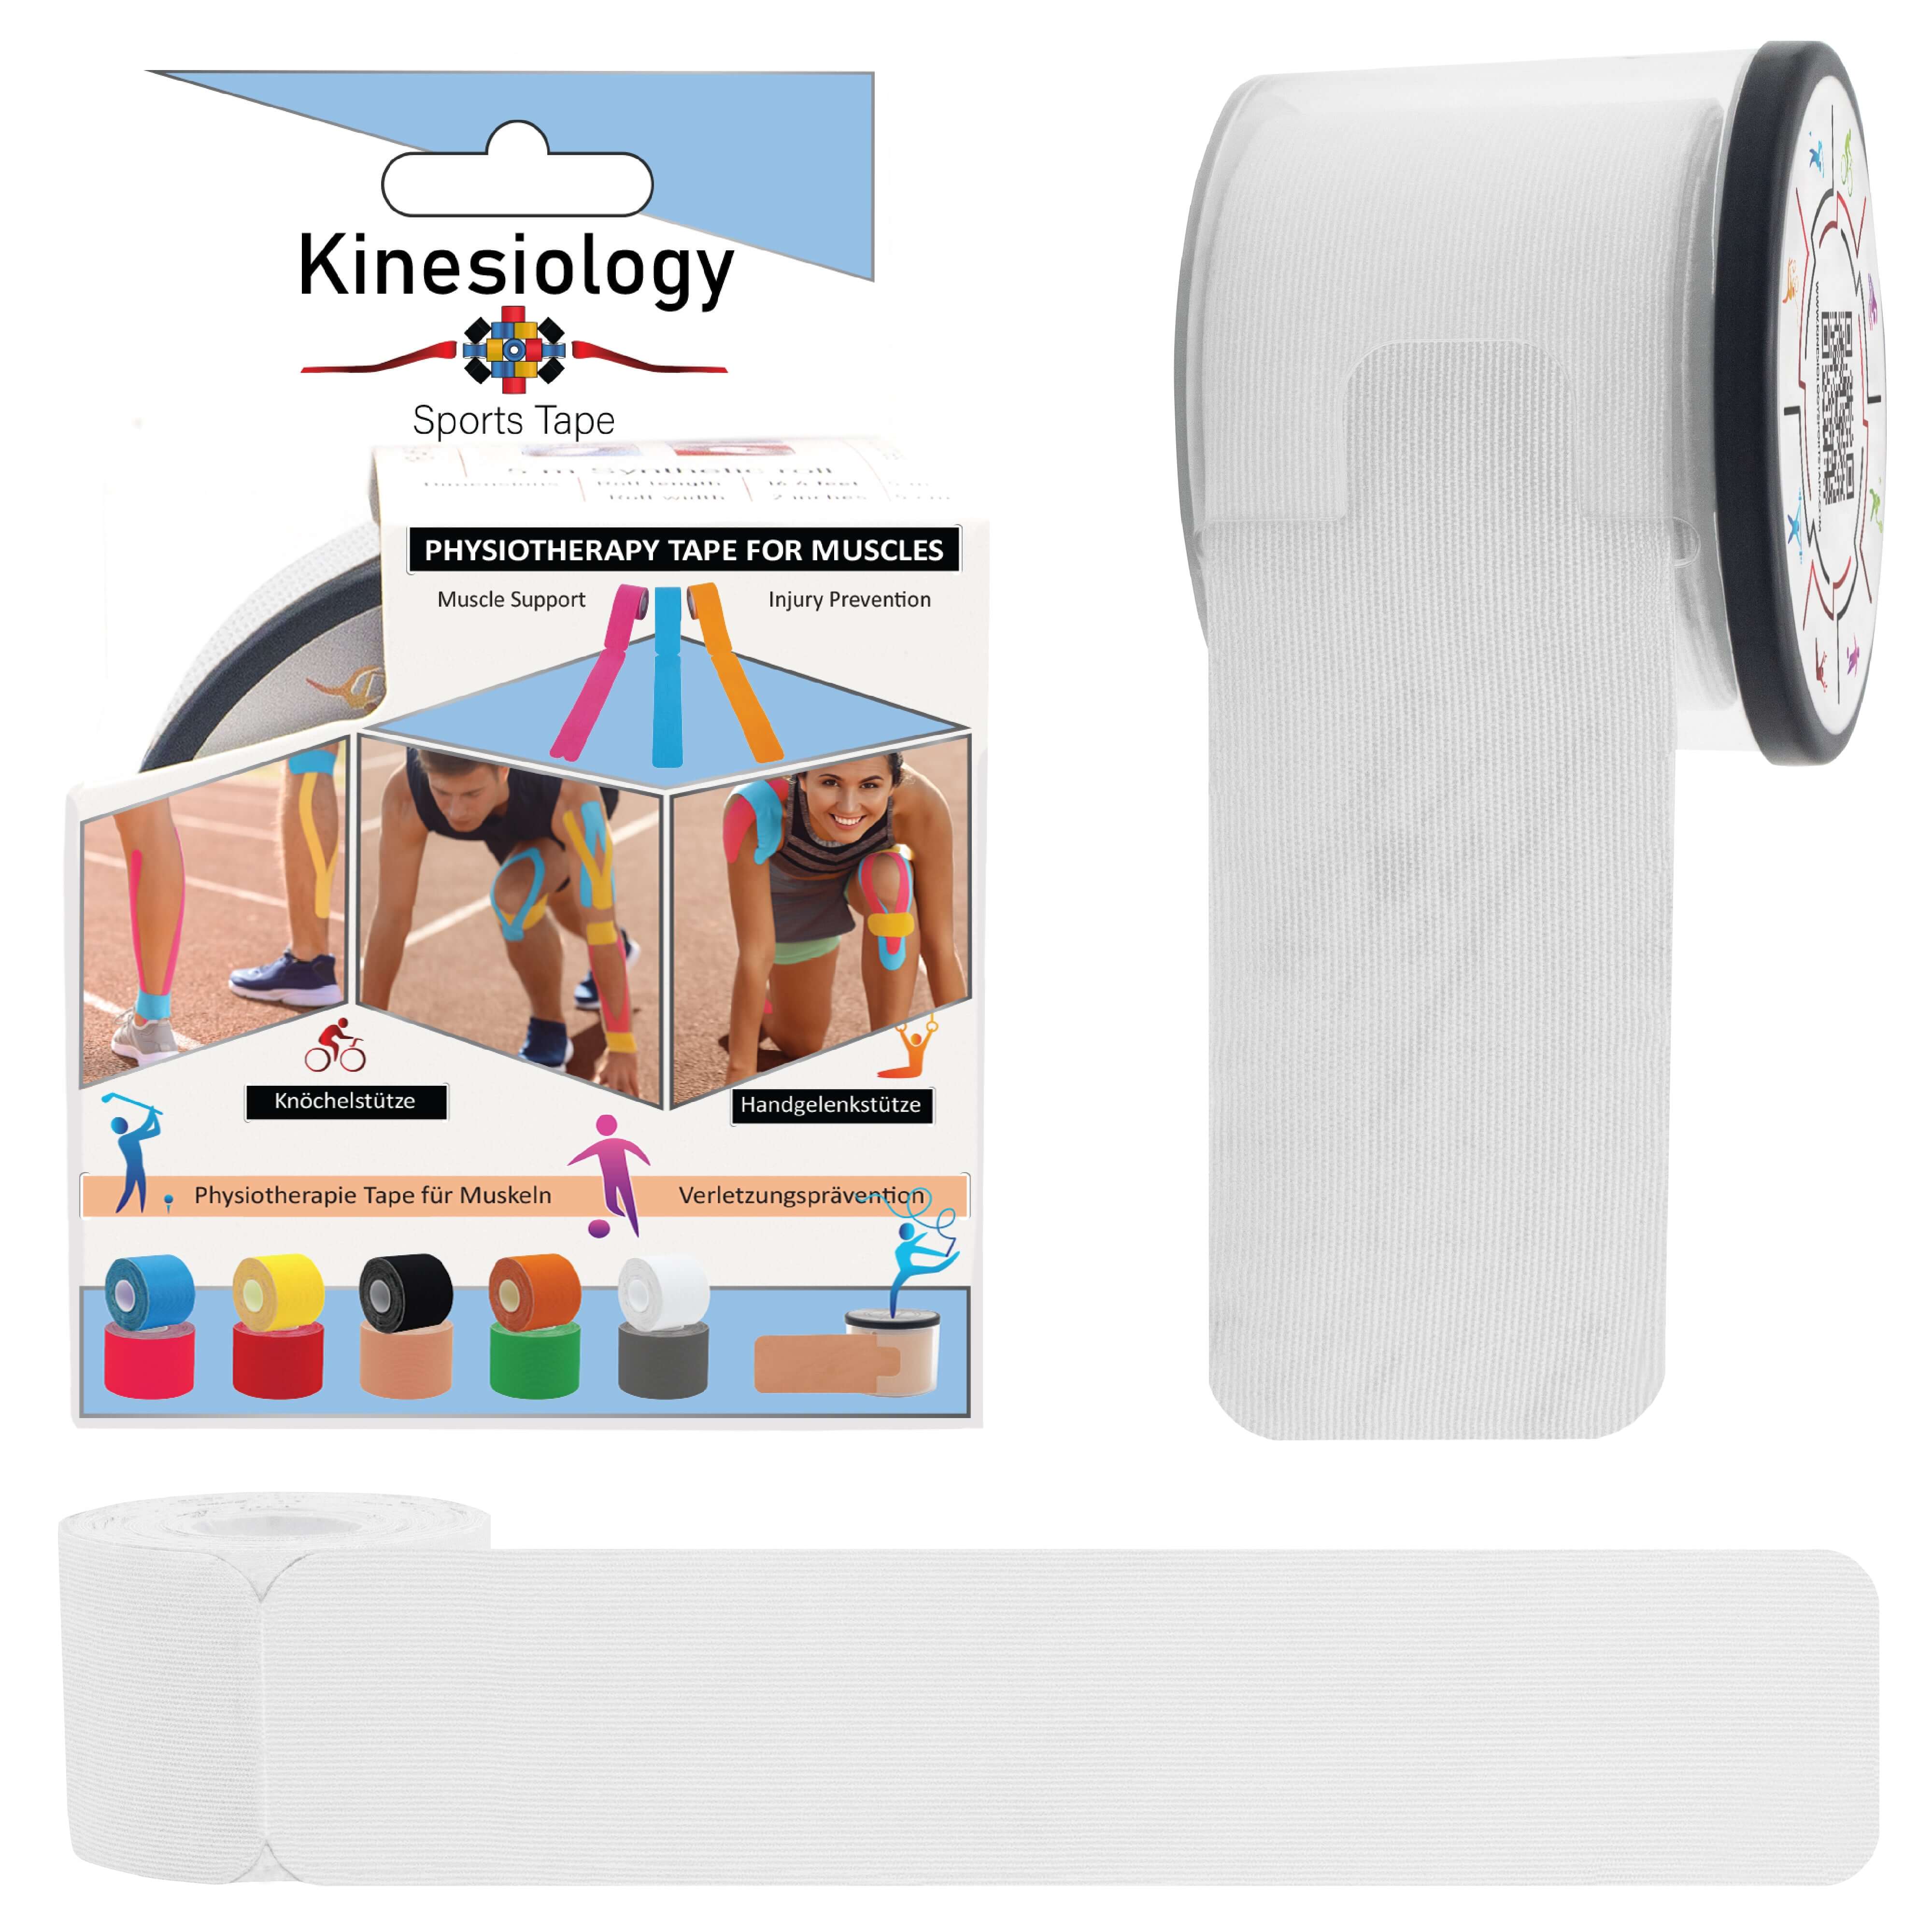
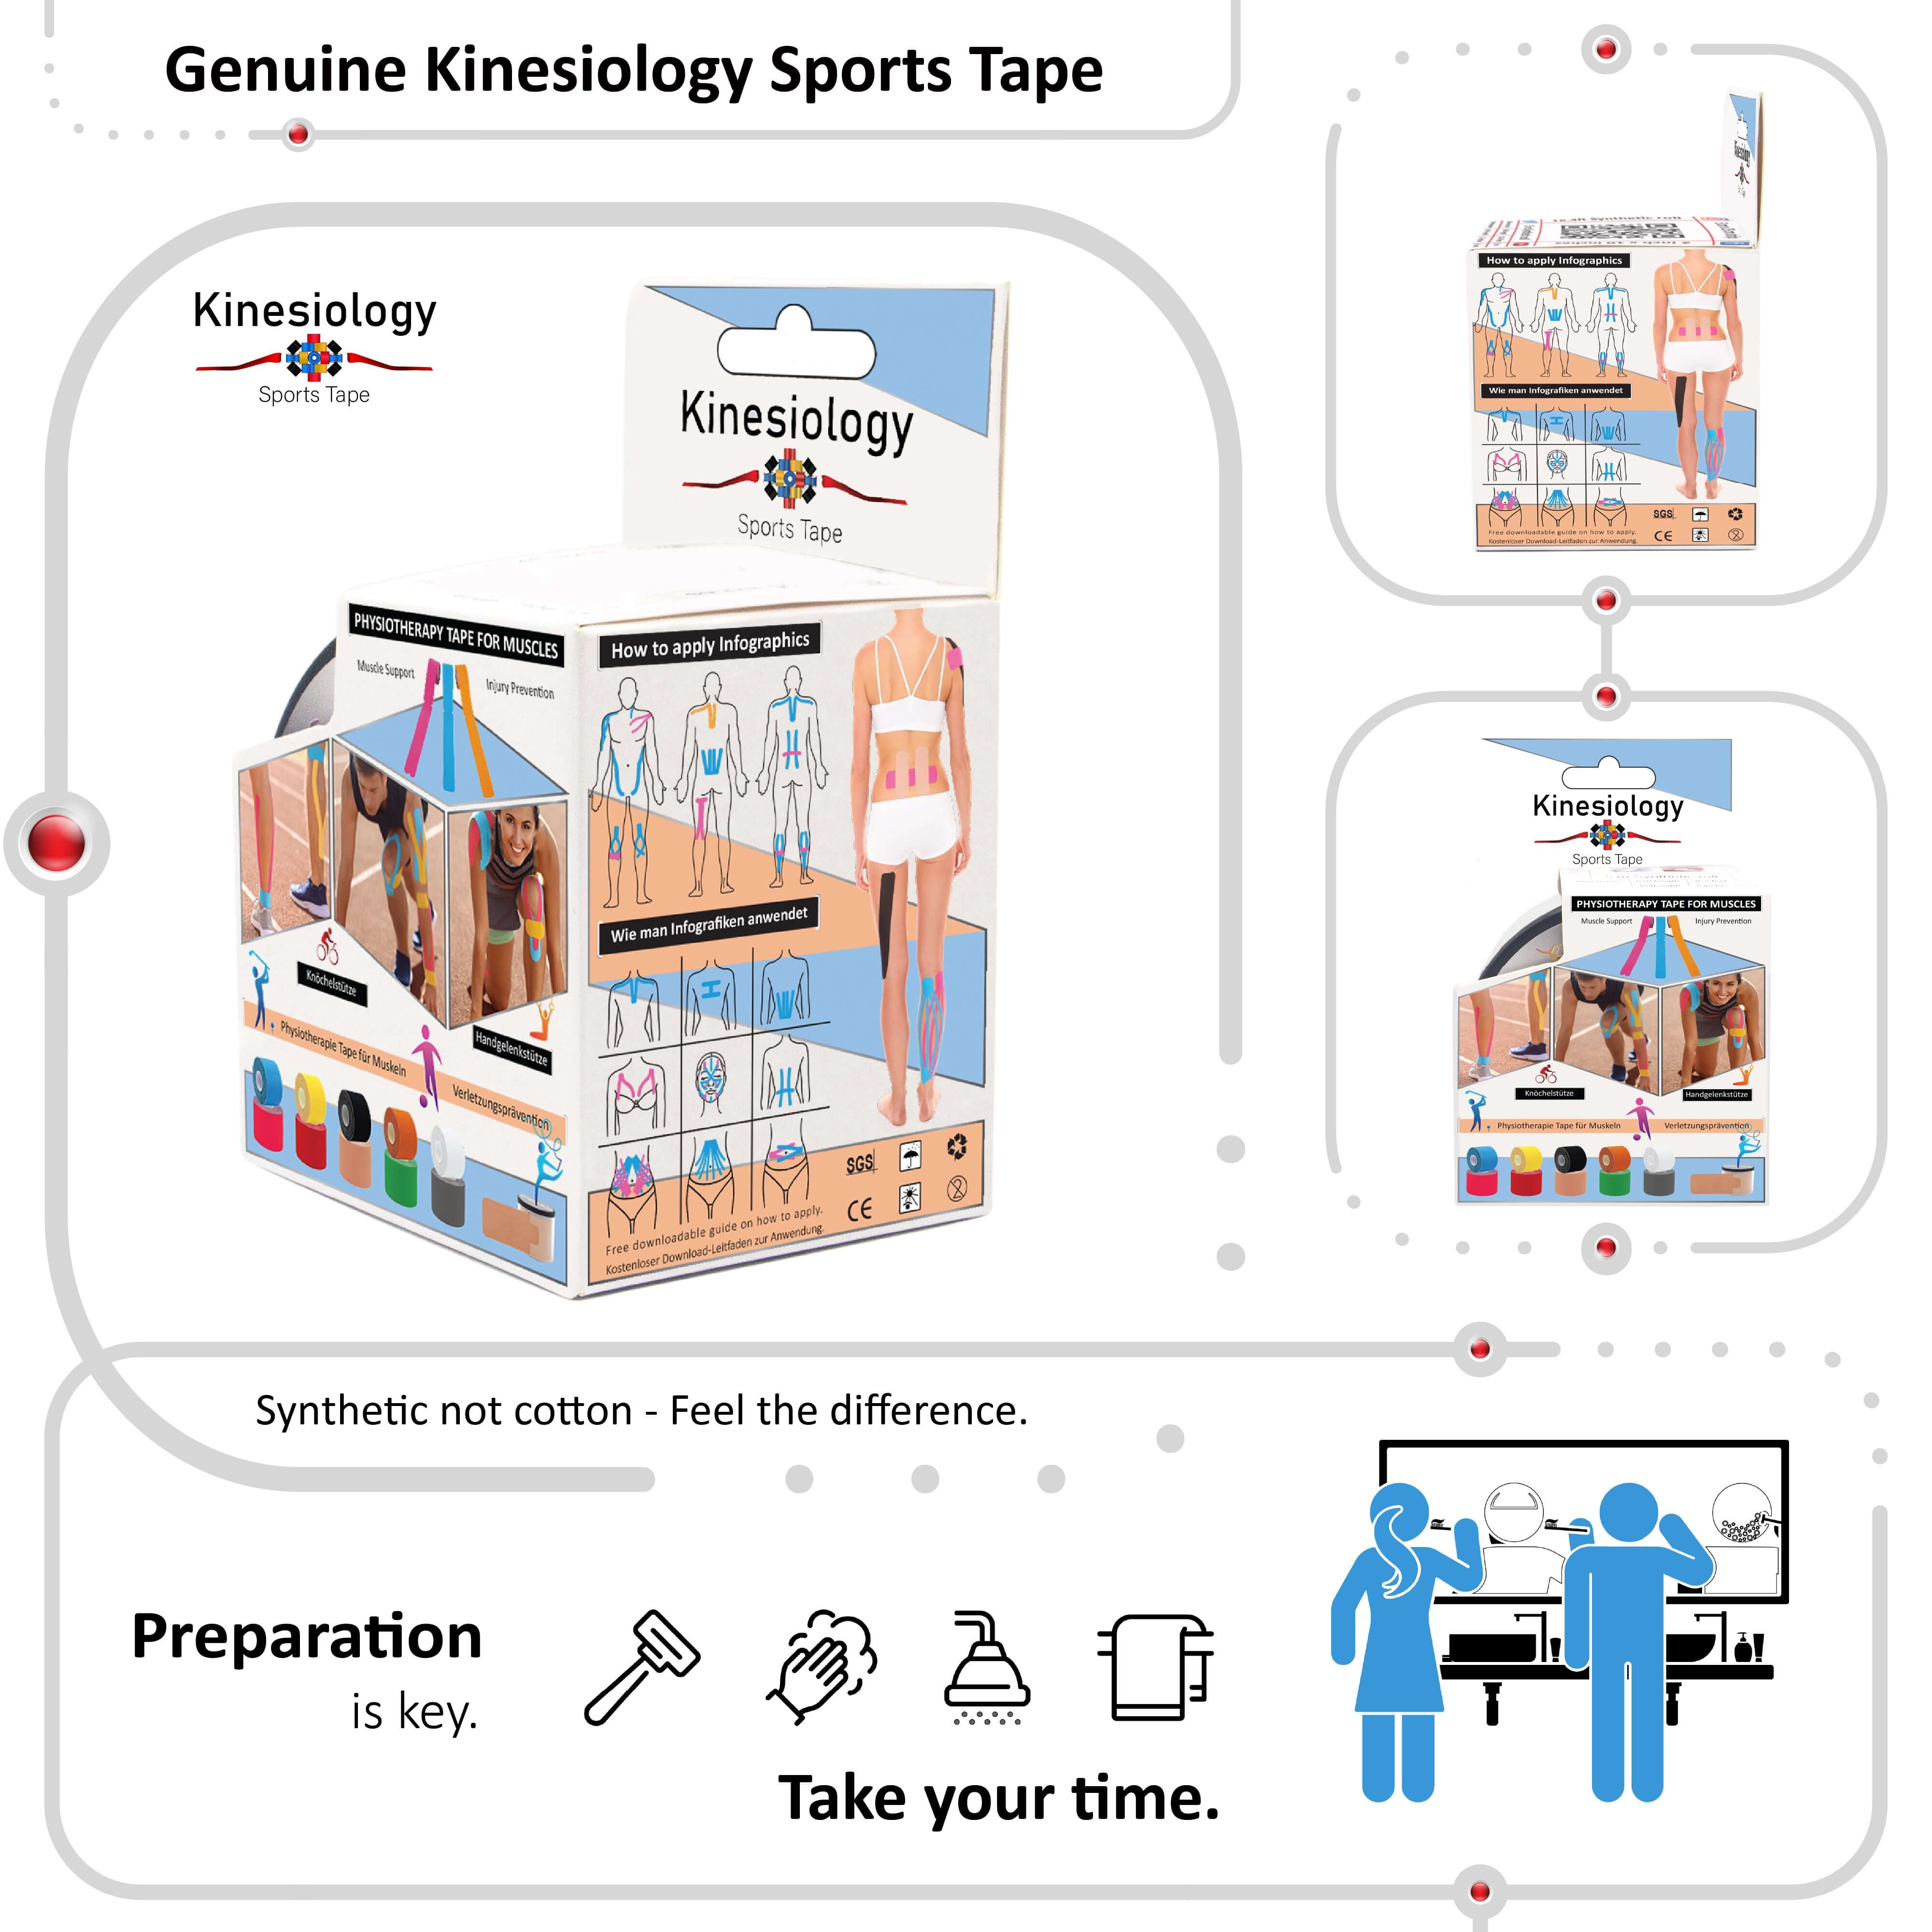
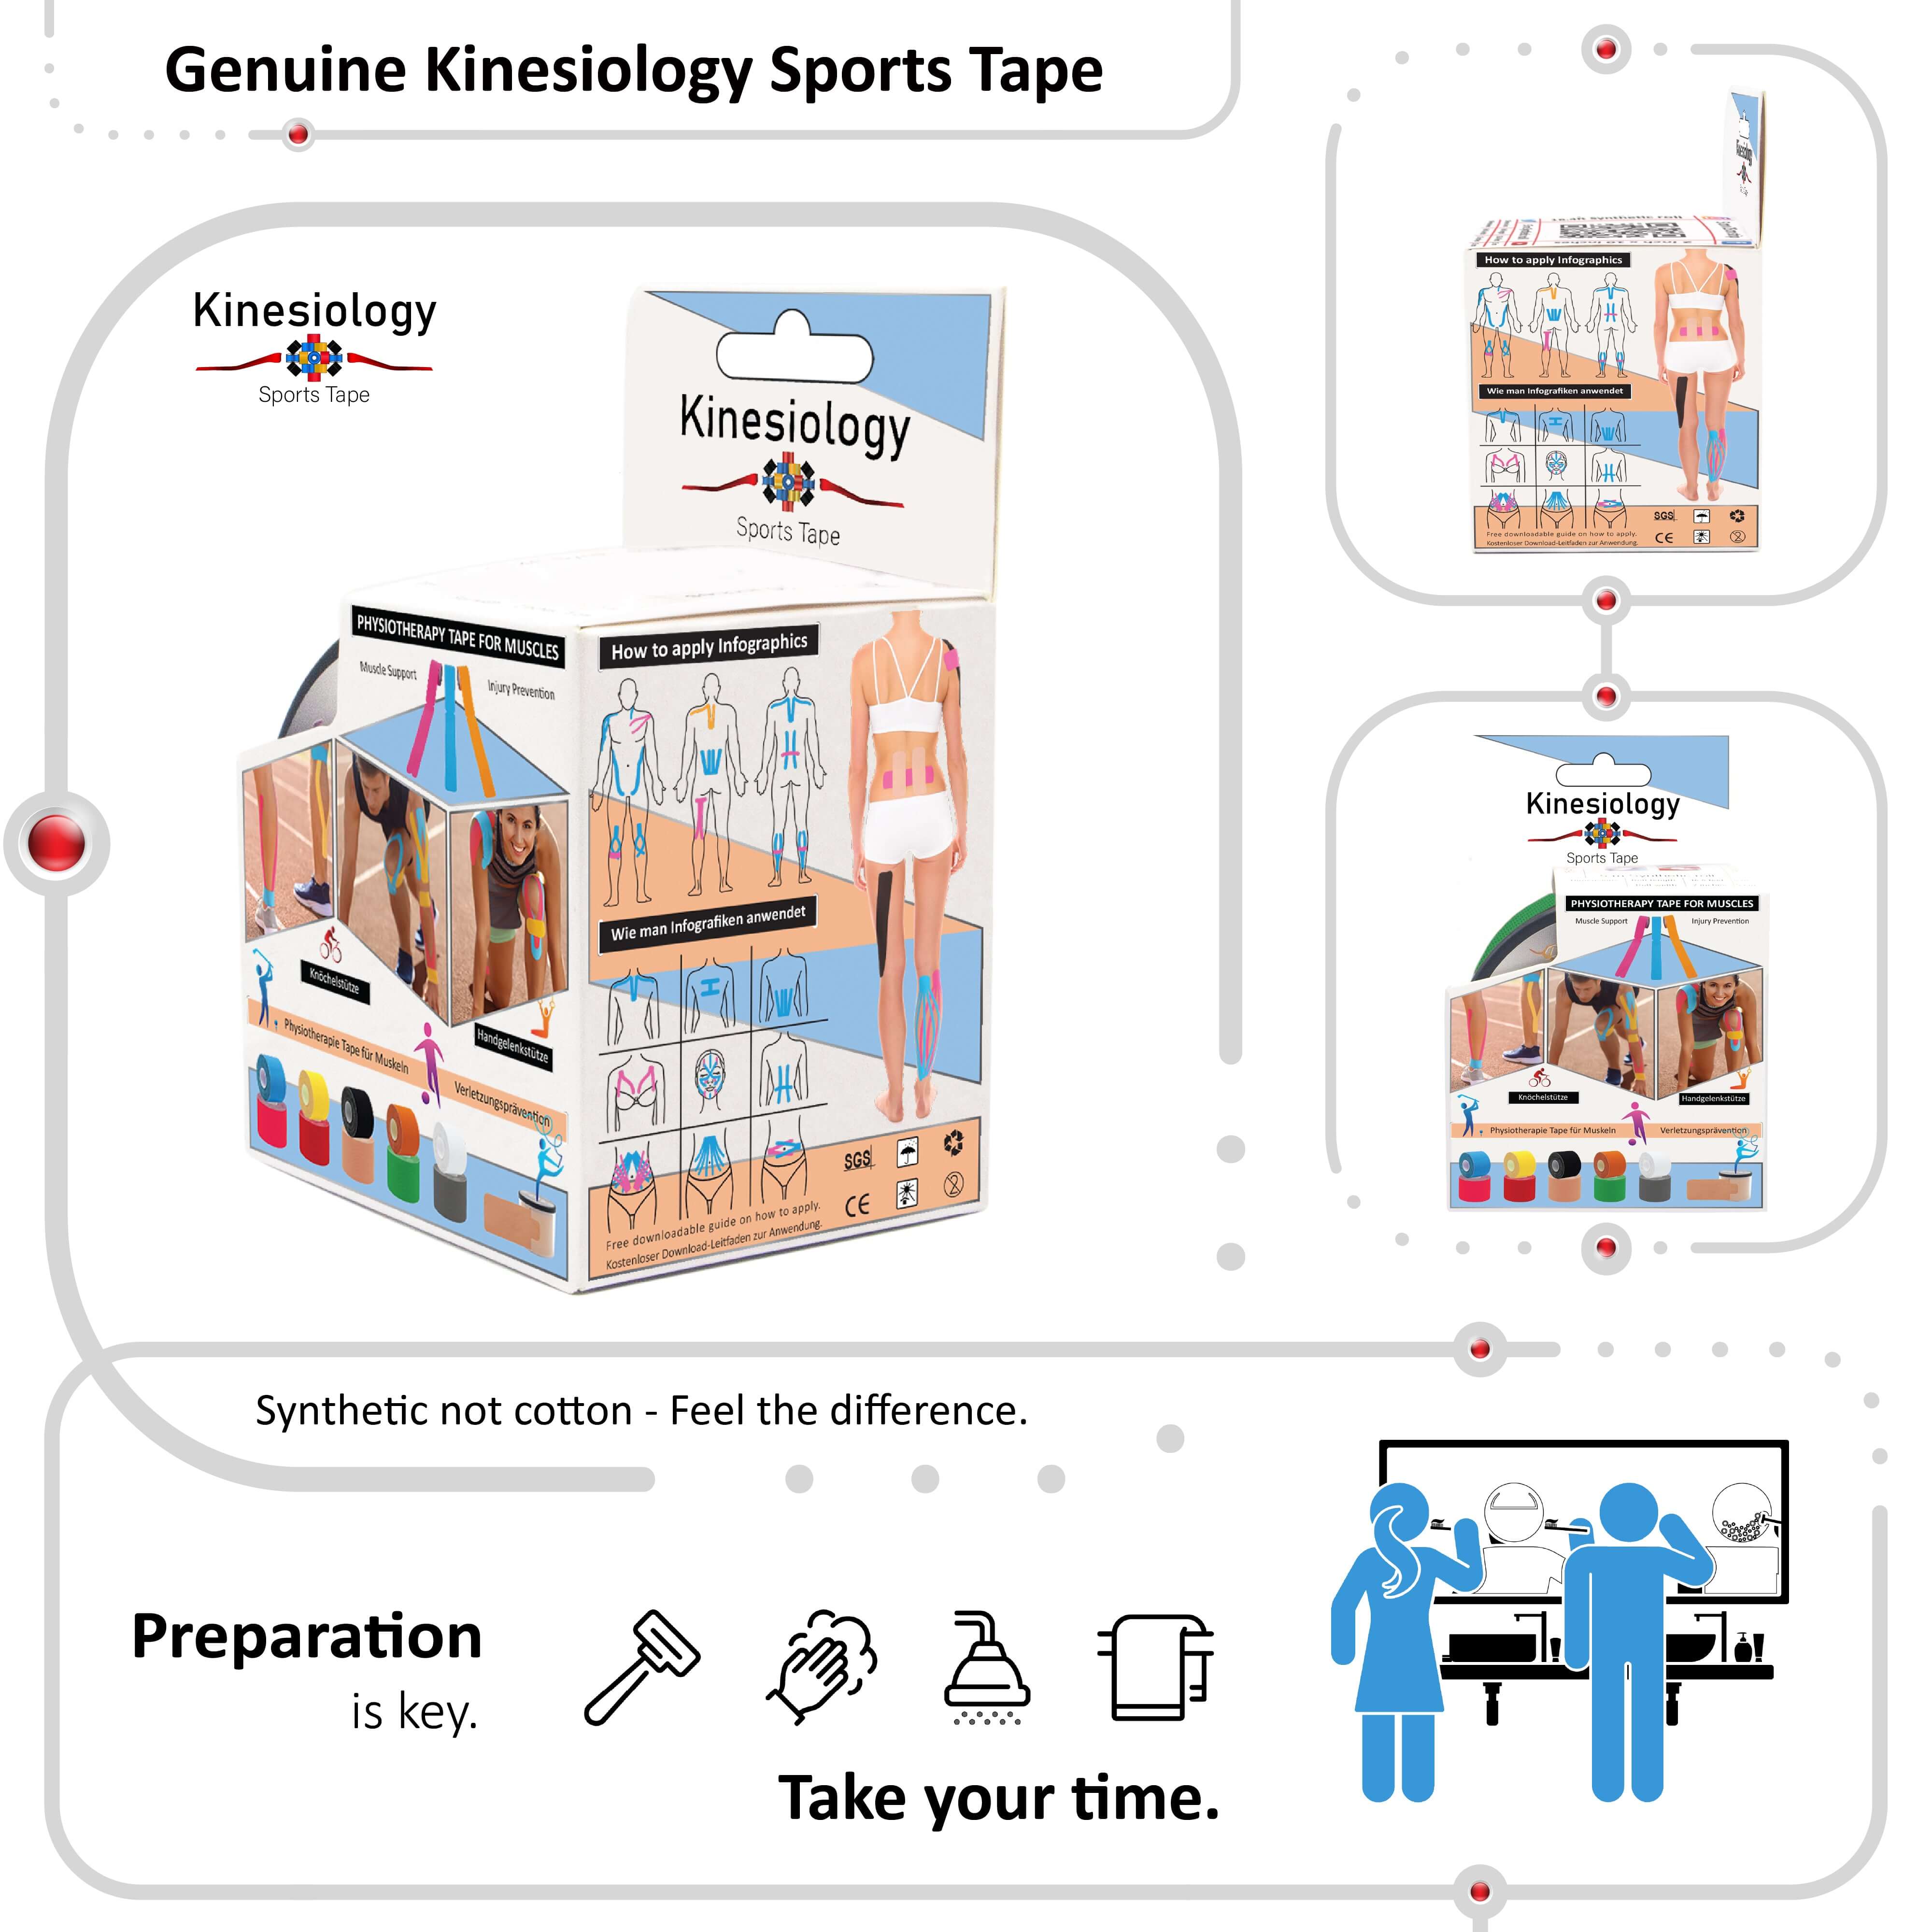
🧼 Step 1: Prepare the Skin
Before applying kinesiology tape:
-
Clean the area – Remove oils, lotions, sweat, and dirt. Use rubbing alcohol if needed.
-
Dry completely – KT tape won’t stick to damp or oily skin.
-
Trim excess hair – Not always necessary, but can improve adhesion.
-
Cut rounded corners – This prevents peeling and helps the tape last longer.
📌 Pro tip: Skin prep sprays (like those used in sports medicine) can also improve sticking, especially for sweaty athletes or swimmers.
✂️ Step 2: Choose the Right Tape Shape
Depending on your goal and the area being taped, you can use different shapes:
| Shape | Description | Best Used For |
|---|---|---|
| I-strip | One long strip | Muscle support, joint alignment |
| Y-strip | A strip with a split end | Surrounding muscles or tendons |
| X-strip | Split in the middle | Crossing over joints or variable tension |
| Fan strip | Multiple thin tails | Swelling or lymphatic drainage |
📐 Step 3: Apply With the Right Tension
The amount of stretch matters:
| Goal | Tension Guide |
|---|---|
| Muscle support | 25–50% stretch |
| Pain relief | 10–25% stretch |
| Lymphatic drainage | 0–15% stretch |
| Correctional taping | 50–75% stretch (used cautiously) |
🚫 Never stretch the anchors (ends of the tape). These should always be applied with 0% stretch to prevent irritation or peeling.
📍 Step 4: Rub to Activate Adhesive
Once applied, rub the tape gently to warm the adhesive and activate the glue. Use your hand or the tape backing for a few seconds.
The tape will stay on for 3–5 days (sometimes up to a week), even through showers and workouts.
✅ Common Taping Techniques (With Descriptions)
Here are a few go-to applications:
🎯 1. Shoulder Taping (Deltoid or Rotator Cuff)
Purpose: Support overhead movement and relieve shoulder pain.
Method:
-
Use a Y-strip.
-
Anchor at the upper arm (deltoid insertion), split the tails around the deltoid.
-
Apply with 25–50% stretch in the middle, no tension on ends.
🦵 2. Knee Taping (Patellar Support)
Purpose: Stabilize patella and reduce anterior knee pain (patellofemoral syndrome).
Method:
-
Use two I-strips.
-
One across the knee below the patella, and one vertical from shin to thigh, with gentle tension around kneecap.
💢 3. Lower Back Pain Taping
Purpose: Support lumbar spine and reduce muscle tension.
Method:
-
Use two long I-strips.
-
Apply vertically along the spine from sacrum to mid-back.
-
Use 25% stretch in the middle, no tension on the anchors.
🦶 4. Plantar Fasciitis Taping
Purpose: Support the arch and reduce pain with walking.
Method:
-
Anchor a strip under the ball of the foot and stretch it along the arch toward the heel.
-
Apply second strip around the heel to secure it.
-
Stretch should be 25–50%, depending on severity.
💧 5. Swelling & Lymphatic Drainage (Fan Technique)
Purpose: Reduce swelling after injury or surgery.
Method:
-
Cut a fan shape strip.
-
Anchor the base near the lymph node (e.g., groin or armpit).
-
Apply tails over the swollen area with 0–10% stretch.
🚫 6 Common Taping Mistakes to Avoid
-
Stretching the anchors – Causes irritation or peeling
-
Applying on dirty or oily skin – Tape won’t stick properly
-
Too much tension – Can cause blistering or discomfort
-
Using tape on broken or irritated skin – Always avoid
-
Ignoring body position – Apply tape while muscle is on stretch
-
Not following muscle direction – Muscle origin/insertion matters!
🧠 Pro Tips for Success
-
Tape should feel supportive but not tight or painful
-
Don’t re-use tape—once it’s off, discard it
-
If skin gets itchy, red, or blistered: remove immediately
-
Let tape fall off naturally after a few days, or remove gently in the shower
🧪 Application Backed by Technique
Kinesiology tape is only as effective as its application. When used correctly:
-
It can reduce pain and improve movement
-
It provides support without limiting flexibility
-
It’s versatile enough to treat a wide range of issues
If you’re new to taping, consider getting guidance from a licensed physical therapist or certified KT taping practitioner.
Related post
22
Mar
21
Mar