RECENT POSTS


22.March.2026
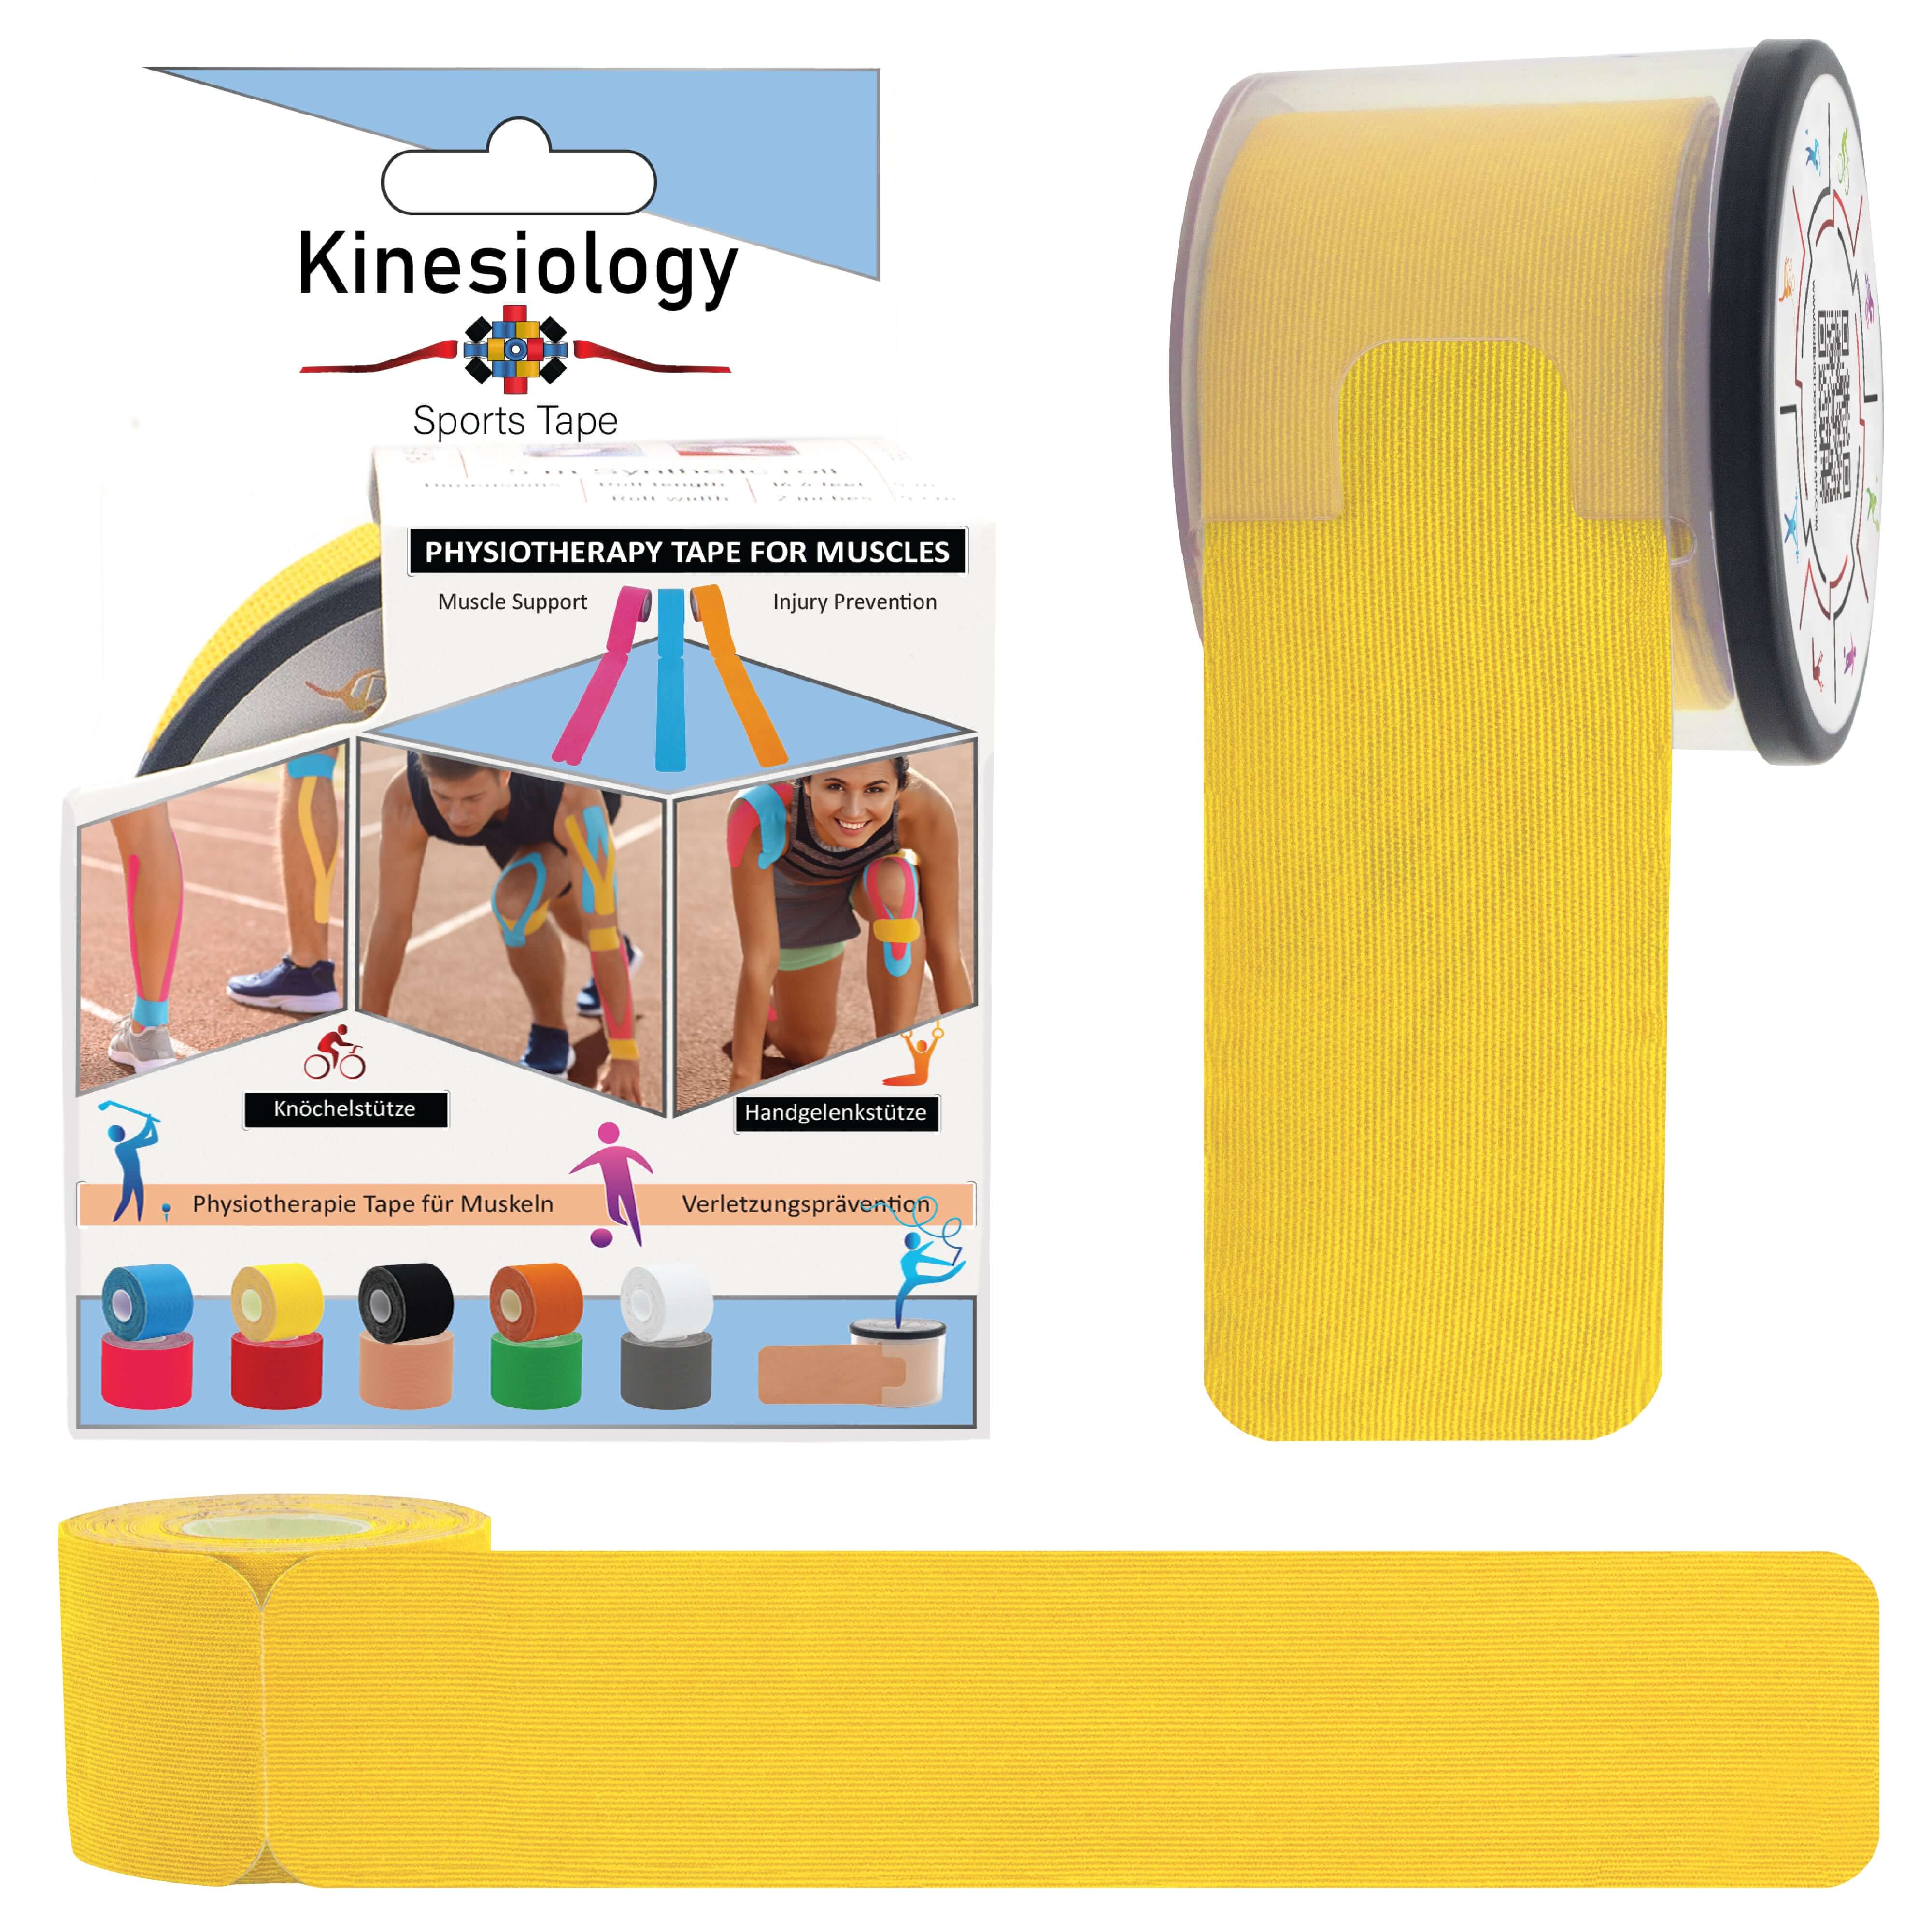
Kinesiology Tape for Knee Pain: Complete Relief Guide for Athletes and Active Individual
0 Comments
21.March.2026
Kinesiology Tape for Knee Pain: Complete Relief Guide for Athletes and Active Individuals
0 CommentsHow to Use Kinesiology Tape for Knee Pain
The knee is one of the most commonly injured joints, especially among athletes and individuals with active lifestyles. Kinesiology tape can be a valuable tool for providing support, stability, and pain relief for knee injuries and conditions. In this blog post, we'll walk you through the process of using kinesiology tape effectively to support your knees and promote healing.
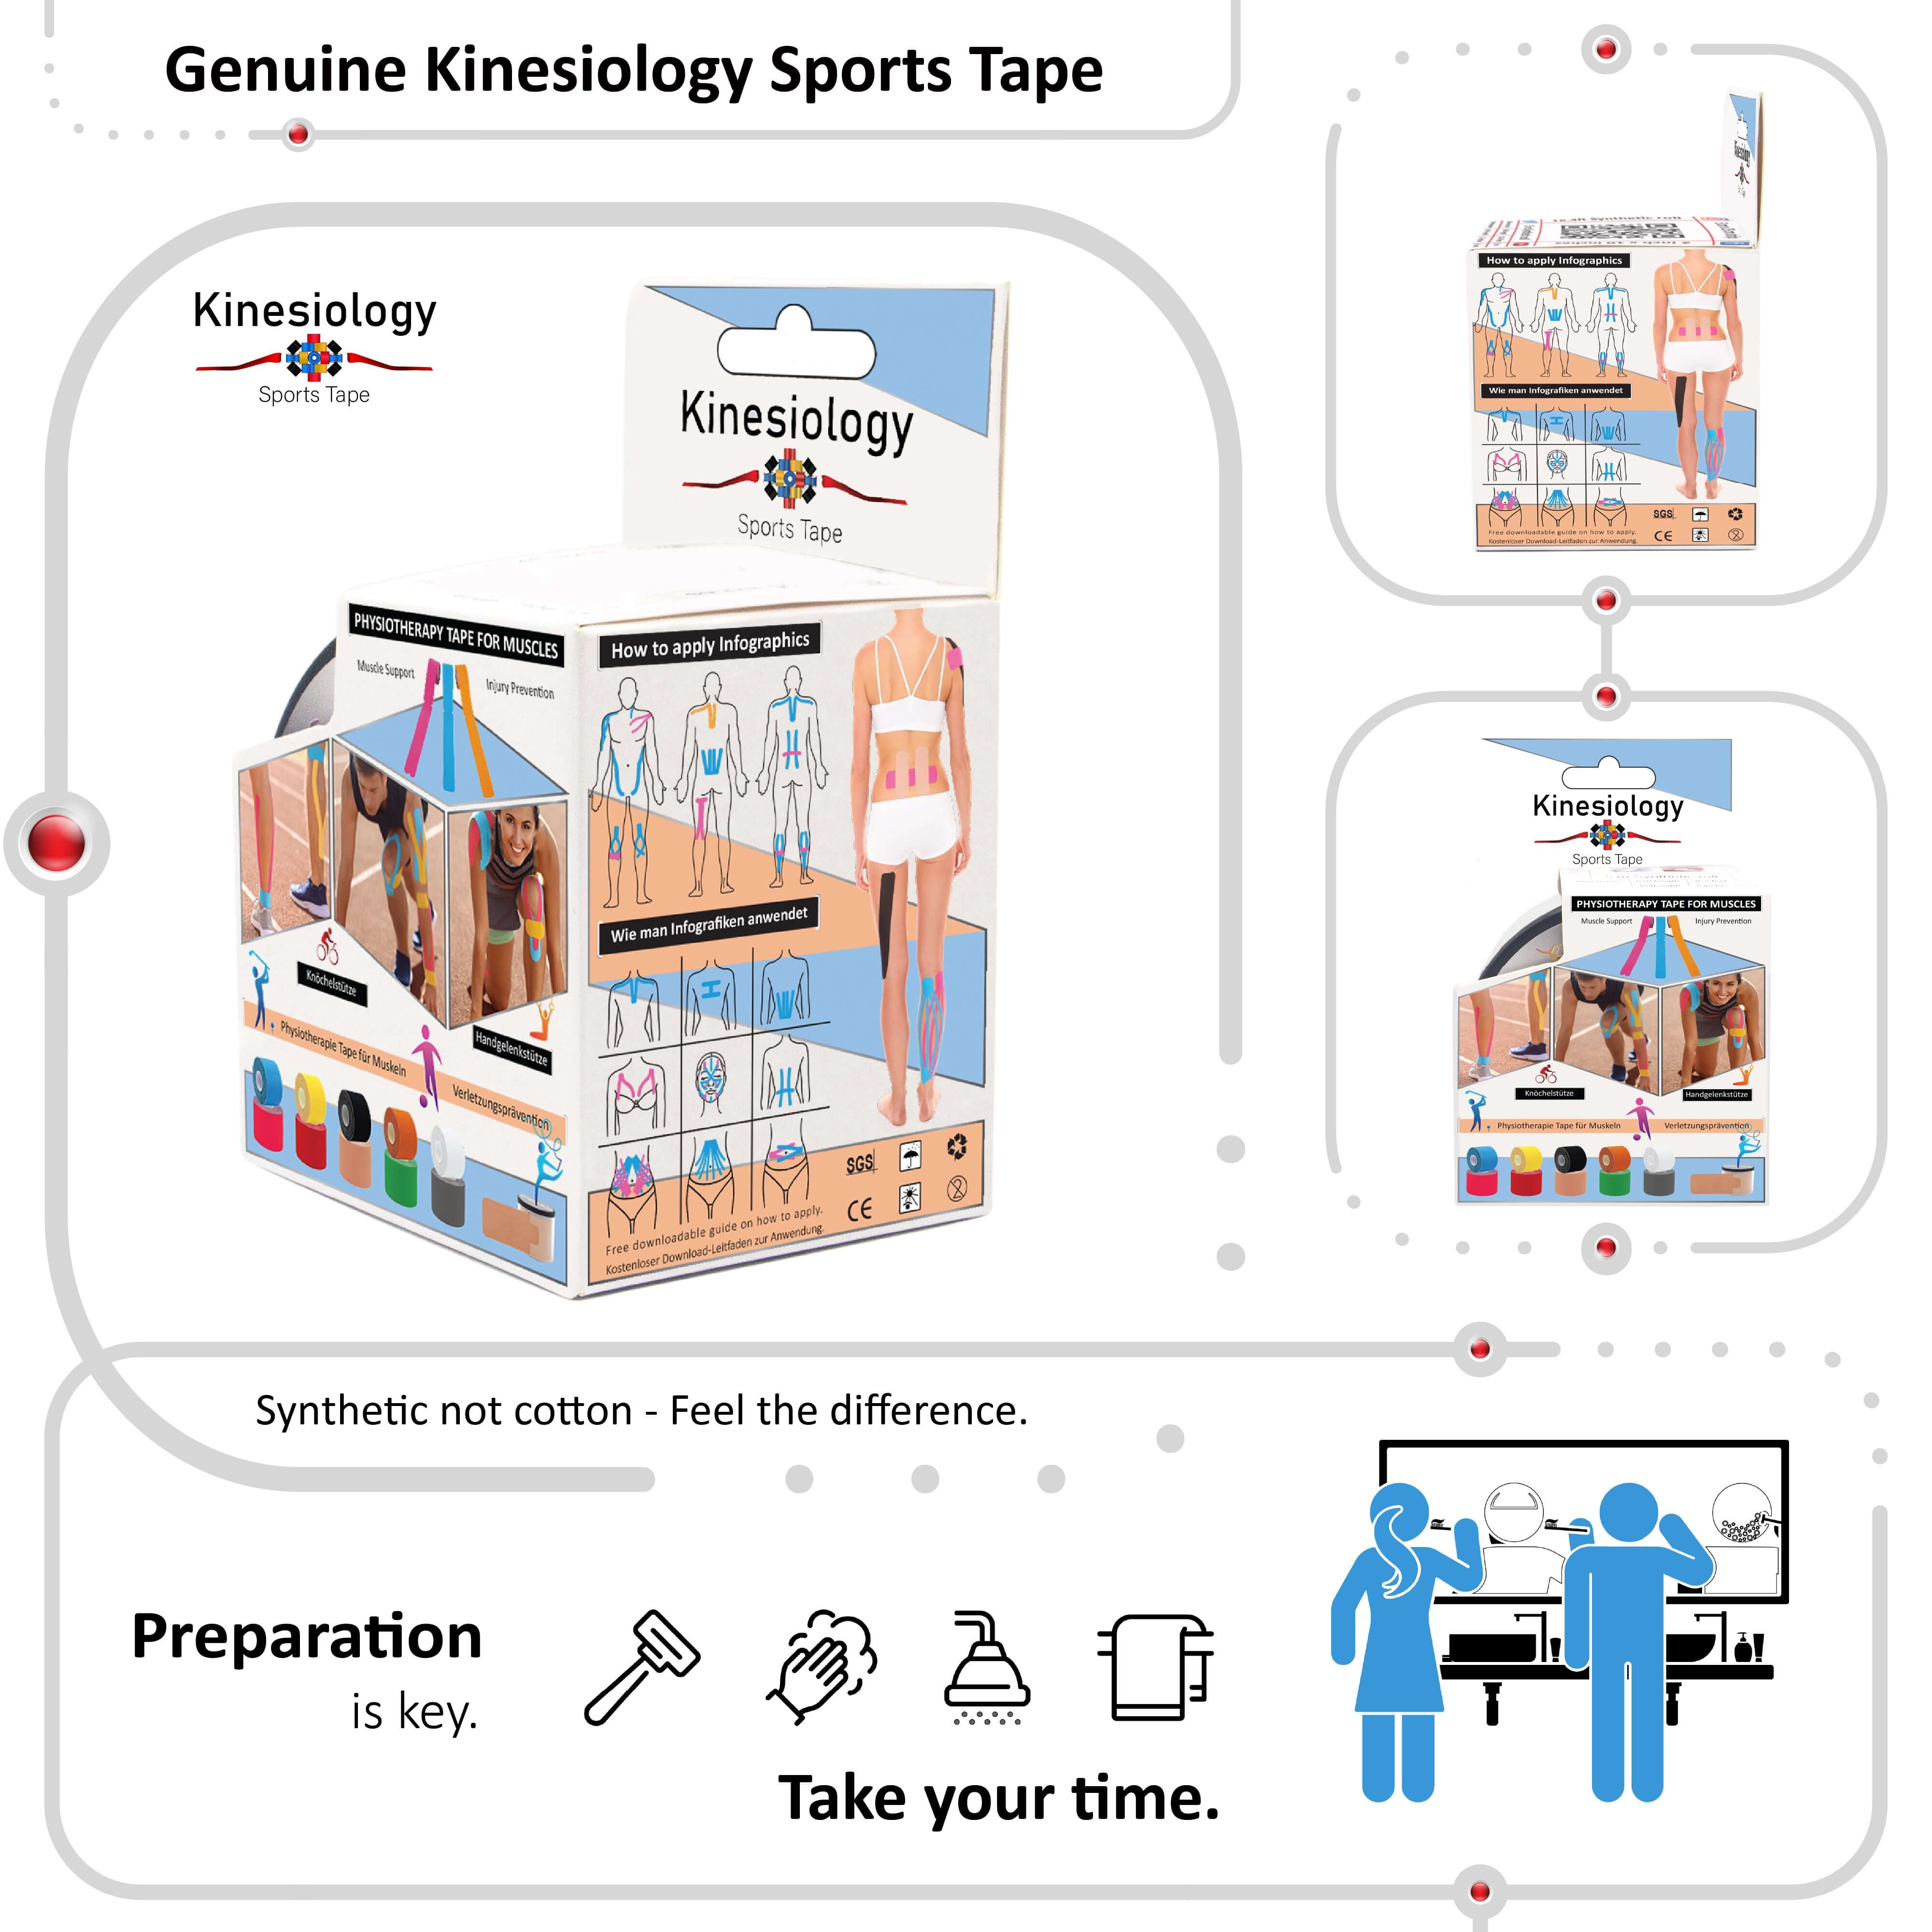
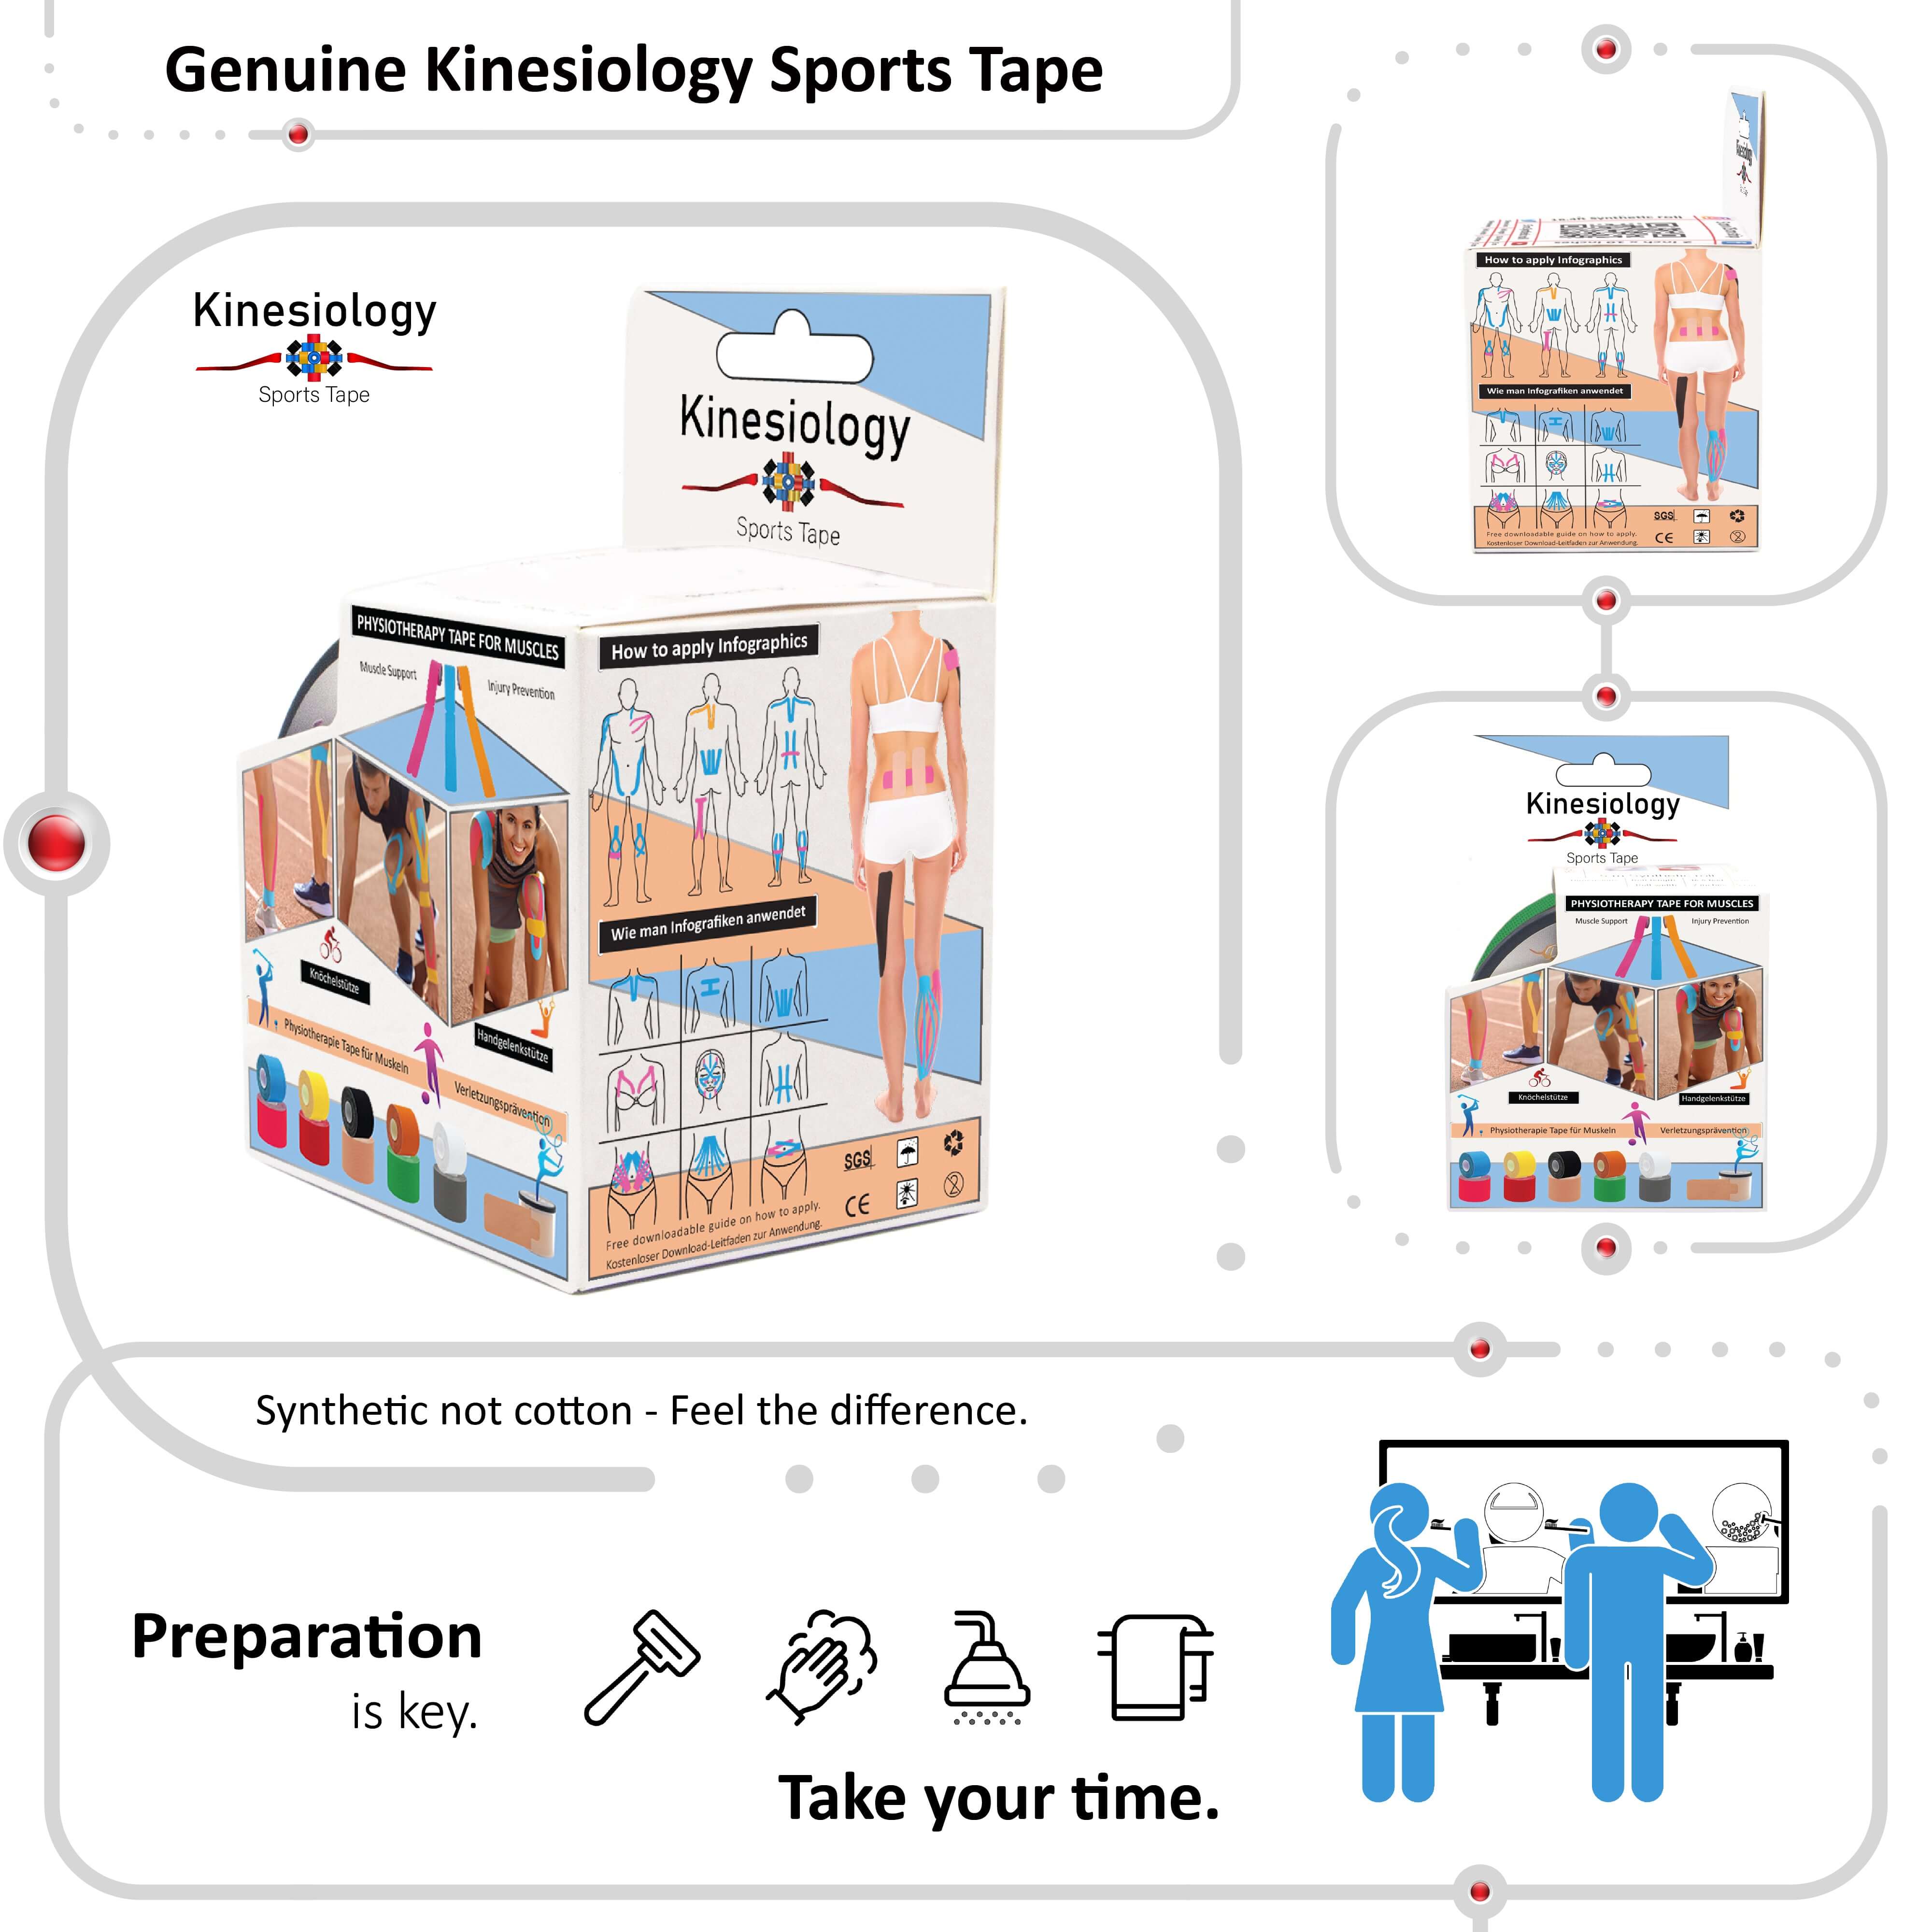
Step 1: Preparation
Start by cleaning the skin around your knee with mild soap and water to remove any dirt, oil, or sweat. Ensure the area is completely dry before proceeding with tape application. If you have hair on your knee, consider shaving the area to ensure better adhesion and comfort during wear.
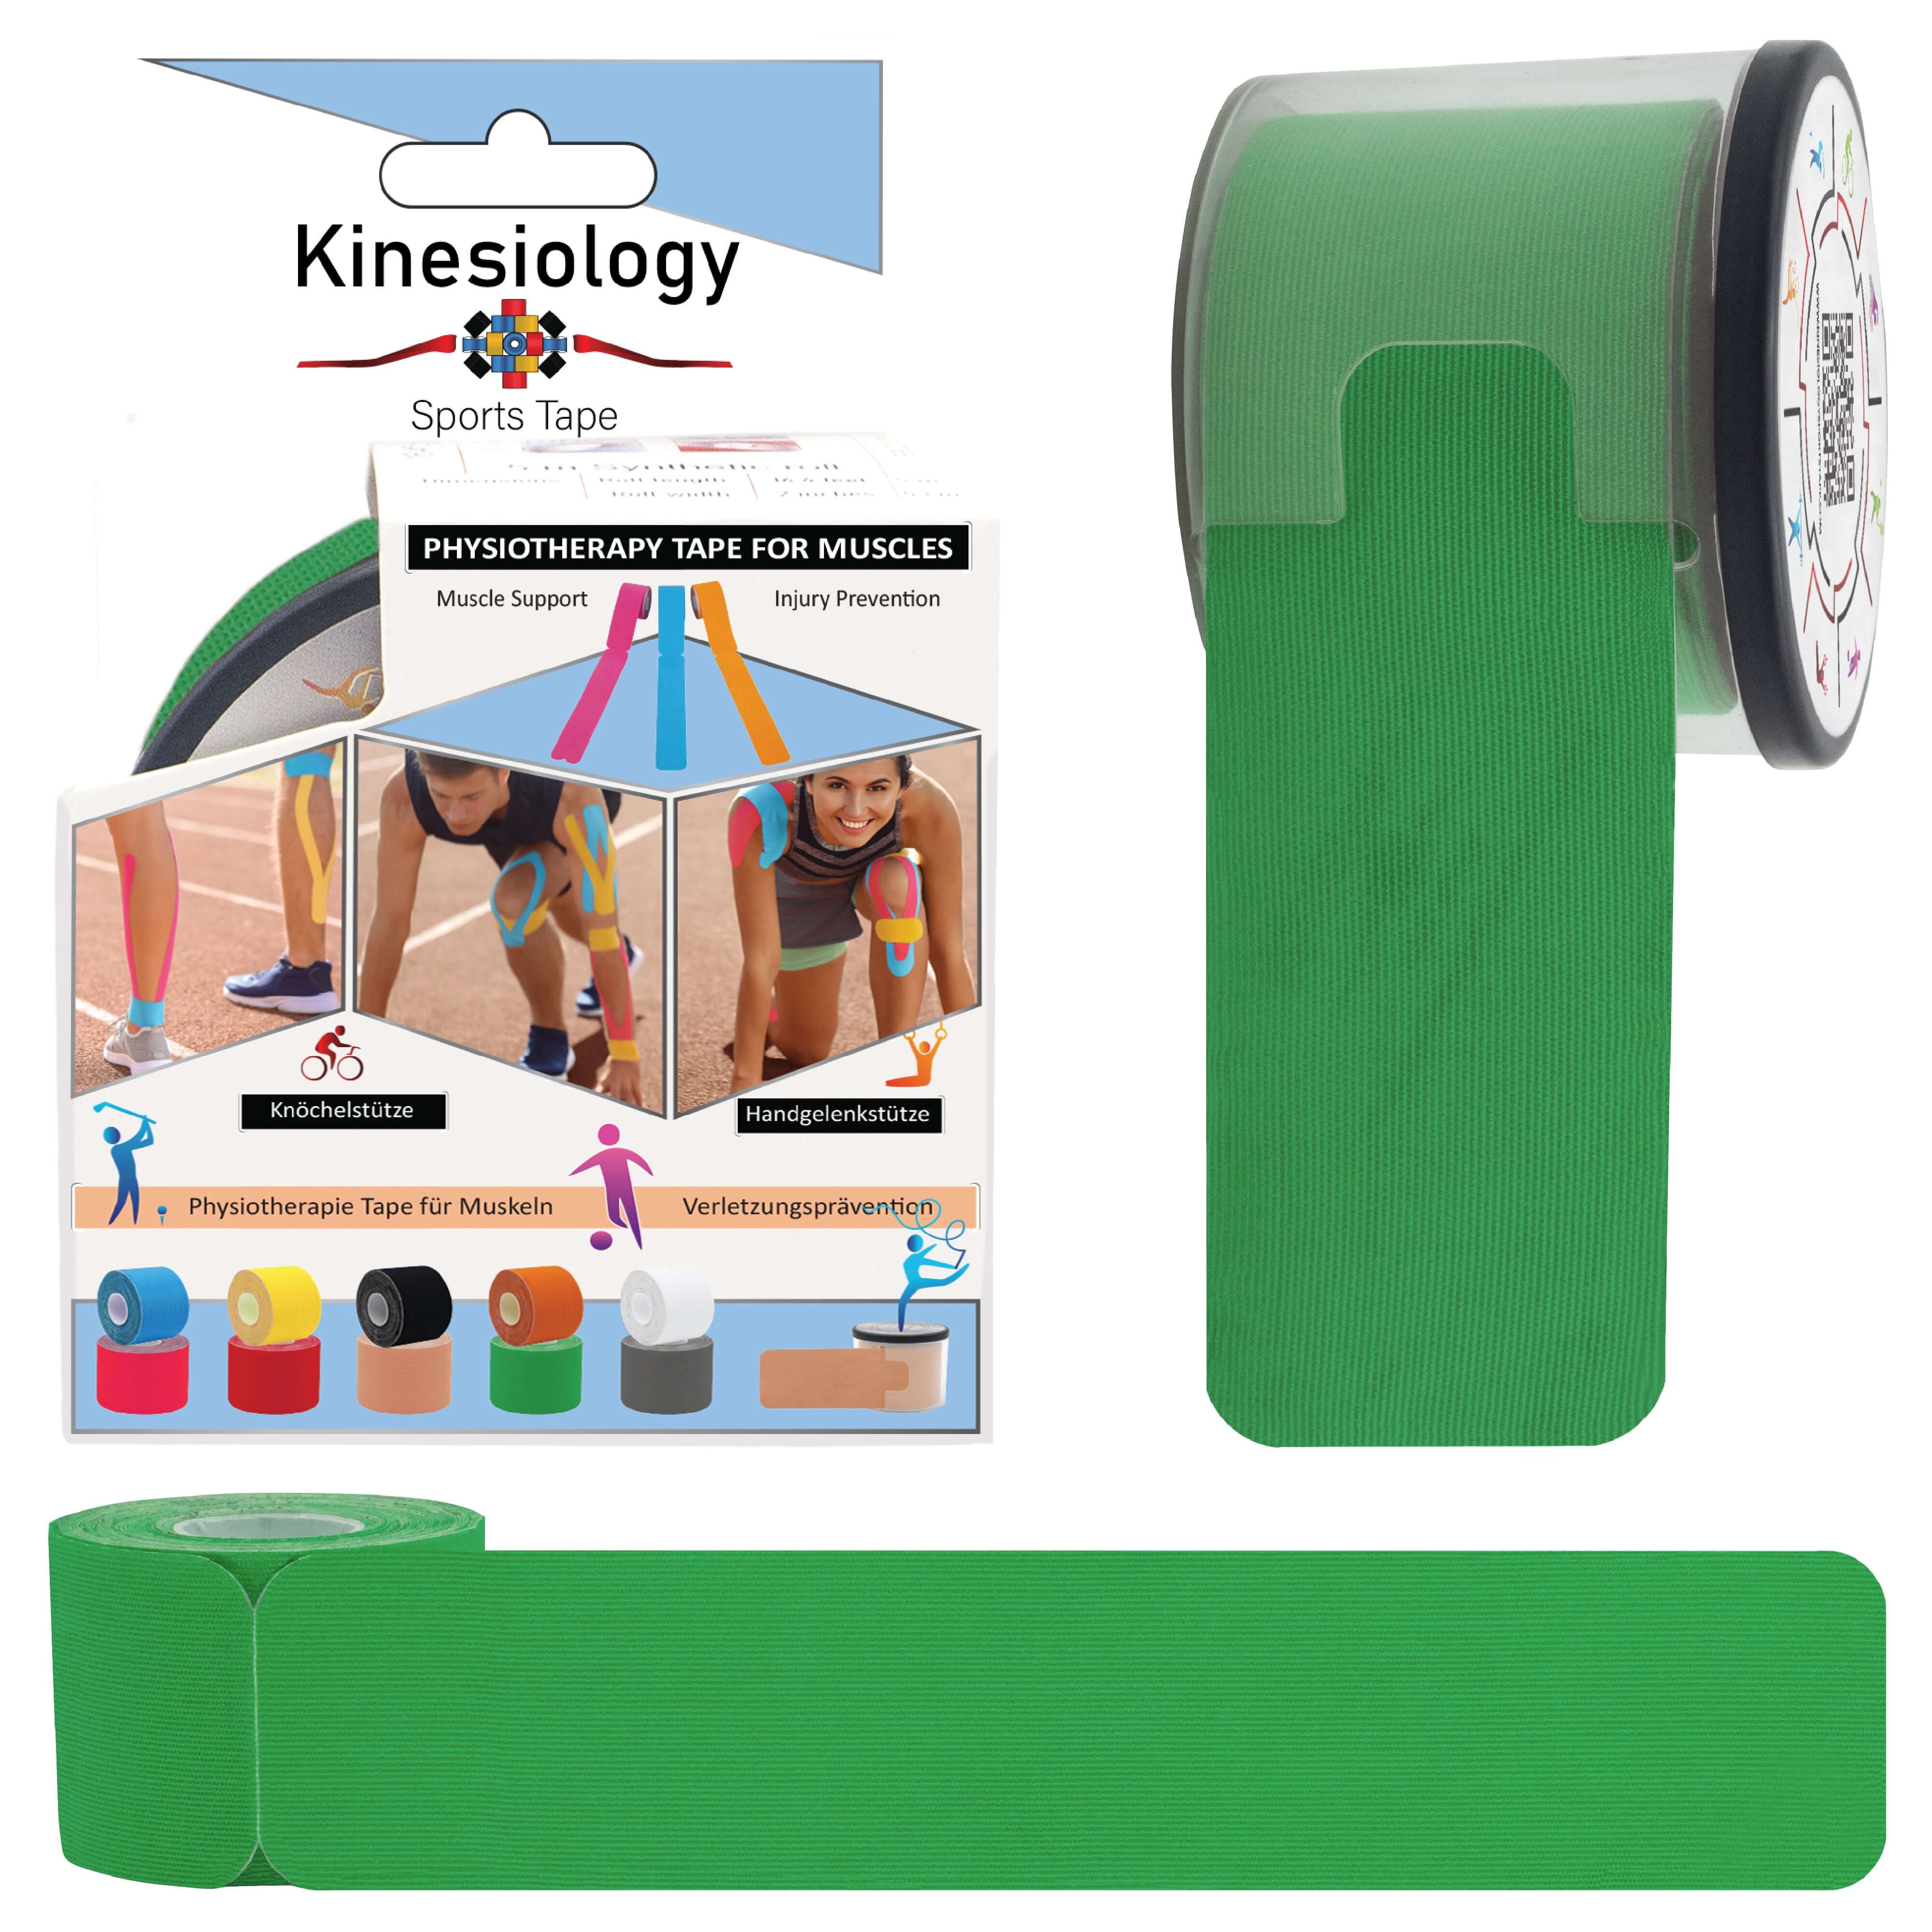
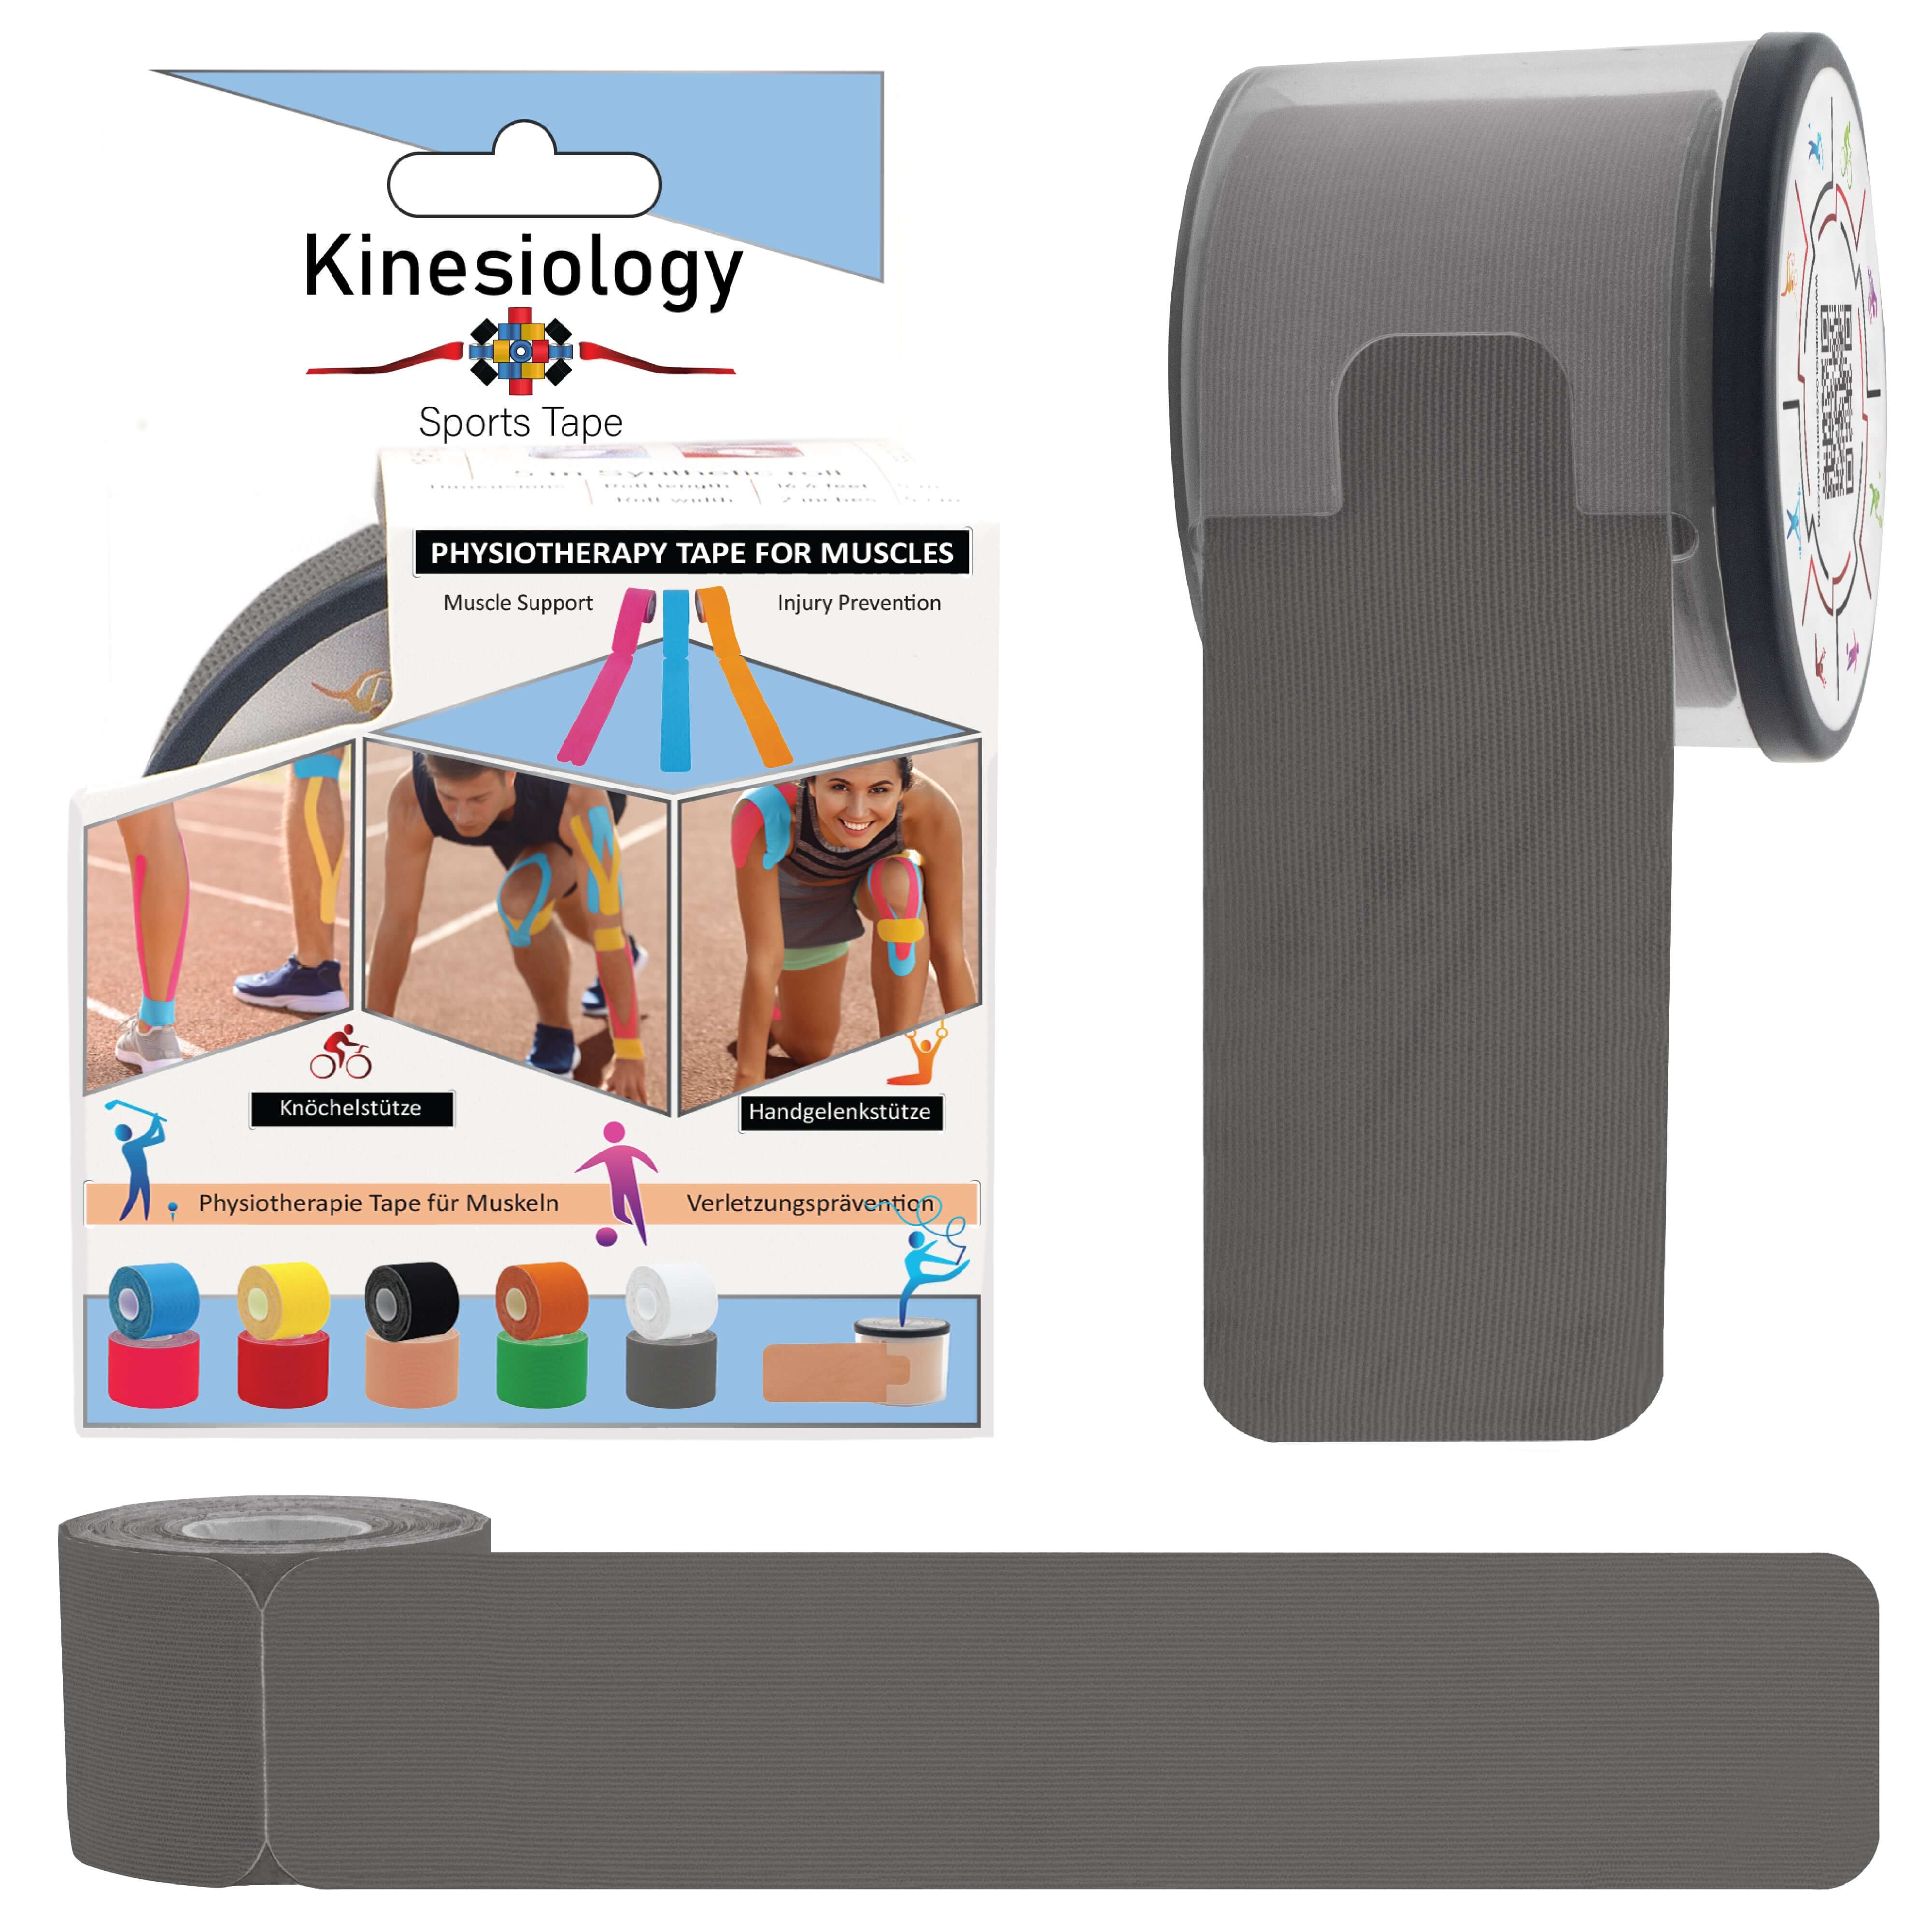
Step 2: Cutting the Tape
Measure and cut the kinesiology tape to the desired length for application on your knee. Typically, you'll need several strips of tape to cover different parts of the knee joint. Cut the tape into strips, rounding the edges to prevent premature peeling and ensure a comfortable fit around the contours of your knee.
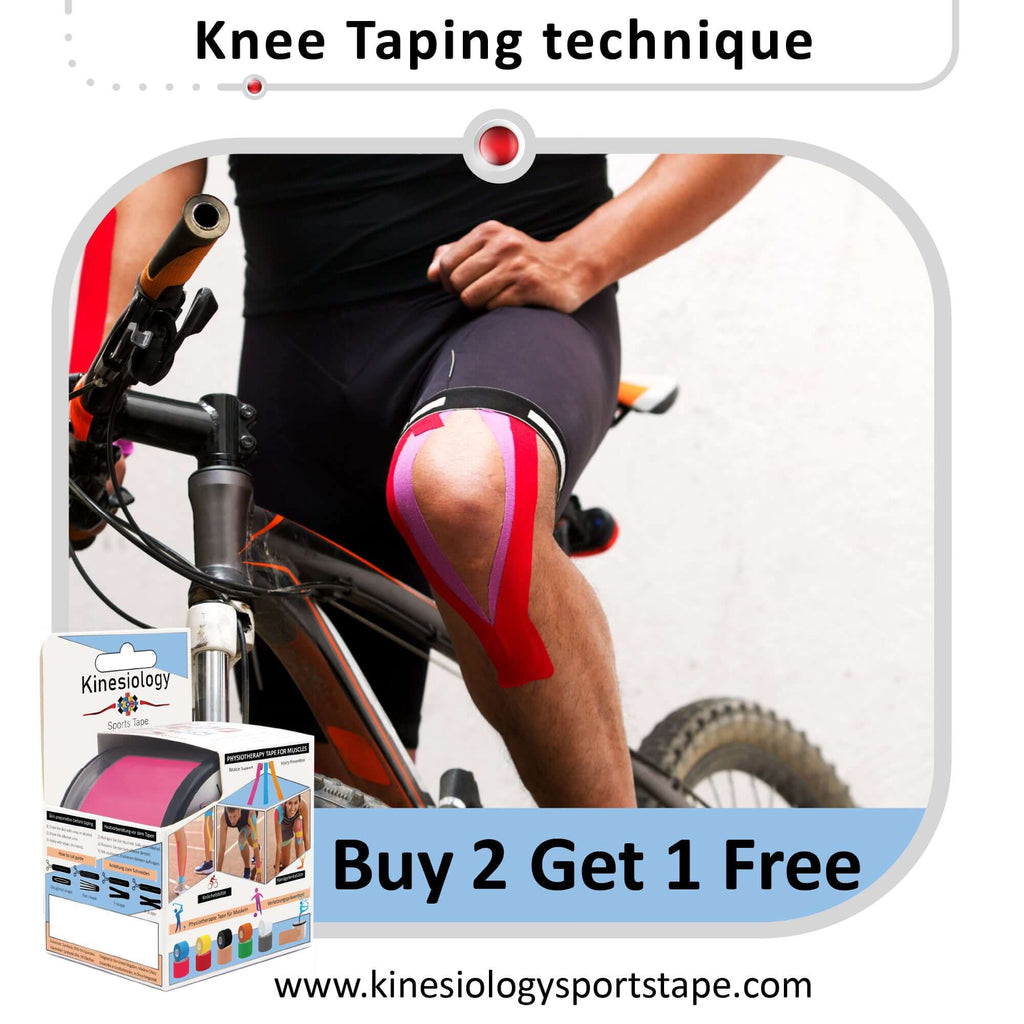
Step 3: Applying the Tape
Start by placing one end of the tape just above the kneecap and gently stretch it as you apply it around the circumference of the knee joint. You can apply the tape in various patterns, such as a "Y" shape or an "X" shape, depending on your specific needs and the area of the knee you want to support. Ensure the tape is applied with even pressure and without wrinkles or folds.
Step 4: Providing Support
Focus on areas of the knee that may need extra support, such as the patellar tendon or the sides of the knee joint. Use additional strips of tape to reinforce these areas, applying them with gentle tension to provide support and stability during movement. Avoid applying too much tension, as this may restrict blood flow and cause discomfort.
Step 5: Activating the Adhesive
Once the tape is applied, rub or apply gentle pressure to activate the adhesive and ensure proper bonding with the skin. This step helps secure the tape in place and prevents it from peeling off during physical activity or movement. You can also use a small amount of warmth, such as rubbing the tape between your hands, to enhance adhesion.
Step 6: Checking for Comfort and Range of Motion
After applying the tape, check for any signs of discomfort or restriction in range of motion. Your knee should feel supported and stable, allowing for natural movement without causing irritation or discomfort. If you experience any discomfort, adjust the tension or reapply the tape to achieve the desired level of support and comfort.
Using kinesiology tape on your knee can provide valuable support, stability, and pain relief for various injuries and conditions. By following these steps and paying attention to proper application techniques, you can effectively harness the benefits of kinesiology tape to support your knee and promote healing. Whether you're recovering from an injury or looking to prevent knee pain during physical activity, kinesiology tape offers a versatile and non-invasive solution for knee support and pain relief.
Step 1: Preparation
Start by cleaning the skin around your knee with mild soap and water to remove any dirt, oil, or sweat. Ensure the area is completely dry before proceeding with tape application. If you have hair on your knee, consider shaving the area to ensure better adhesion and comfort during wear.
Step 2: Cutting the Tape
Measure and cut the kinesiology tape to the desired length for application on your knee. Typically, you'll need several strips of tape to cover different parts of the knee joint. Cut the tape into strips, rounding the edges to prevent premature peeling and ensure a comfortable fit around the contours of your knee.
Step 3: Applying the Tape
Start by placing one end of the tape just above the kneecap and gently stretch it as you apply it around the circumference of the knee joint. You can apply the tape in various patterns, such as a "Y" shape or an "X" shape, depending on your specific needs and the area of the knee you want to support. Ensure the tape is applied with even pressure and without wrinkles or folds.
Step 4: Providing Support
Focus on areas of the knee that may need extra support, such as the patellar tendon or the sides of the knee joint. Use additional strips of tape to reinforce these areas, applying them with gentle tension to provide support and stability during movement. Avoid applying too much tension, as this may restrict blood flow and cause discomfort.
Step 5: Activating the Adhesive
Once the tape is applied, rub or apply gentle pressure to activate the adhesive and ensure proper bonding with the skin. This step helps secure the tape in place and prevents it from peeling off during physical activity or movement. You can also use a small amount of warmth, such as rubbing the tape between your hands, to enhance adhesion.
Step 6: Checking for Comfort and Range of Motion
After applying the tape, check for any signs of discomfort or restriction in range of motion. Your knee should feel supported and stable, allowing for natural movement without causing irritation or discomfort. If you experience any discomfort, adjust the tension or reapply the tape to achieve the desired level of support and comfort.
Using kinesiology tape on your knee can provide valuable support, stability, and pain relief for various injuries and conditions. By following these steps and paying attention to proper application techniques, you can effectively harness the benefits of kinesiology tape to support your knee and promote healing. Whether you're recovering from an injury or looking to prevent knee pain during physical activity, kinesiology tape offers a versatile and non-invasive solution for knee support and pain relief.
Related post
22
Mar
21
Mar