RECENT POSTS


22.March.2026
Kinesiology Tape for Knee Pain: Complete Relief Guide for Athletes and Active Individual
0 Comments
21.March.2026
Kinesiology Tape for Knee Pain: Complete Relief Guide for Athletes and Active Individuals
0 CommentsHow to apply kinesiology tape
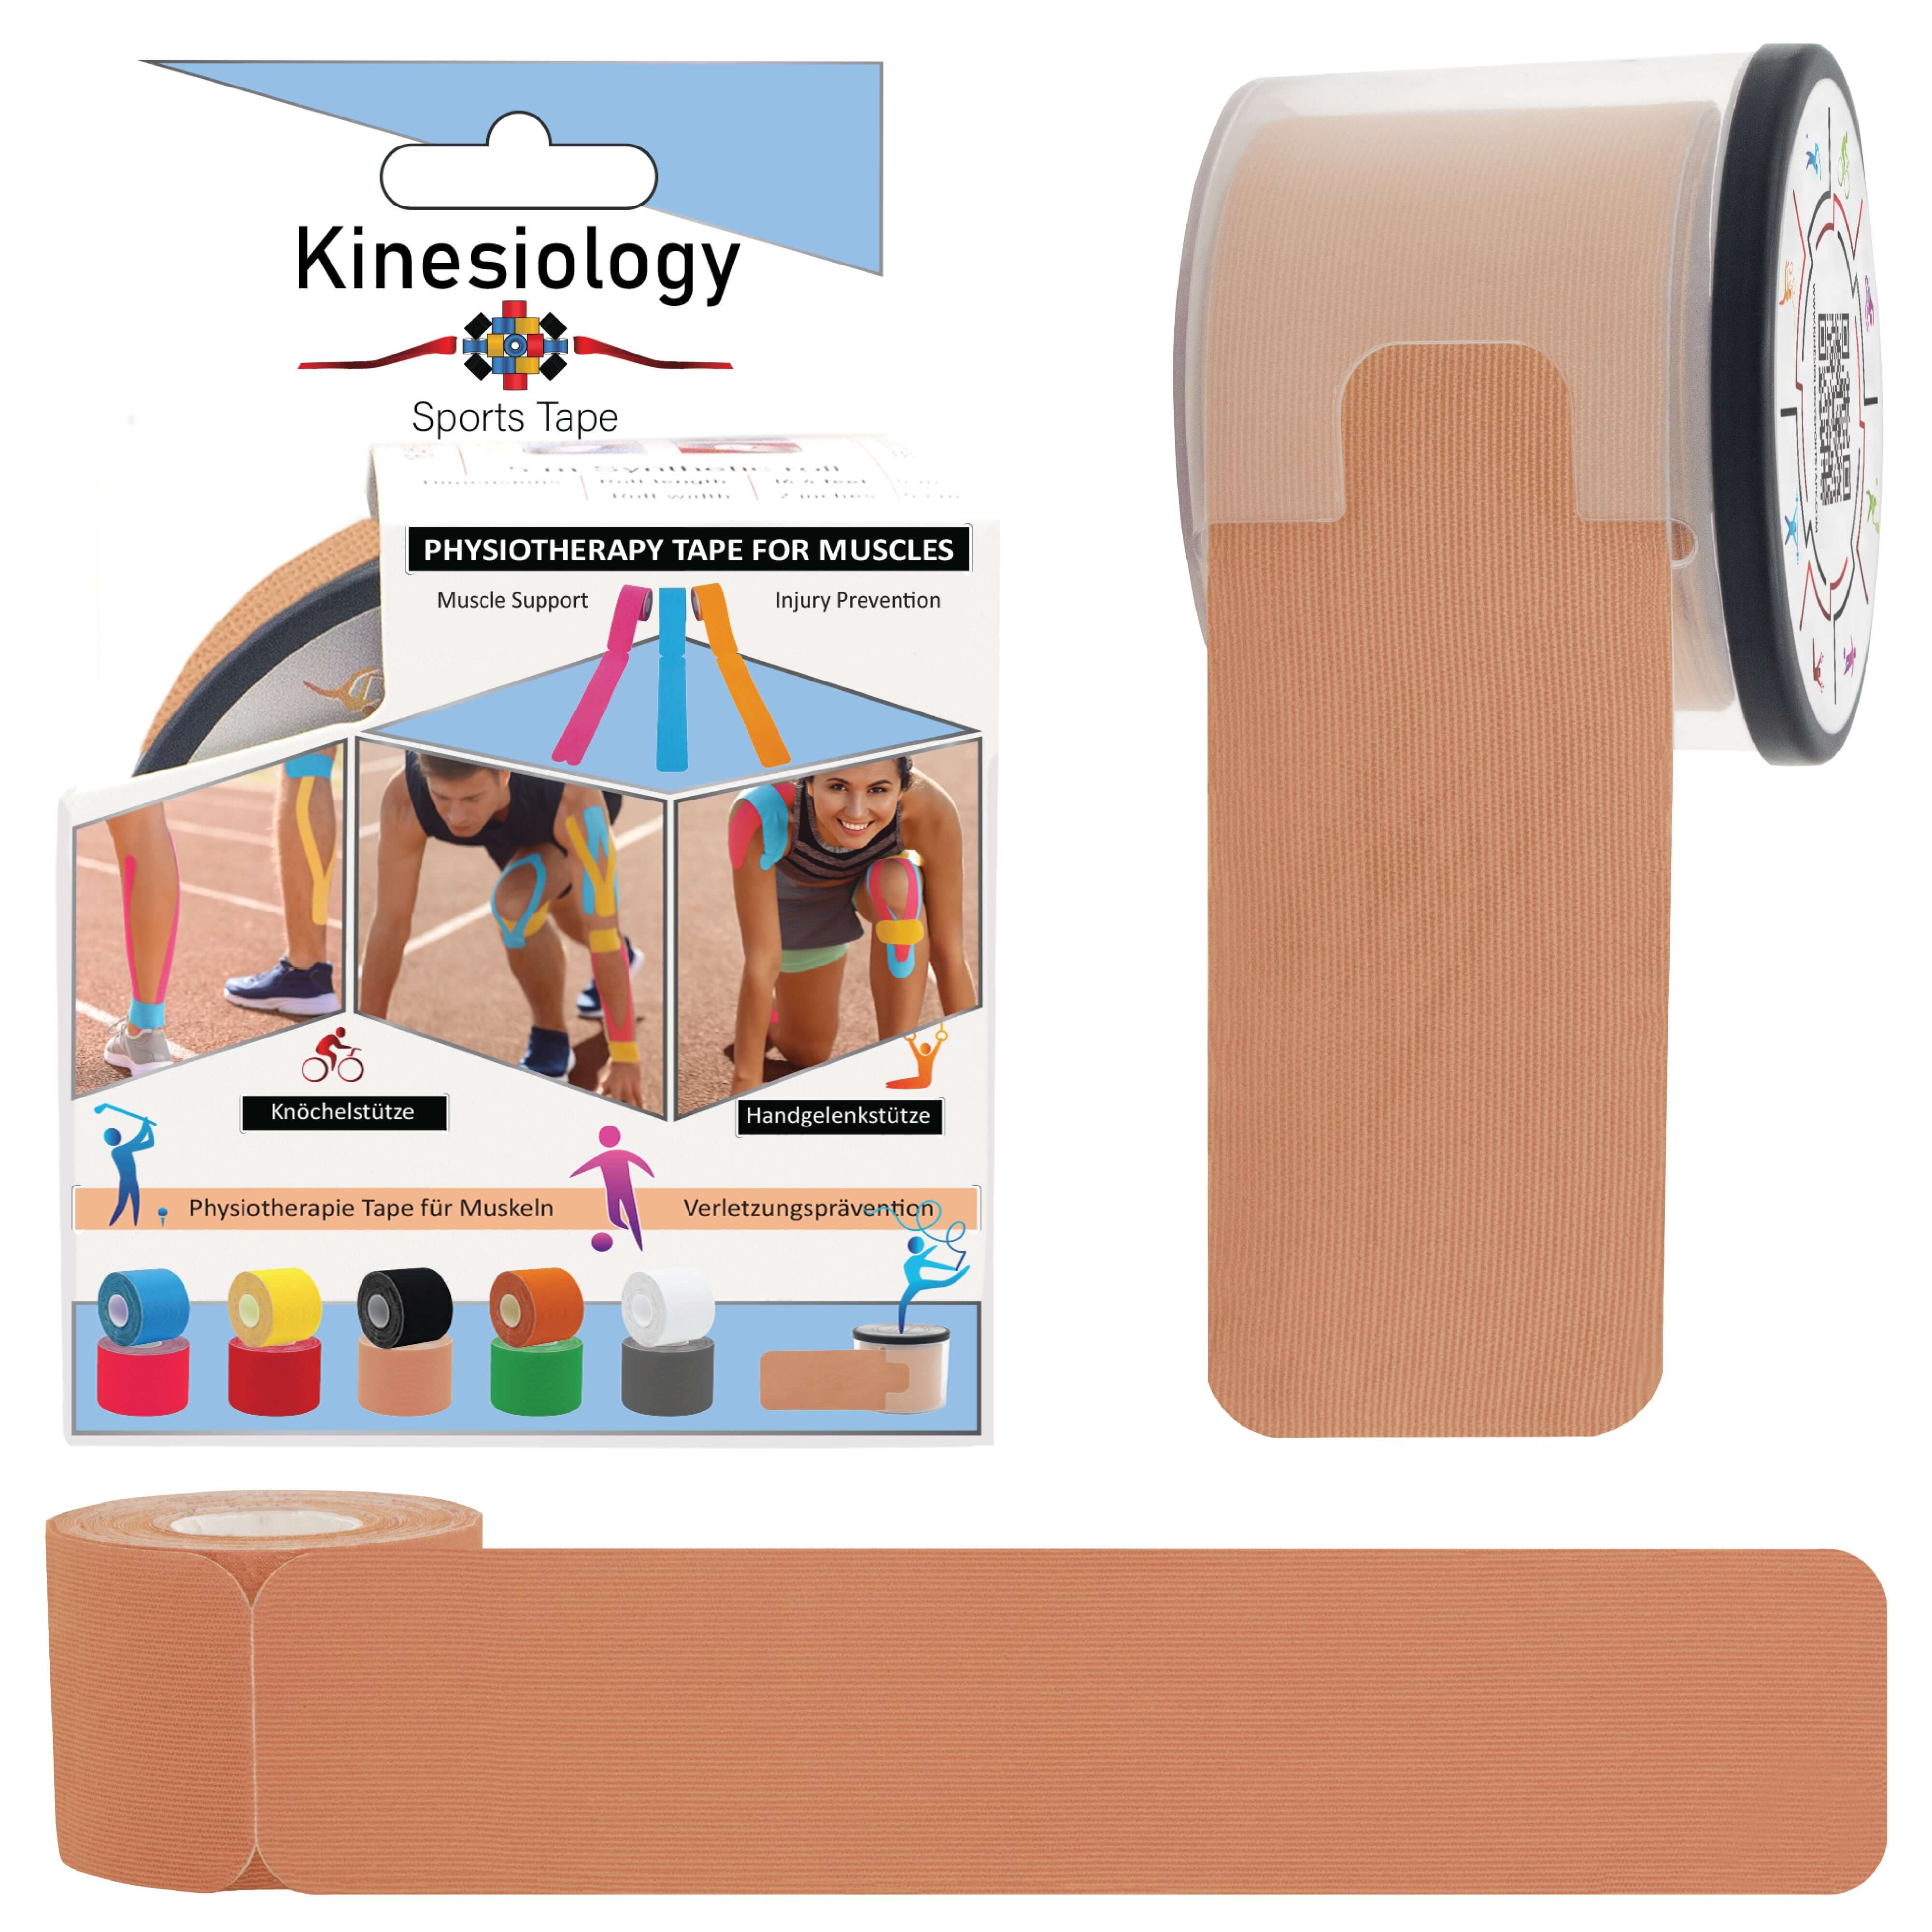
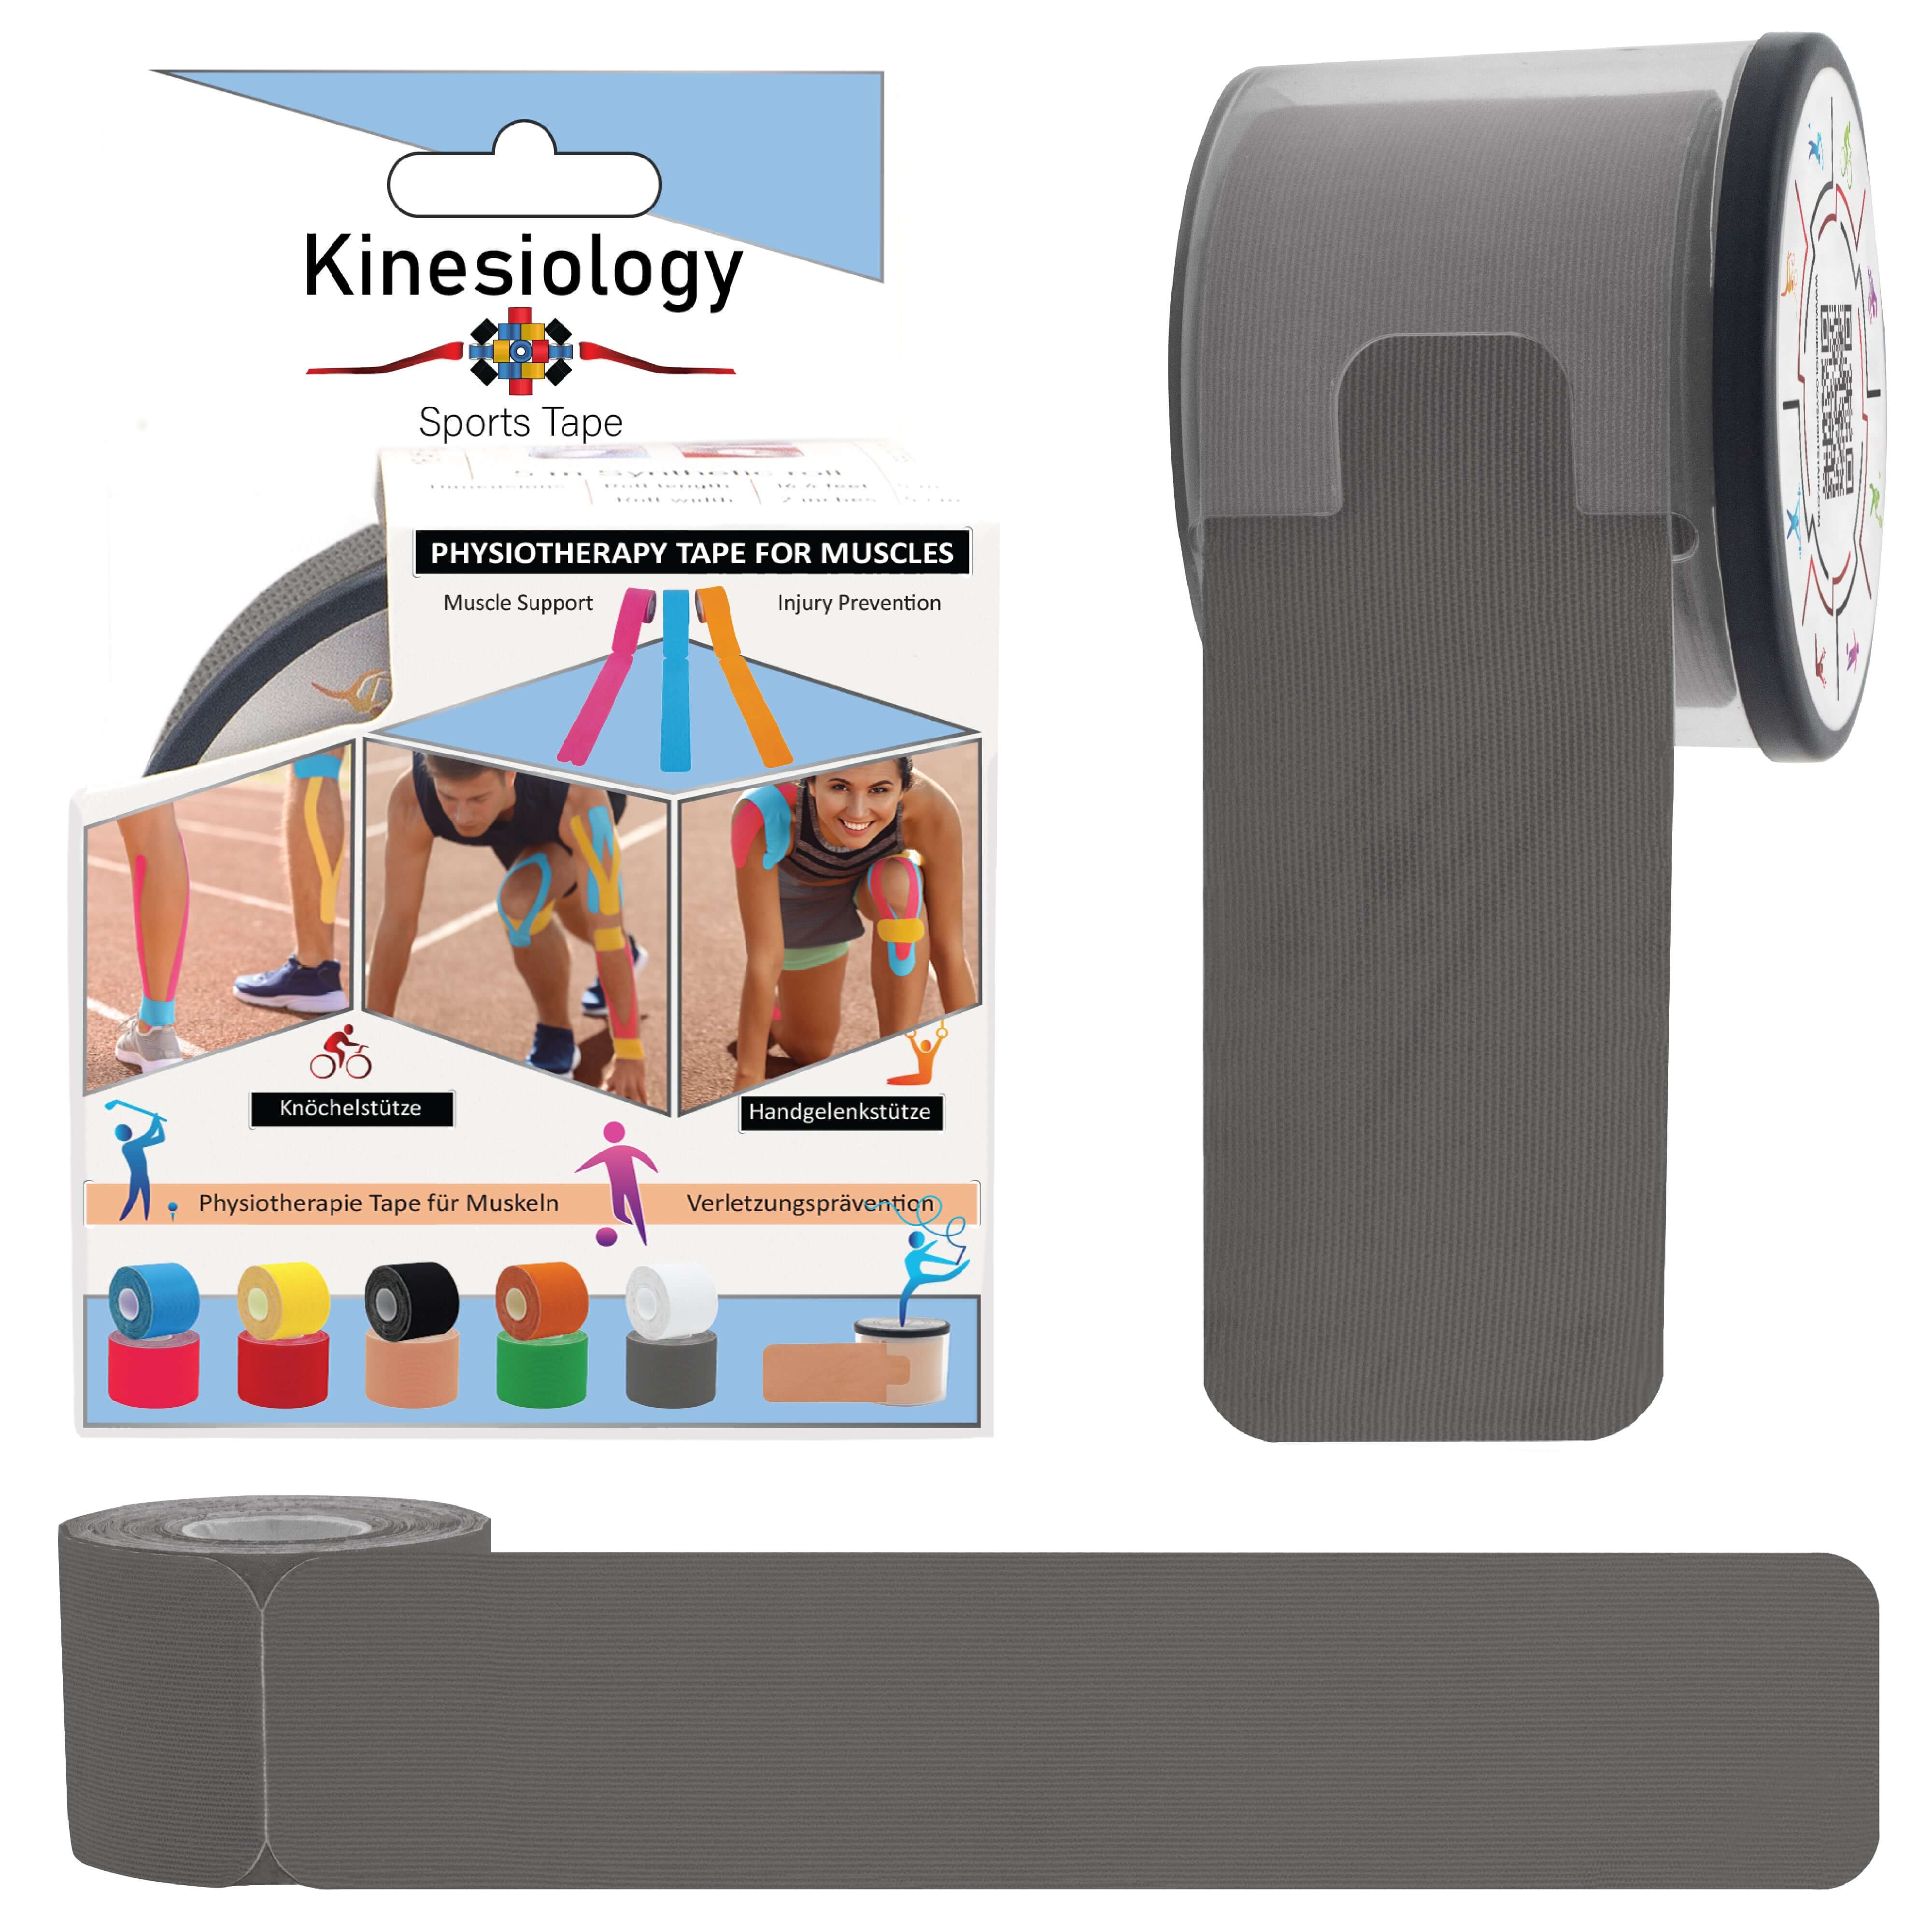
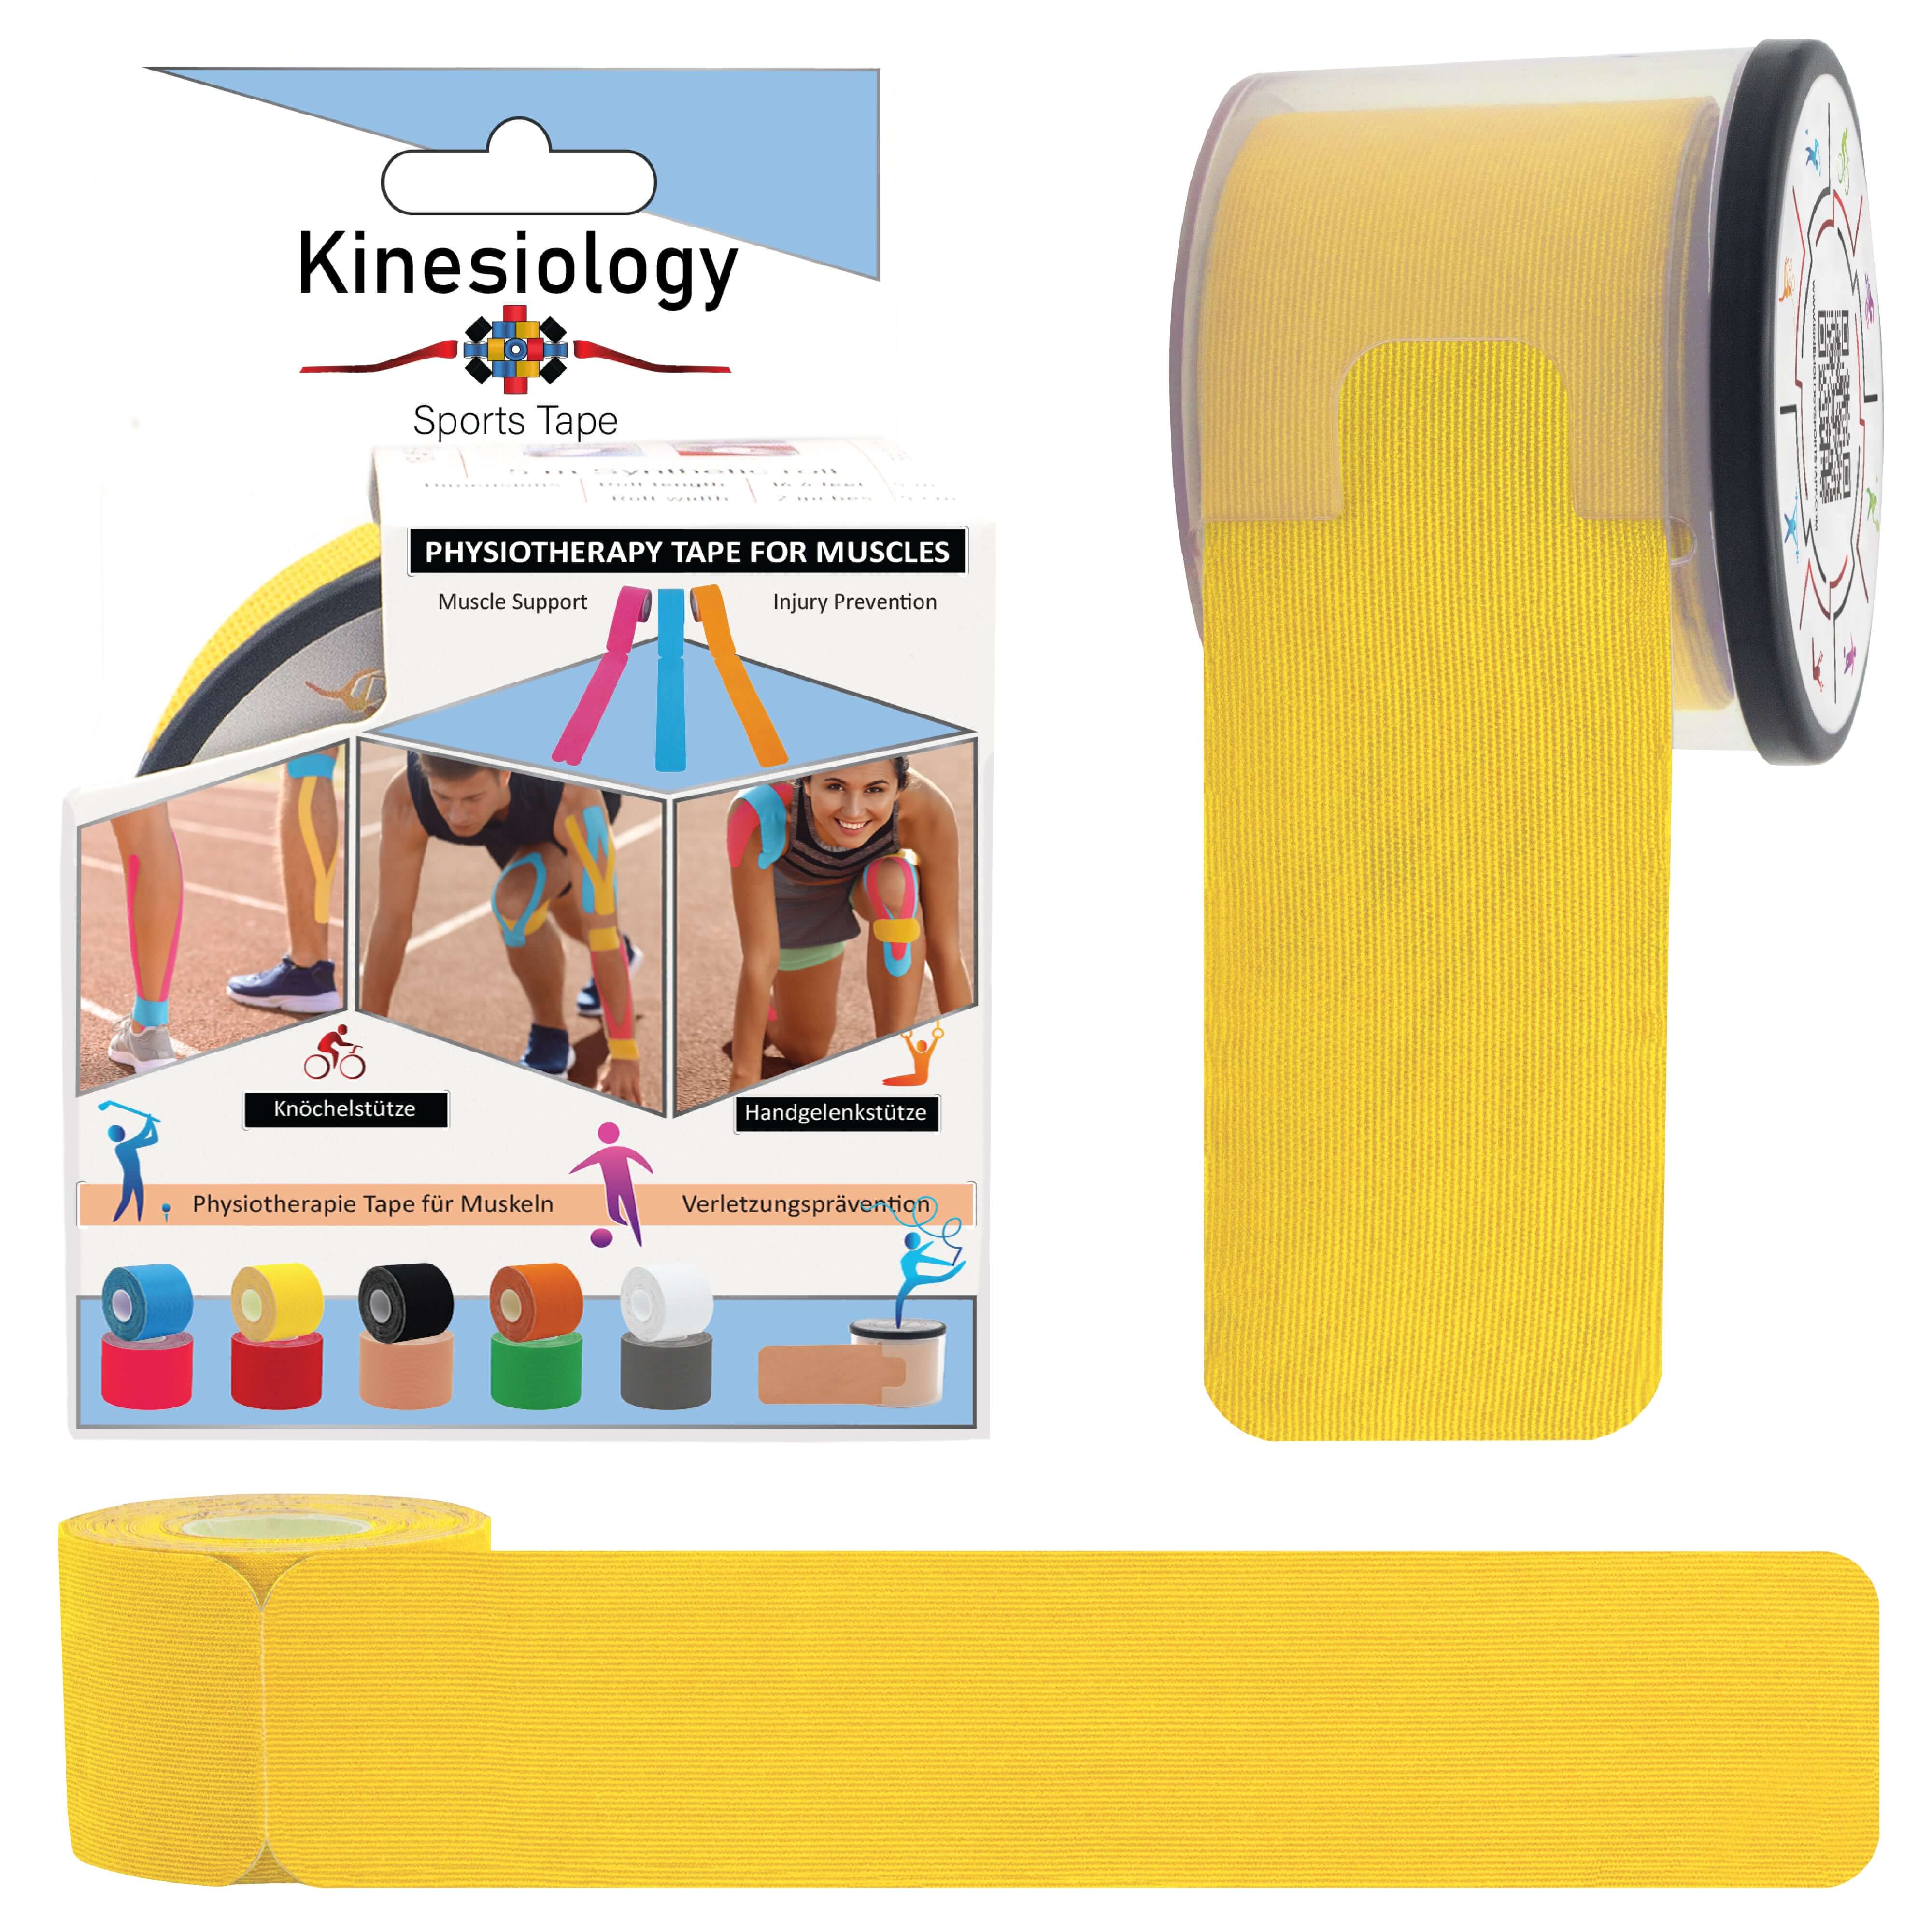
Kinesiology tape, with its vibrant colors and growing popularity, has become a tool for athletes and everyday people alike to manage pain, enhance performance, and support recovery. But unlocking the full potential of kinesiology tape hinges on proper application. This blog equips you with the knowledge and resources to become a kinesiology tape pro!
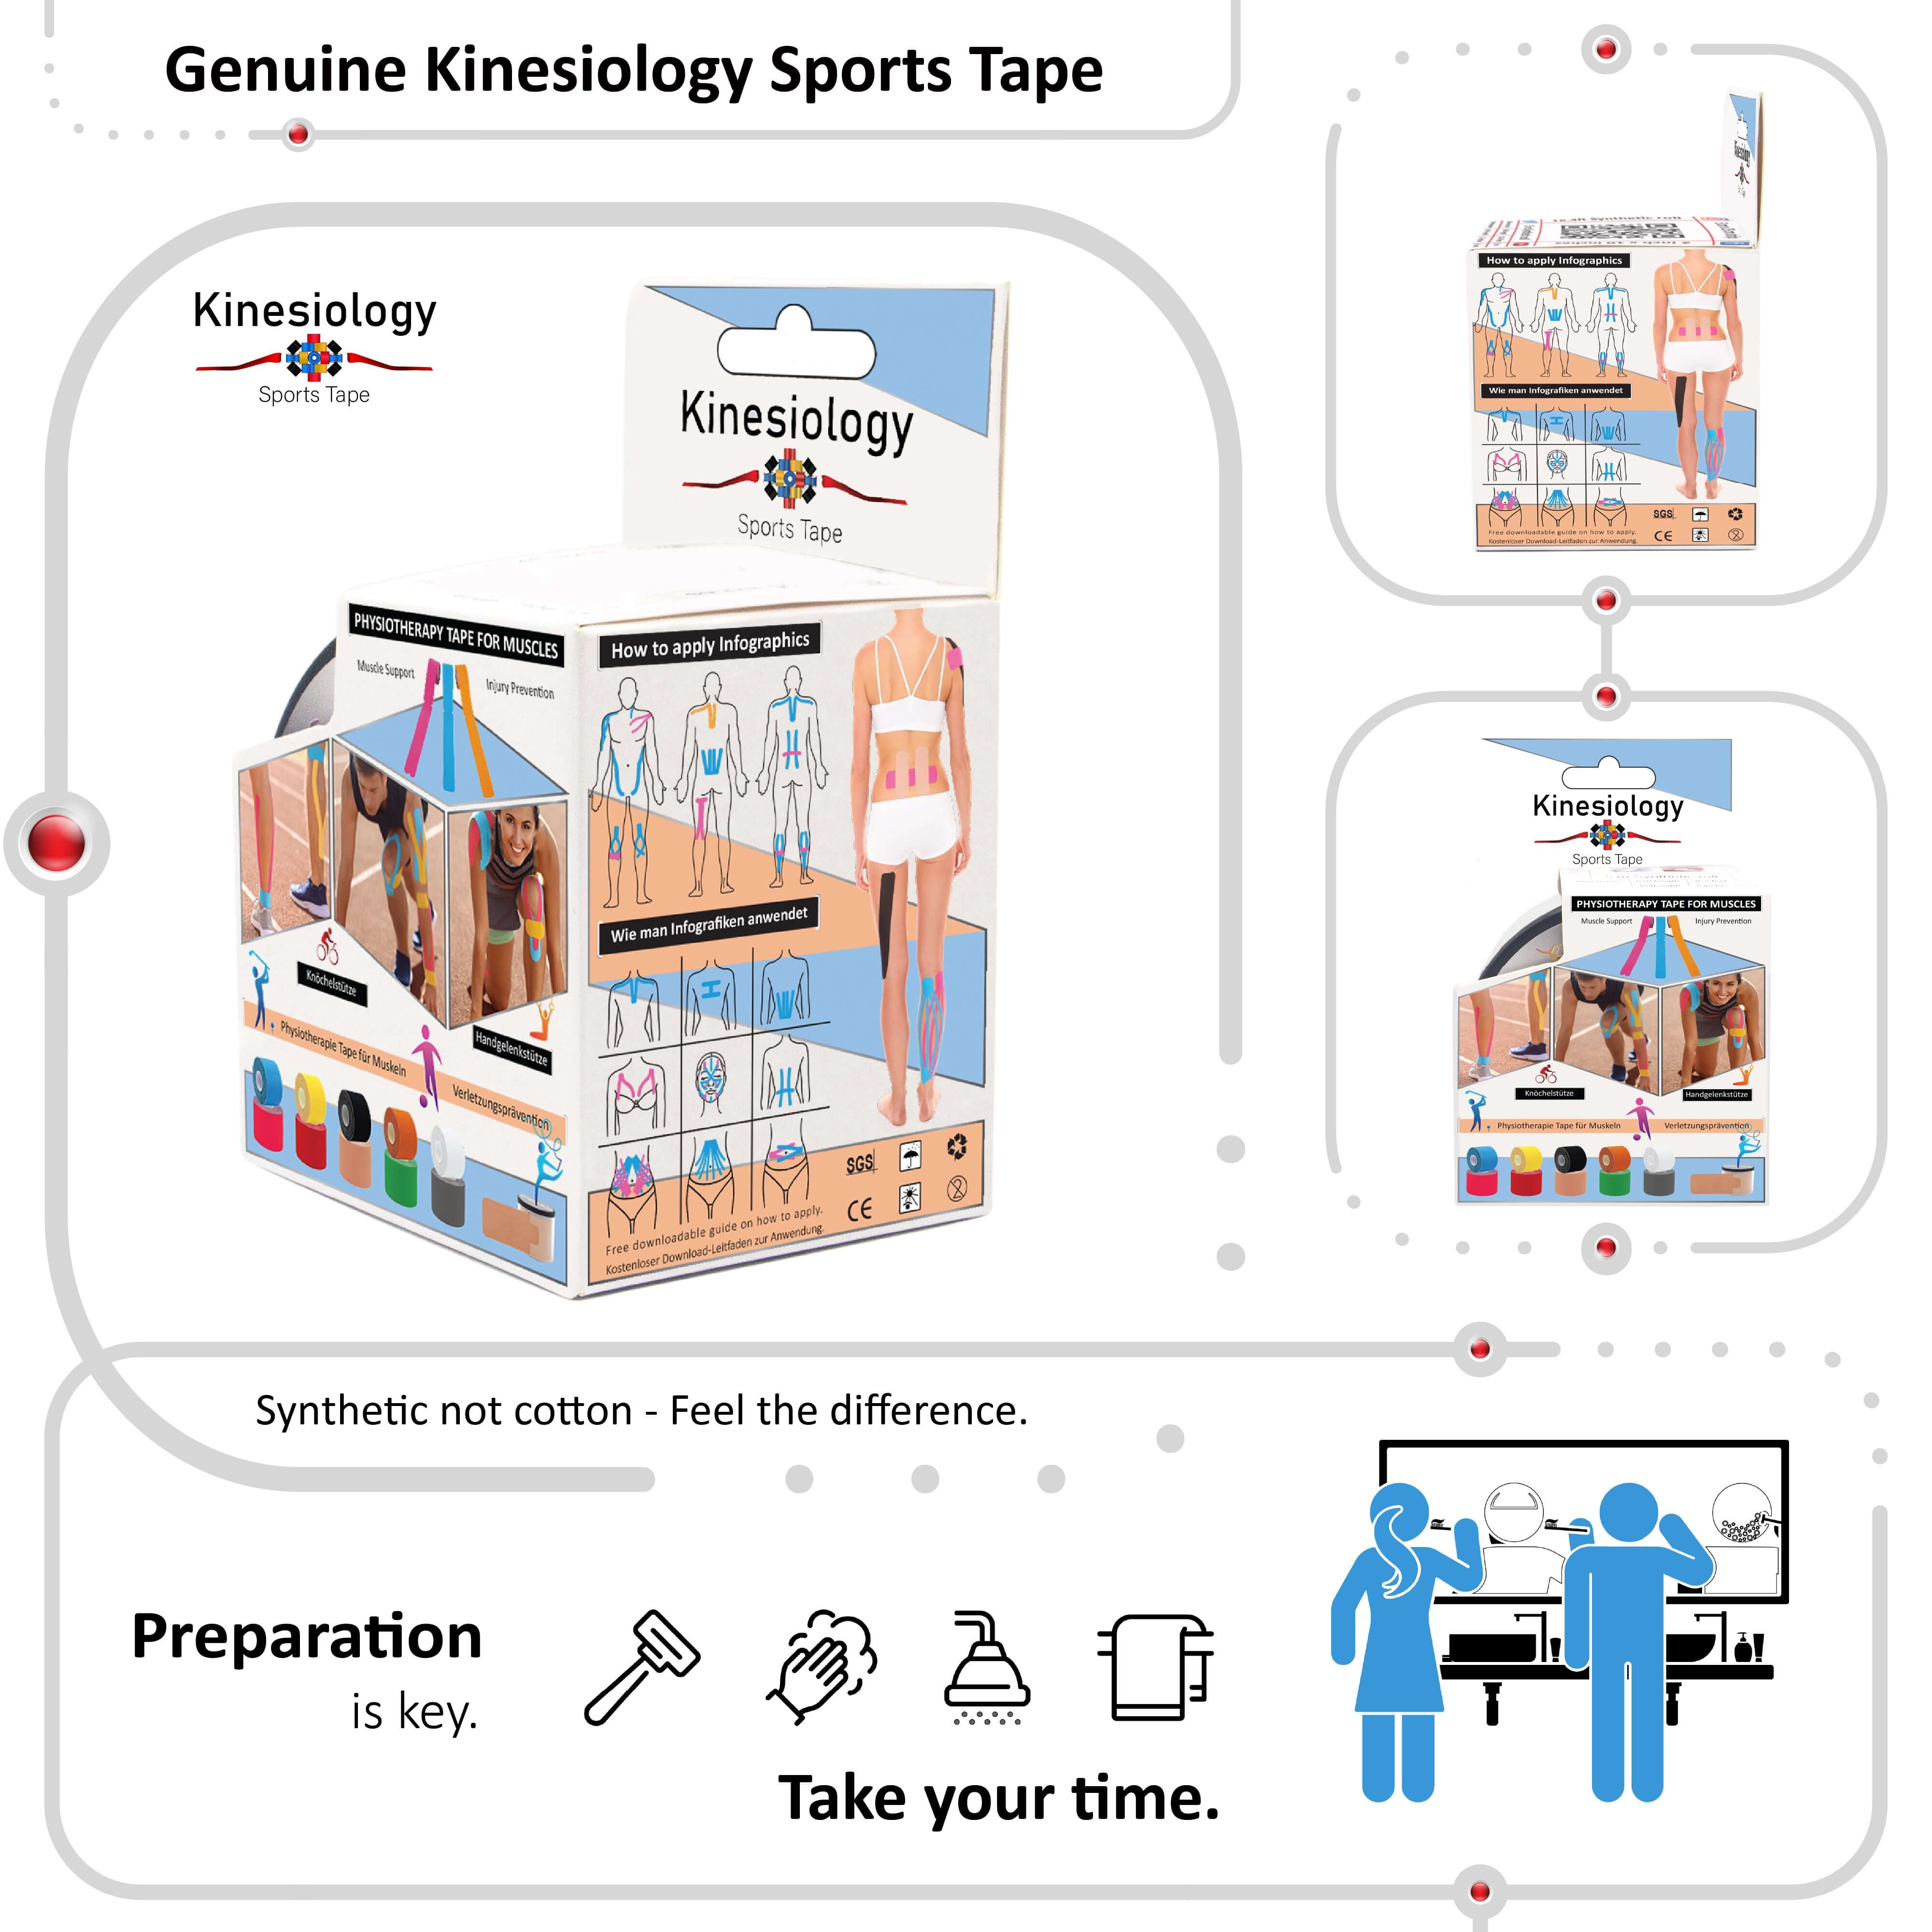
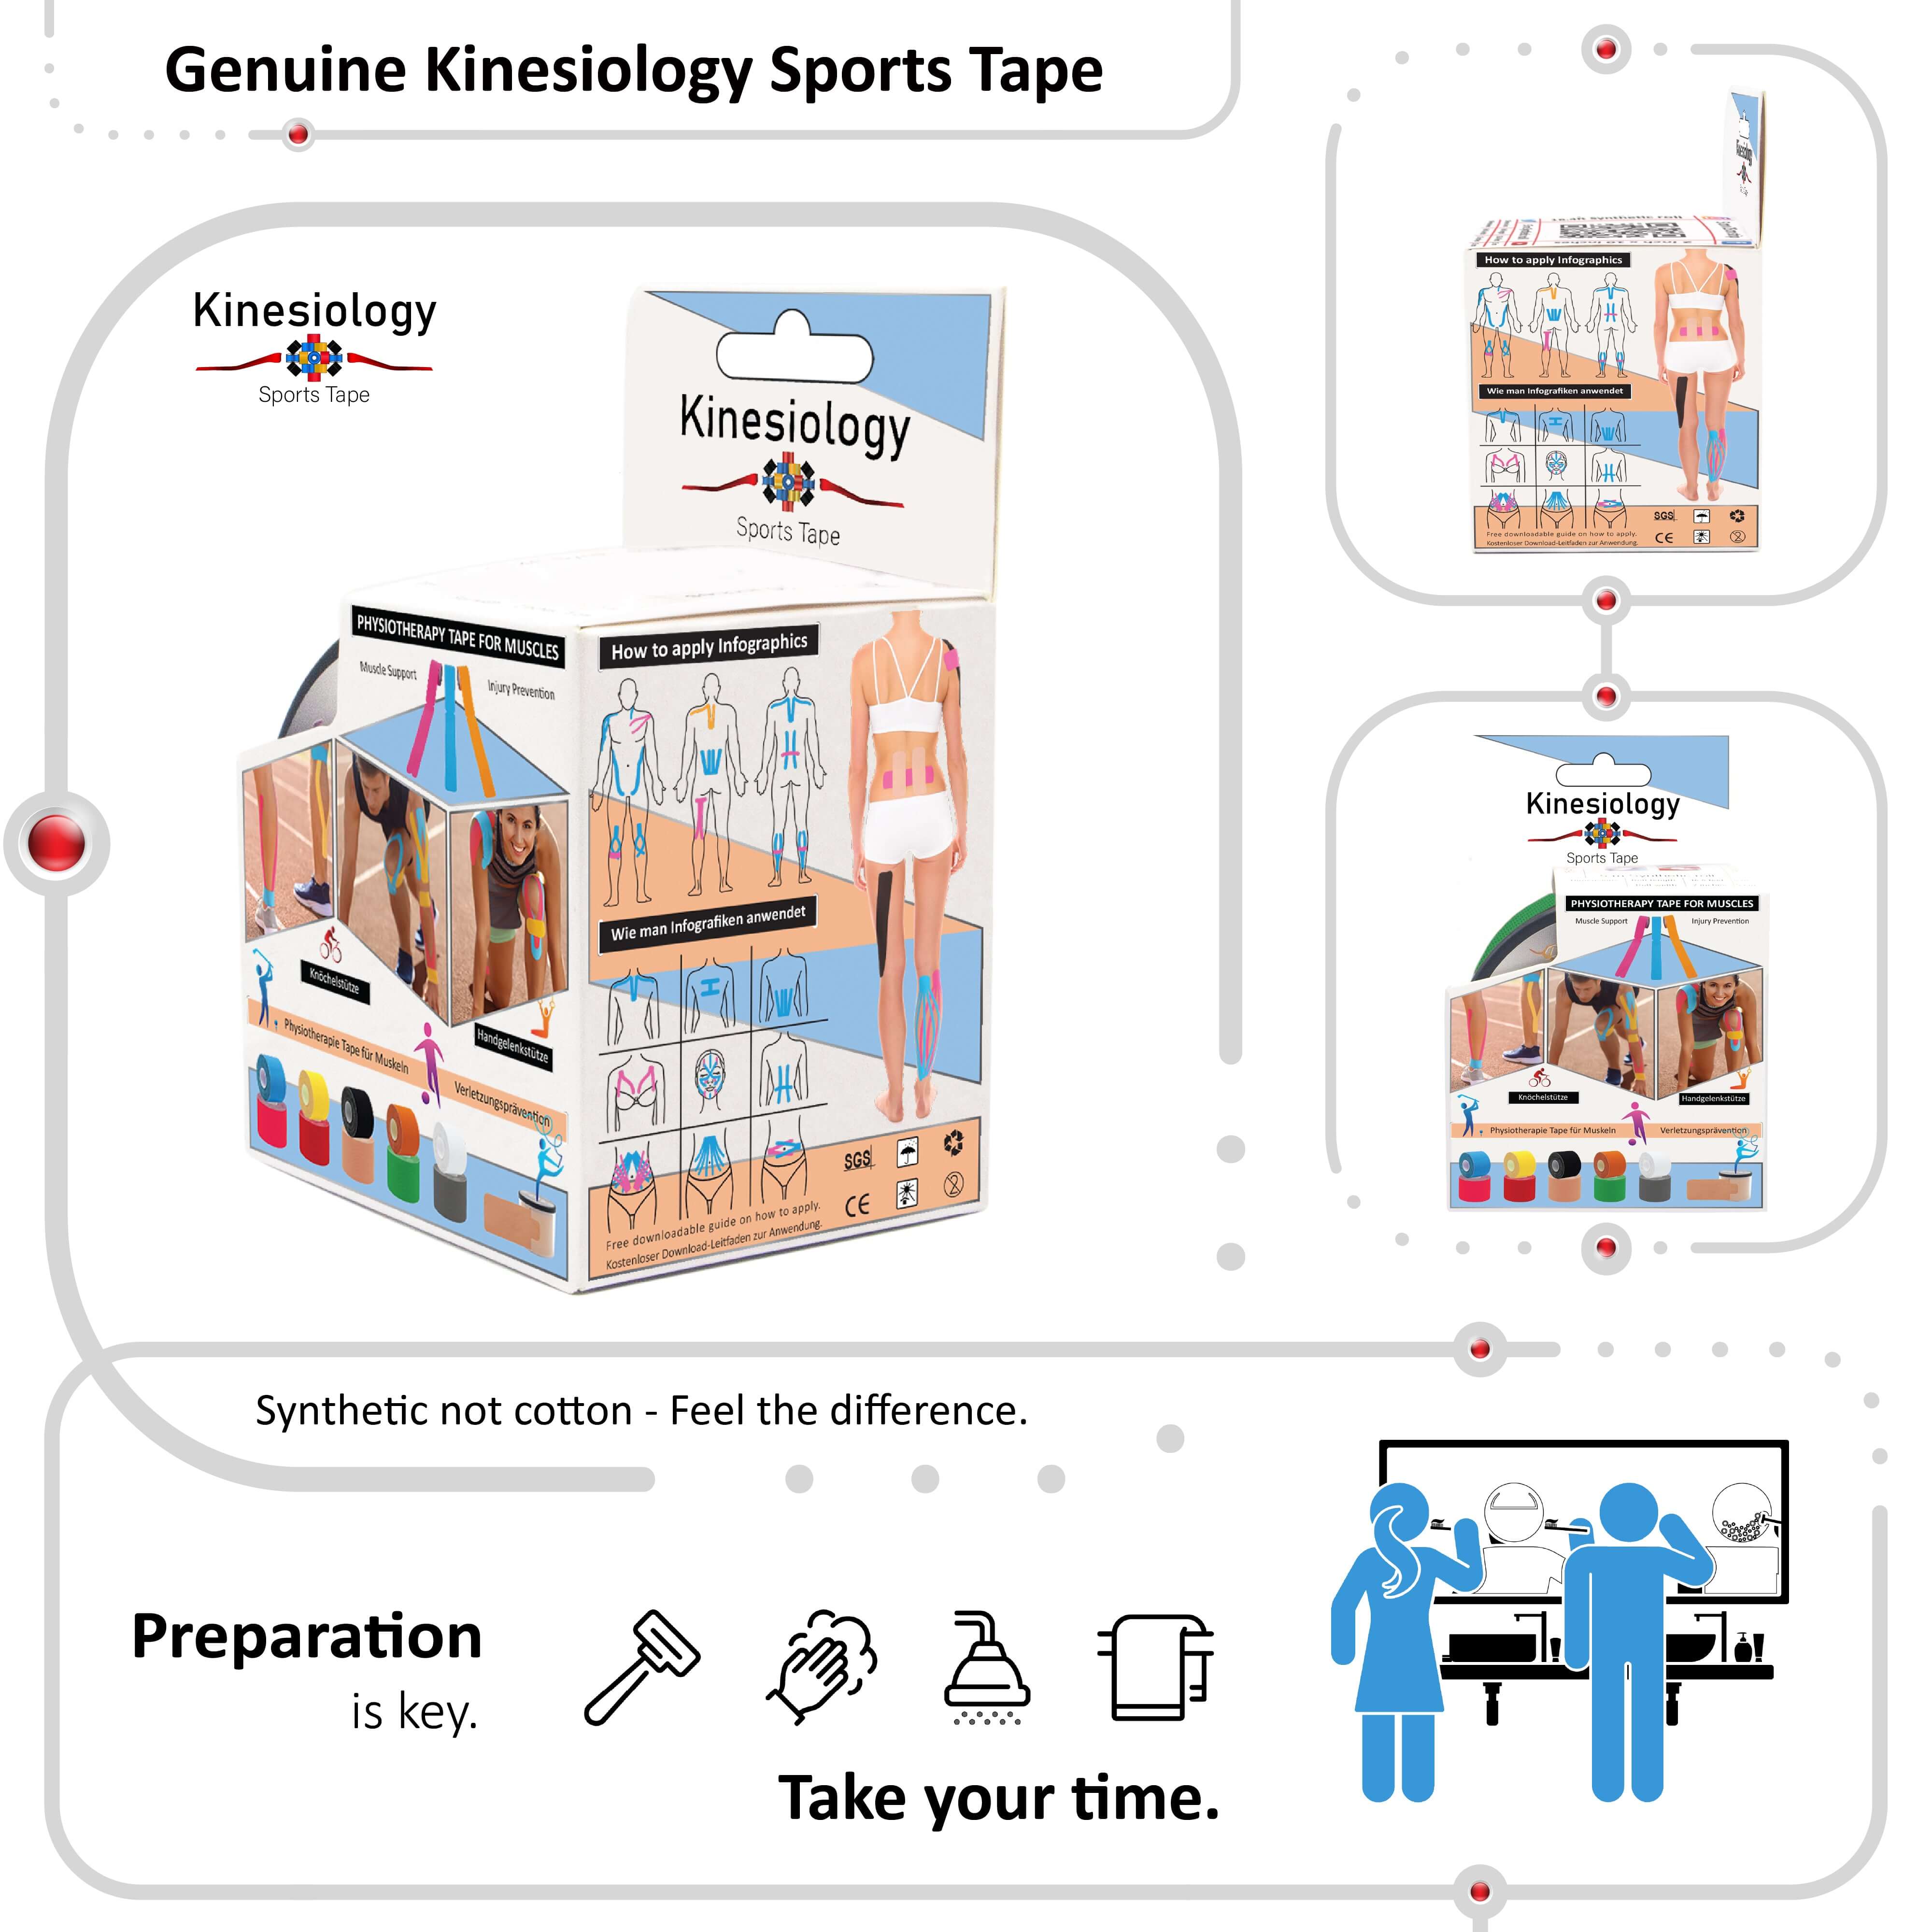
Before You Begin:
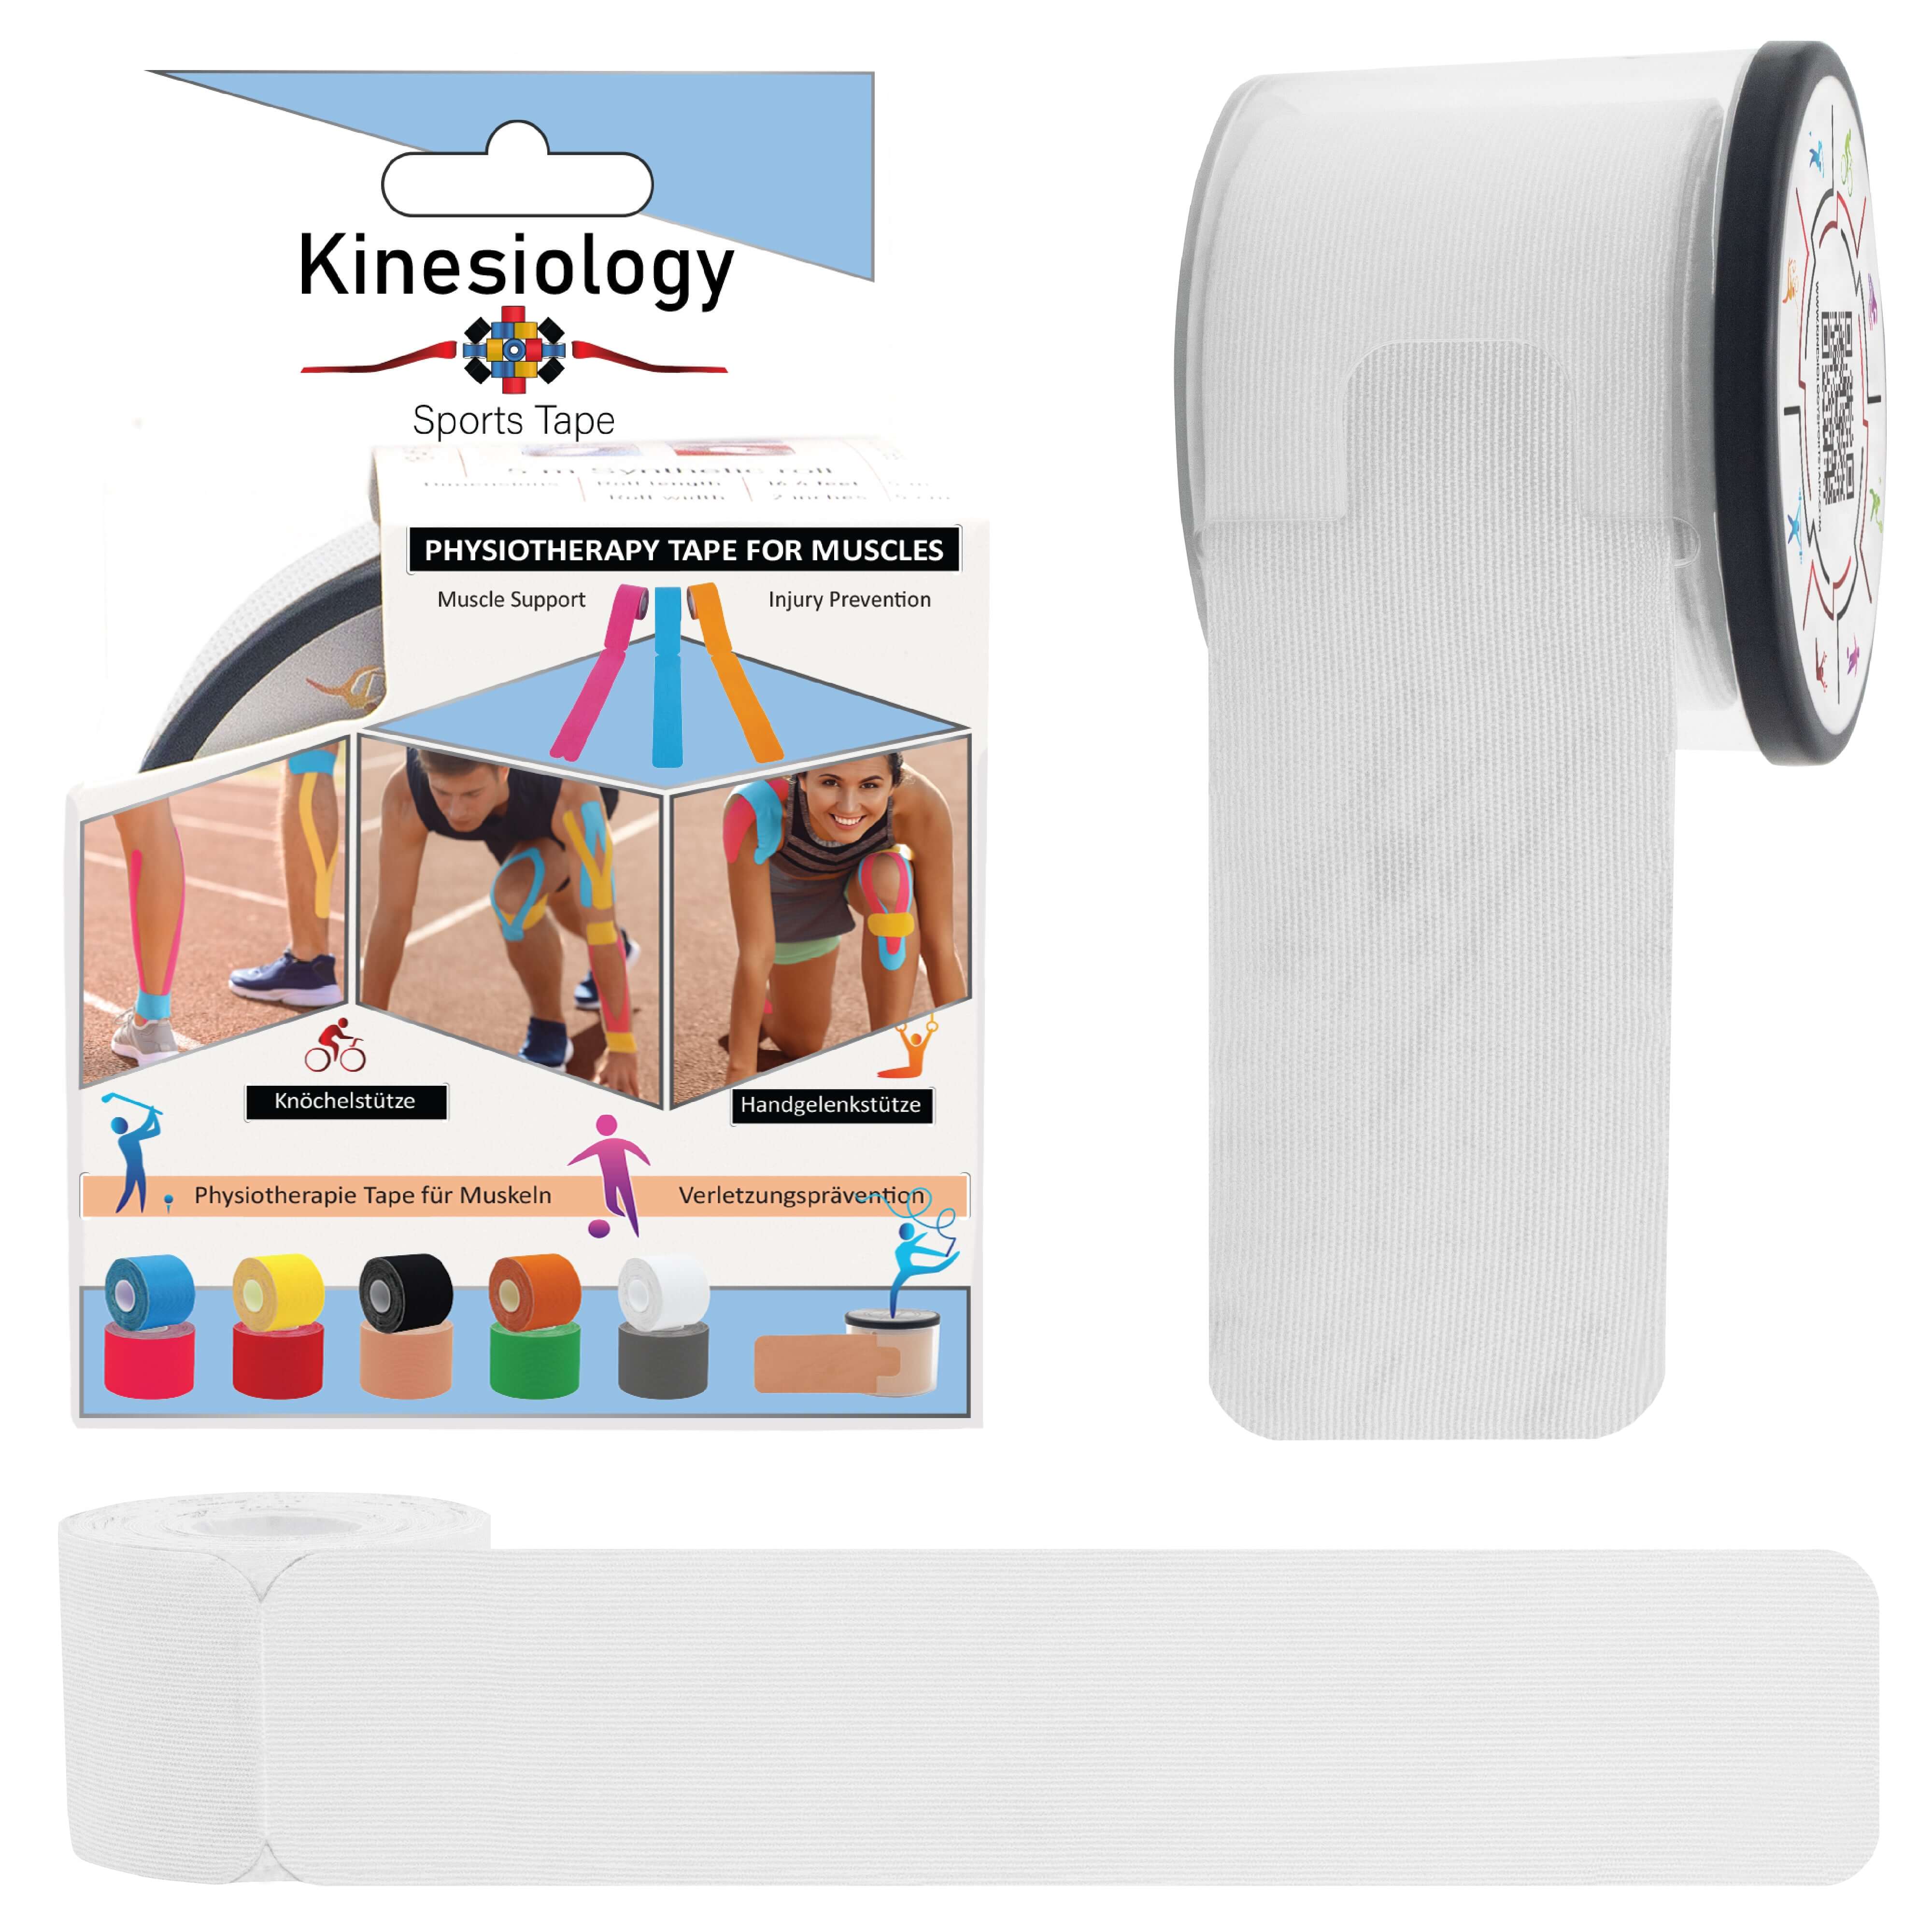
- Gather your supplies: You'll need kinesiology tape, scissors (optional, for rounding corners), rubbing alcohol to clean the application area, and a towel for drying.
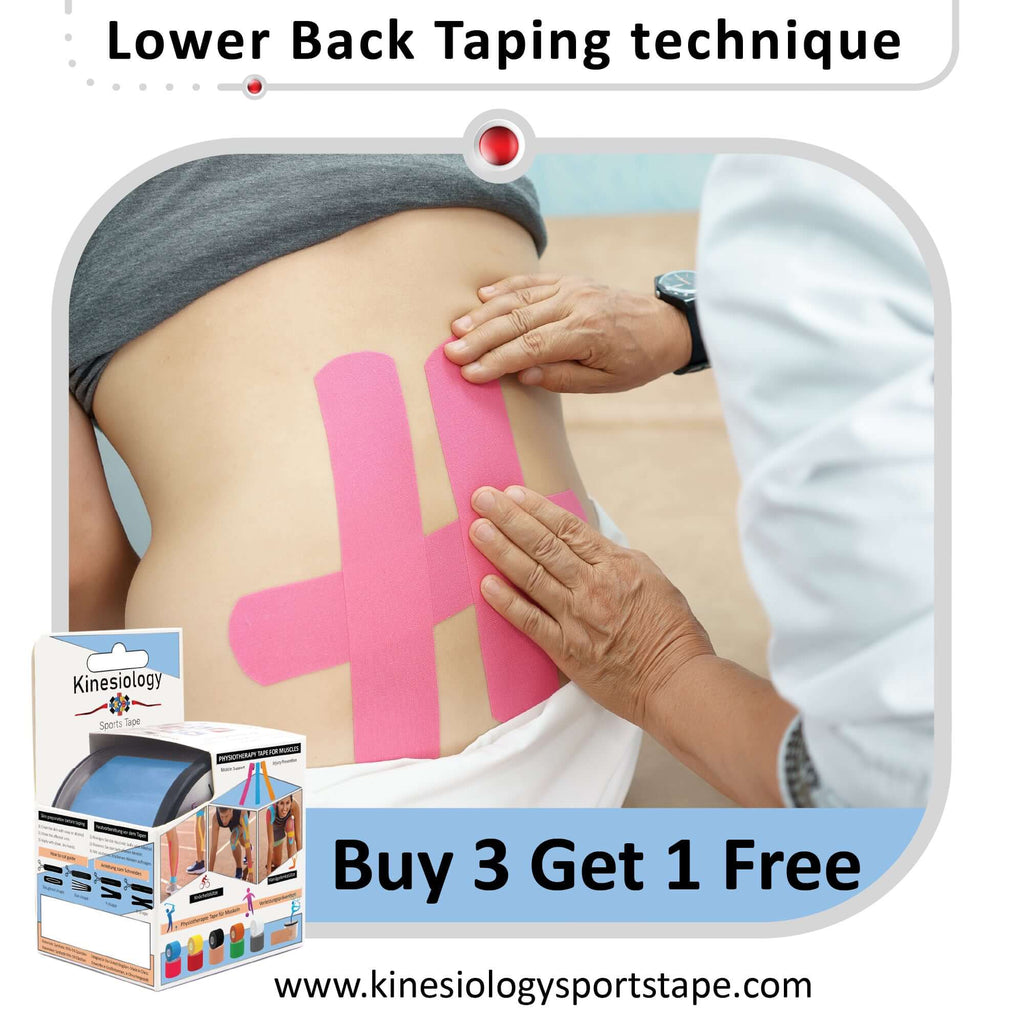
- Identify your target area: Whether it's a sore knee, a tweaked shoulder, or lower back pain, pinpoint the area you want to address with kinesiology tape.
- Prep the area: Clean the application area with rubbing alcohol and pat it dry. Moisture can affect the tape's adhesion.
Understanding Application Techniques:
Kinesiology tape application techniques vary depending on your desired outcome. Here are two common approaches:
- I-Strip Application: This basic technique offers general support and pain relief.
- Relax the muscle: Apply the tape with the muscle in a relaxed state.
- Stretch and apply tension: Gently stretch the muscle slightly while applying moderate tension to the tape as you roll it onto the skin.
- Anchor the ends: Apply both ends of the tape with no stretch for optimal adhesion.
- Y-Strip Application: This technique targets specific points or improves range of motion.
- Anchor placement: Apply the anchor end of the Y-shaped tape at the origin or insertion point of the muscle (where the muscle connects to the bone).
- Following the muscle belly: The branches of the Y should follow the muscle belly without applying tension to the tape.
Additional Techniques:
Beyond I-strip and Y-strip applications, kinesiology tape offers a variety of techniques for specific needs. Here are some resources to explore further:
- Online tutorials: Numerous websites and video platforms offer visual demonstrations of kinesiology tape application techniques for various conditions.
- Kinesiology tape manufacturer resources: Many kinesiology tape brands provide application guides and instructional videos on their websites.
- Consult a professional: Consider seeking guidance from a physical therapist or athletic trainer for personalized instruction on applying kinesiology tape for your specific needs.
Pro Tips for Kinesiology Tape Application:
- Round the corners: Use scissors to round the corners of the tape to prevent snagging during wear.
- Activation vs. Inhibition: Kinesiology tape can be applied to activate weak muscles (applying tension while stretching) or inhibit overactive muscles (applying no tension).
- Listen to your body: Kinesiology tape shouldn't cause discomfort. If you experience any pain or irritation, remove the tape and consult a healthcare professional.
- Removal: To remove kinesiology tape, gently peel it off in the direction of hair growth. You can use some baby oil to ease the process if needed.
Putting It All Together:
With the knowledge of basic application techniques and additional resources at your disposal, you're well on your way to becoming a kinesiology tape pro! Remember, practice makes perfect. Don't be discouraged if your first attempt isn't flawless. With a little experimentation and the information from this blog, you can learn to apply kinesiology tape effectively and support your well-being.
Related post
22
Mar
21
Mar